18 June 2015

Pave a Portion of your Garden
In these days of water scarcity, it makes sense to pave some areas of your garden. Added benefit: reducing the amount of mowing you have to do.
Project Guide:
TIME: Depends on area to be paved and its complexity
COST: Depends on area to be paved, number of bricks required, type of bricks required
SKILL: 4-5. If you haven’t done any brick laying before, try honing your skills on a small area to get a feel for it before trying to pave a large area.
ASSISTANT: Yes, you will require assistance from at least one person.
Materials:
- Bricks*
- Builder’s Sand
- Cement
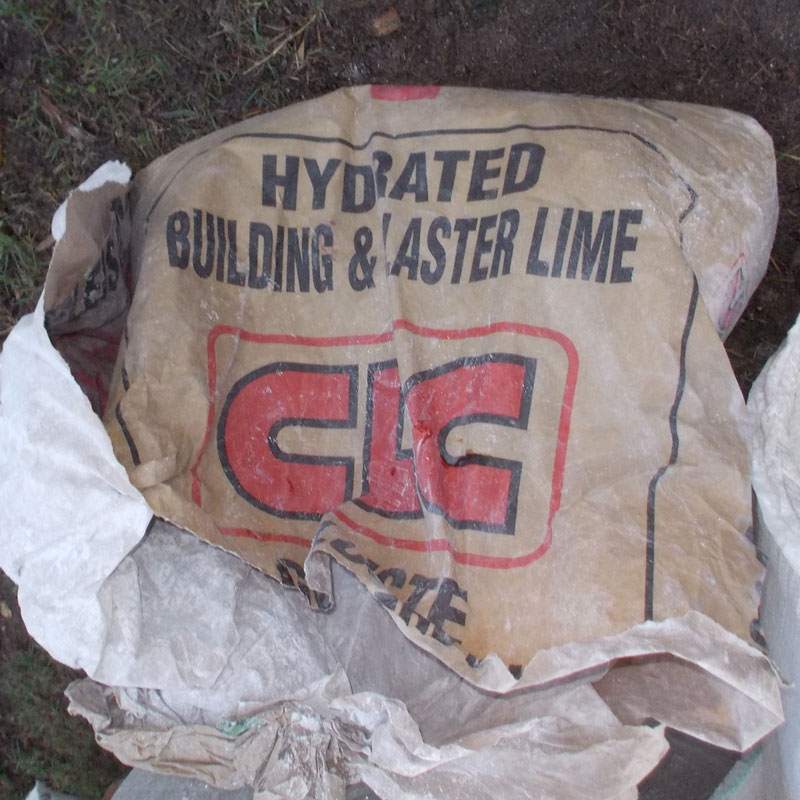
- Hydrated Building and Plaster Lime**
- Plastic Film
* The bricks as laid here work out to roughly 4.5 x 9.5/m2. Allow 10% for breakages, cutting and/or misshapen bricks.
** The quantities of lime will depend on the area to be paved. Consult your local Mica for guidance on materials needed.
Tools:
- Club Hammer
- Bolster
- Angle Grinder with Masonry Disc
- Spades
- Pickaxe (If You Need to Removed Rocks or Roots)
- Rake
- Garden Broom
- Builder’s Line
- Compactor compacting Roller
- Spirit Level
- 1.2m – 1.5m Straight Timber for Screeding
*All materials are available at Selected Mica Stores. To find your nearest Mica and to enquire about availability, please go to www.mica.co.za, to use our store locator. If your local Mica does not stock exactly what you need they will be able to order or suggest an alternative product or a reputable source.
Method:
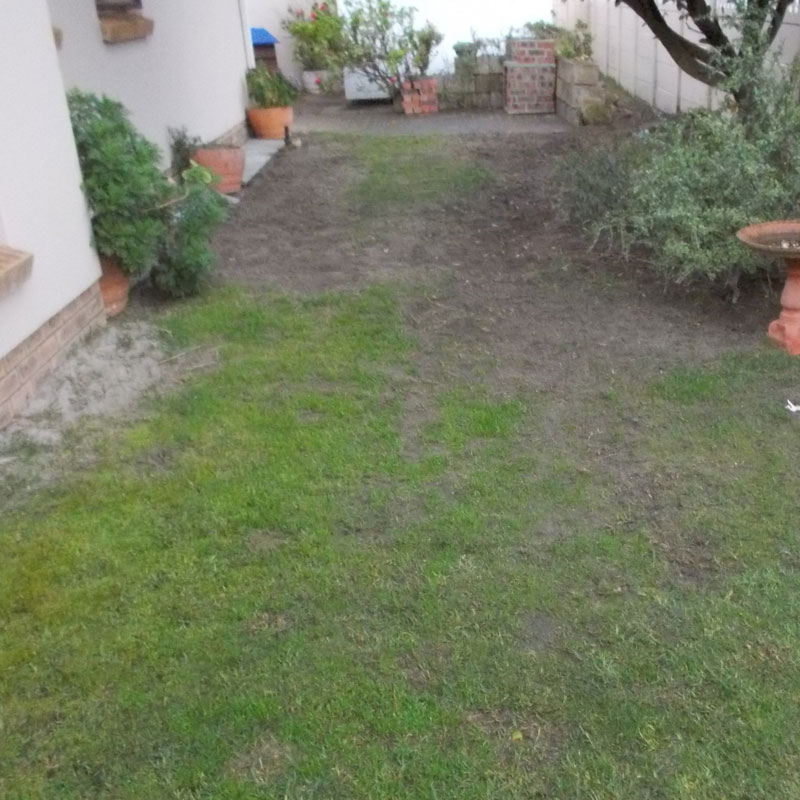
Before starting, decide on the area you would like to pave and measure it off. In this case, we decided to pave a pathway of 1.5m x 5m, leading straight onto another area of 3m x 8m.
We were therefore looking at roughly 38m2, using a simple stretcher bond paving pattern. At 43 bricks per m2, that works out to around 1640 bricks. Remember to add 10% for misshapen and broken bricks, as well as those that need to be cut. In total, we suggest getting 1800 bricks for a paving area of this size.
- As you can see here, the lawn has been destroyed by dogs. This will be the main area to be paved.
- Remove whatever lawn there is. You can save good pieces to use as sod for other areas of your garden.
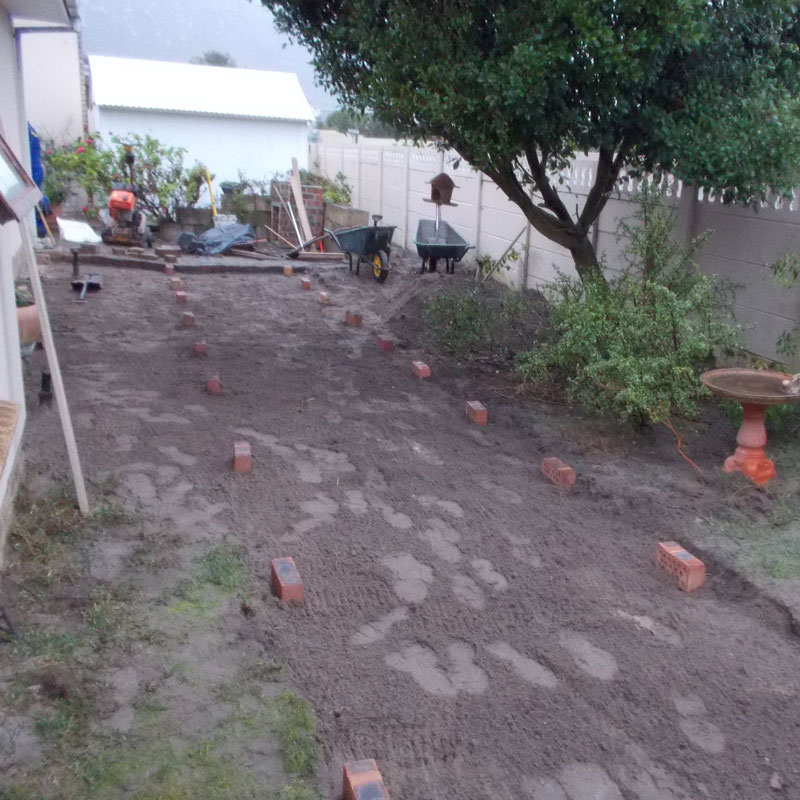
- Once the lawn has been removed, mark the edges of the future paving with bricks.
- Level the bare earth and run a compactor over it. Start with the edges first and work in a concentric path until you have compacted the whole area.
- The result – a neatly compacted path.
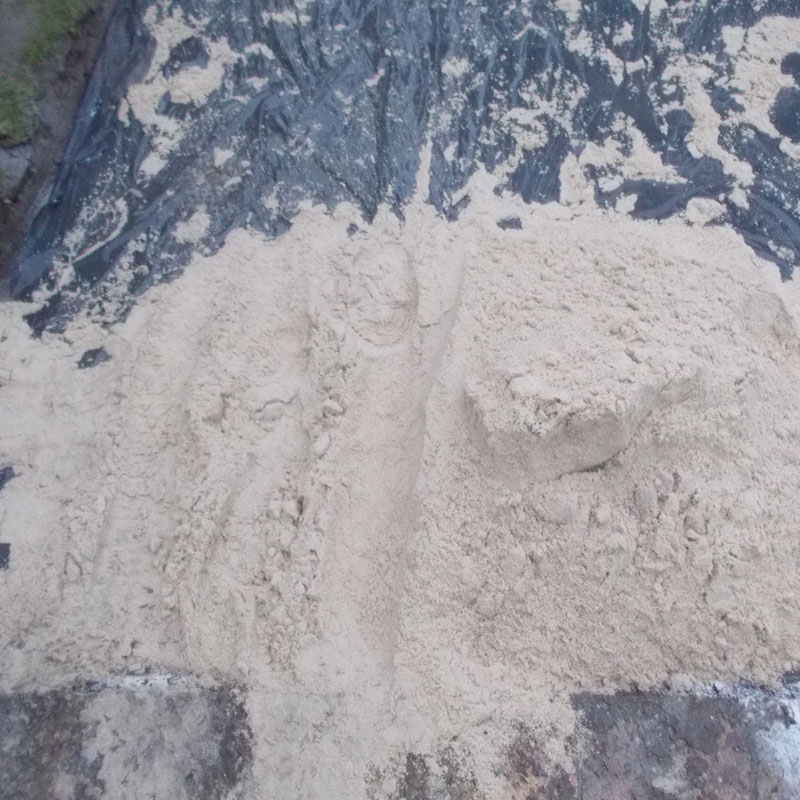
- Now spread the hydrated plaster lime over the compacted area.
- Doing this helps bind the compacted soil.
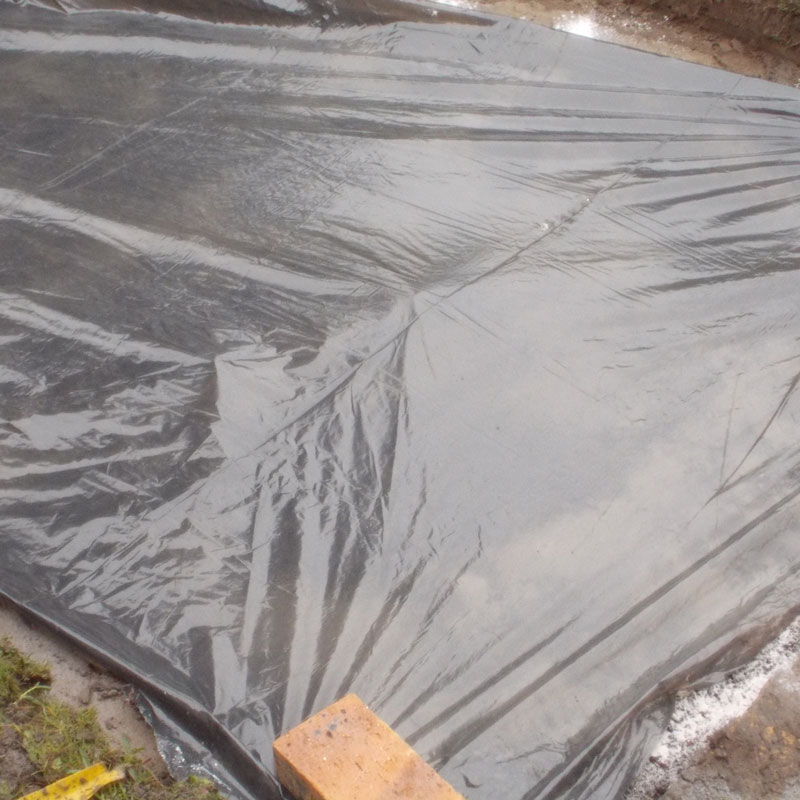
- Opinions differ on whether one should lay a plastic film/waterproof membrane.
- If you choose to omit the plastic film, the next step in to lay a layer of builder’s sand. This should be about 25mm deep on average and is first spread out to be roughly level.
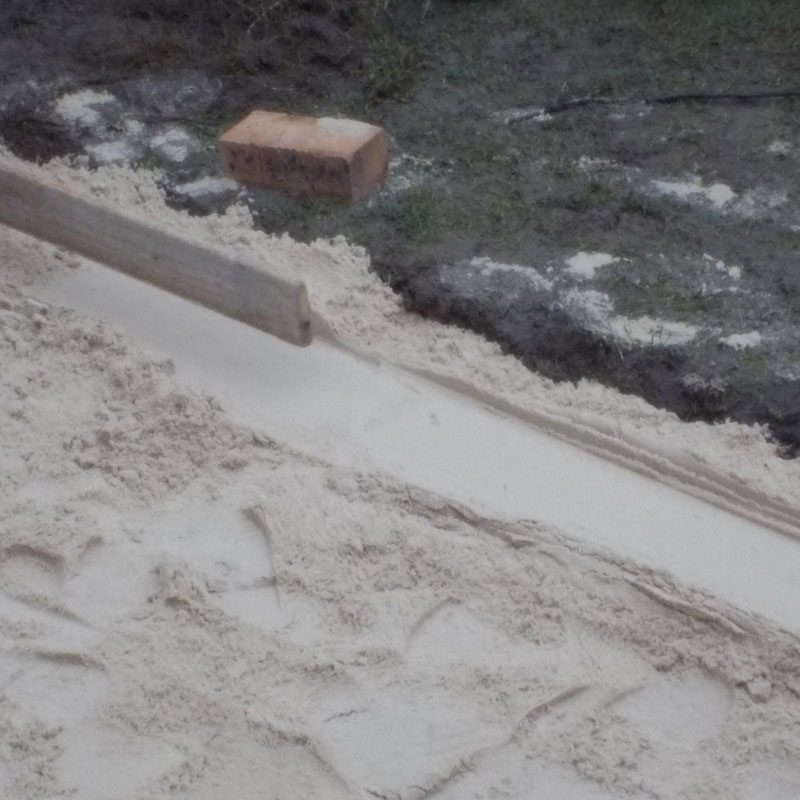
- Next, the newly laid sand needs to be screeded. Using a straight length of timber, start with the borders.
- In this case, the new paving extends an existing path, so the sand is screeded to allow the new bricks to to about 10mm proud of the existing bricks. When compacted, the new surface will be level with the old.
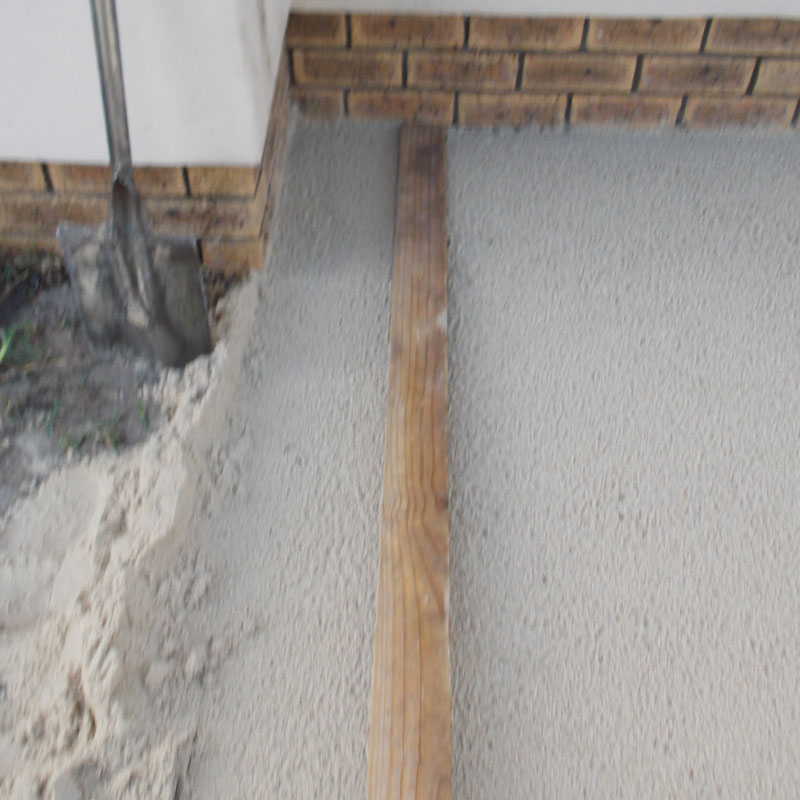
- Here is what it should look like once you’re done screeding.
- You can now screed the rest of the surface.
- Make sure that there is a slight slope away from the house. 2º should be sufficient. This will ensure that rainwater is shed properly away from the house. If there isn’t a sufficient slope, add a little sand the the houseward side and screed again. After you’re done screeding, apply a very light, fine spray with your garden hose to wet the sand slightly. This helps to compact the sand. Be careful not to spray the water on too hard as it will ruin your screeding.
- Now the fun part starts – the first of the new paving is being laid.
- The vertical bricks are temporary and used only used to help create the stretcher bond.
- Make sure not to walk on the edges of the paving while it’s being laid. Walk down the centre when moving bricks down to where the are needed.
- Here you can see where the pathway was widened to extend the paving up to the house.
- Use builder’s line to align the bricks before cutting bricks to meet up with the edging.
- An angle grinder with a diamond disc was used to cut the bricks. This gives a far neater edge than simply using a bolster.
- Here you can see the edging lifted off and bedded down down in a concrete bedding which you should compose to a 4:1 ratio of sand and cement.
- Now use a compacting roller again to seat the paving on the sand bedding to achieve a smooth, hardwearing surface.
- A dry mix of the 4:1 sand and cement mixture is spread liberally over the surface and washed in with a garden spray and an outdoor broom, ensuring that the mix flows into all the gaps between the bricks.
- A dry ‘wash’ with raw sand helps clean the brick paving.
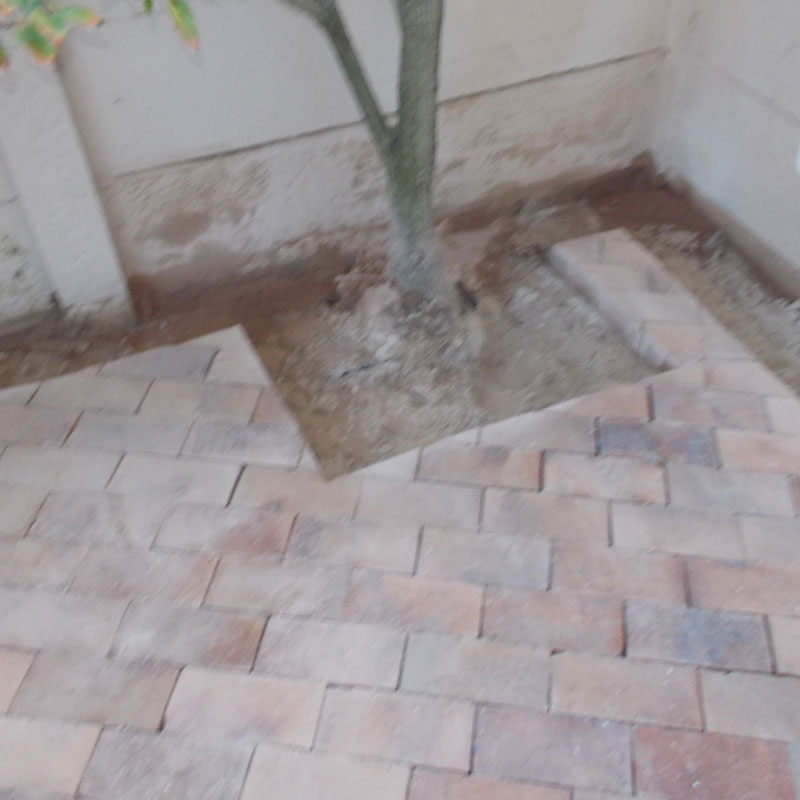
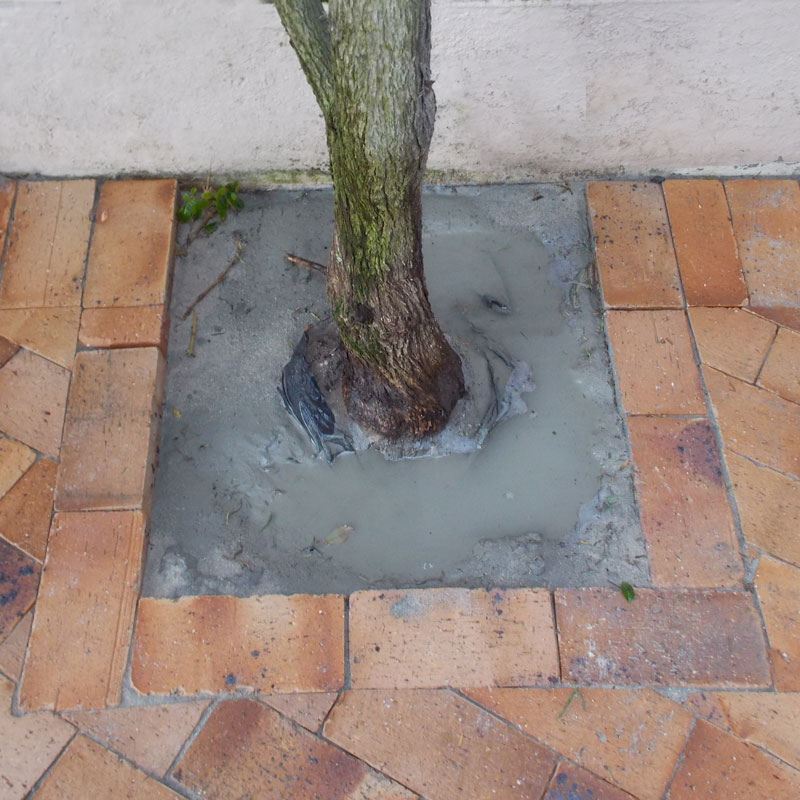
- For areas around trees and shrubs should be edged. Ensure that you allow enough of a gap for future growth of whatever plant the is.
- Finishing off the paving, edges are pointed with a gap between the bricks of 10mm.
- Now you can clean the bricks with water and a sponge.
- Here you can see where the paving was laid around a tree.
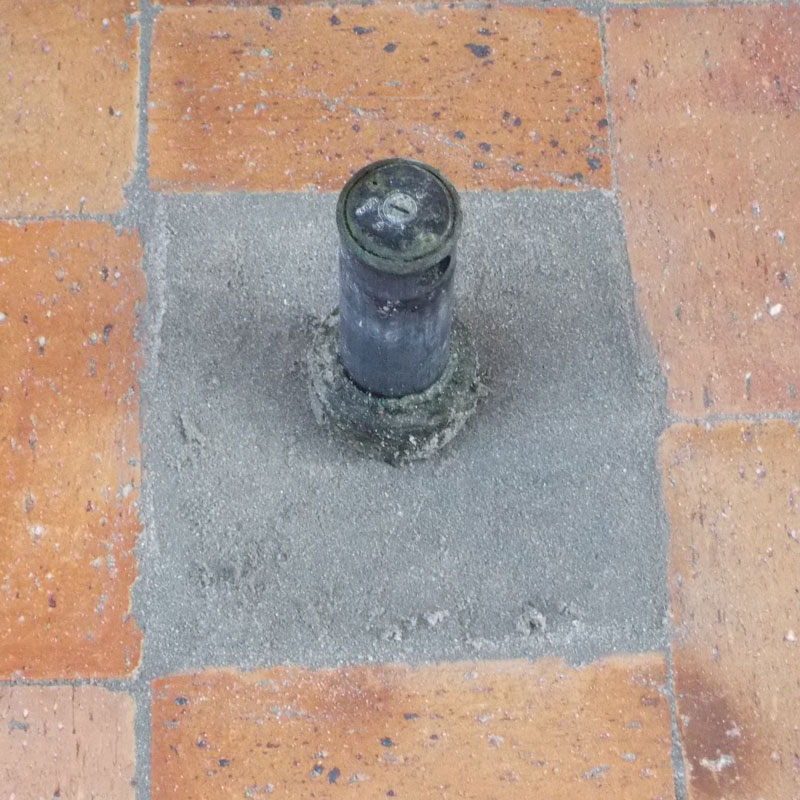
- We also needed to pave around a sprinkler pop-up.
- This smaller paved area was laid with a sweeping curve to allow it to feed into the wall.
- Done! Now you need to fill the edges in with lawn and other plants. You could use the sod you saved earlier. What do you think of the finished product?