08 August 2022

Here’s a nice little pick-me-up
We are forever dropping things and so this magnetic pick-me-up will come in handy for retrieving steel screws, nails, panel pins – and even reasonably bulky tools from the floor in your workshop – and it is a great little helper in the kitchen as well for retrieving kitchen scissors, odd pieces of cutlery (not fully stainless-steel, however, as this type of alloy contains high amounts of austenite and austenitic steel has a higher percentage of chromium and nickel than non-stainless steel – and in terms of magnetism, it is the addition of nickel that renders stainless steel non-magnetic… that was a little science for you, so now you know!)
We don’t often associate magnets with health or other issues, but please take note of the following caution – it is found on a sticker on the back of the blister pack in which this magnet is sold… in particular, take note of #3 if you or anyone visiting your home if fitted with a pacemaker.
In the case of #5, types of magnetic media include:
- Audio reel-to-reel and cassettes tapes.
- Video and computer tapes on open reels or in cassettes.
- Hard disk drives, (HDD) – as fitted in your laptop
- Floppy disks or diskettes (remember them?)
Caution:
- Attraction forces can cause injury
- Magnets should not be handled by children without supervision
- Neodymium magnets can affect pacemakers
- Magnets are fragile and brittle
- Magnets can affect magnetic media
Materials:
- One 19mmØ dowel, 1m long
- One 19mmØ ferrule
- 300mm of nylon cord – optional
- One 6.35×25.4mm neodymium disc magnet
- Contact adhesive
Method:


- Here’s all you need.
- Mark the centre of the one end of the dowel and clamp it firmly on to the work surface.
- As accurately as possible, drill a 6.5mm hole to a depth of 26mm in the centre of the dowel – and down its centreline.
- It doesn’t really matter if you are slightly off centre, but you will know – so the more accurately you drill the hole, the happier you will be. Check the depth with a small nail or screw and drill a little deeper if you have to and then add a little contact adhesive to the end of the magnet and gently, but firmly push it into the hole you made until is it fully seated… remove excess adhesive that will ooze out.
- I tapered the end of the dowel as shown so that the tip of the magnet is closer to your target if you have to use the pick-me-up at a very shallow angle – for example when retrieving something from under a cupboard or low chair.
- I drilled two holes of 3mmØ in the top of the ferrule for the hand-loop. This is an optional extra, but worth the effort.
- You will find it easier to push the hand-loop cord through the holes if you wind a little masking tape over the end at a very acute angle so that you can create a tapering length of tape, which is easy to insert into the holes that you drilled and then pull through from the inner end of the ferrule. This will ensure the securing knots are hidden… very neat!
- With the ends of the tape knotted to keep them in place, I inserted a little glue into the top inner surface of the ferrule and pushed it on to the end of the dowel.
- Here’s the finished result… nice and neat and making it less likely that you will drop the pick-me-up when using it.
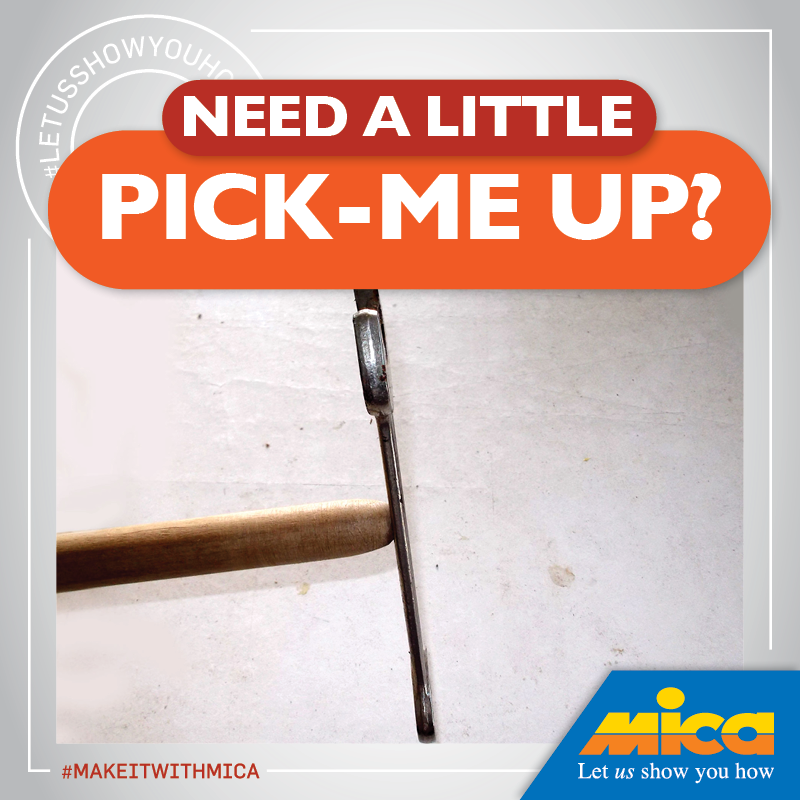
- Neodymium magnets are very strong and in this case even a small one as used here easily holds a relatively substantial spanner.
- Here’s a hint… when you have spilled a number of small items – in this case panel pins – slip a plastic bag over the end of the pick-me-up and retrieve the items. When you pull the end of the bag away (over the items’ container, naturally), the magnetic bond is broken and the pins fall into their container.
- Here I used the pick-me-up to retrieve a pair of kitchen scissors… worked like a charm!
Panel:
These materials are available at Selected Mica Stores. To find your closest Mica and whether or not they stock the items required, please go to www.mica.co.za, find your store and call or visit them. If your local Mica does not stock exactly what you need they will be able to order it for you or suggest an alternative product or a reputable source.
Project guide
TIME: 30 minutes
COST: R50-80
Skill: 1
Tools required:
Cordless drill/driver, sander.