05 November 2025

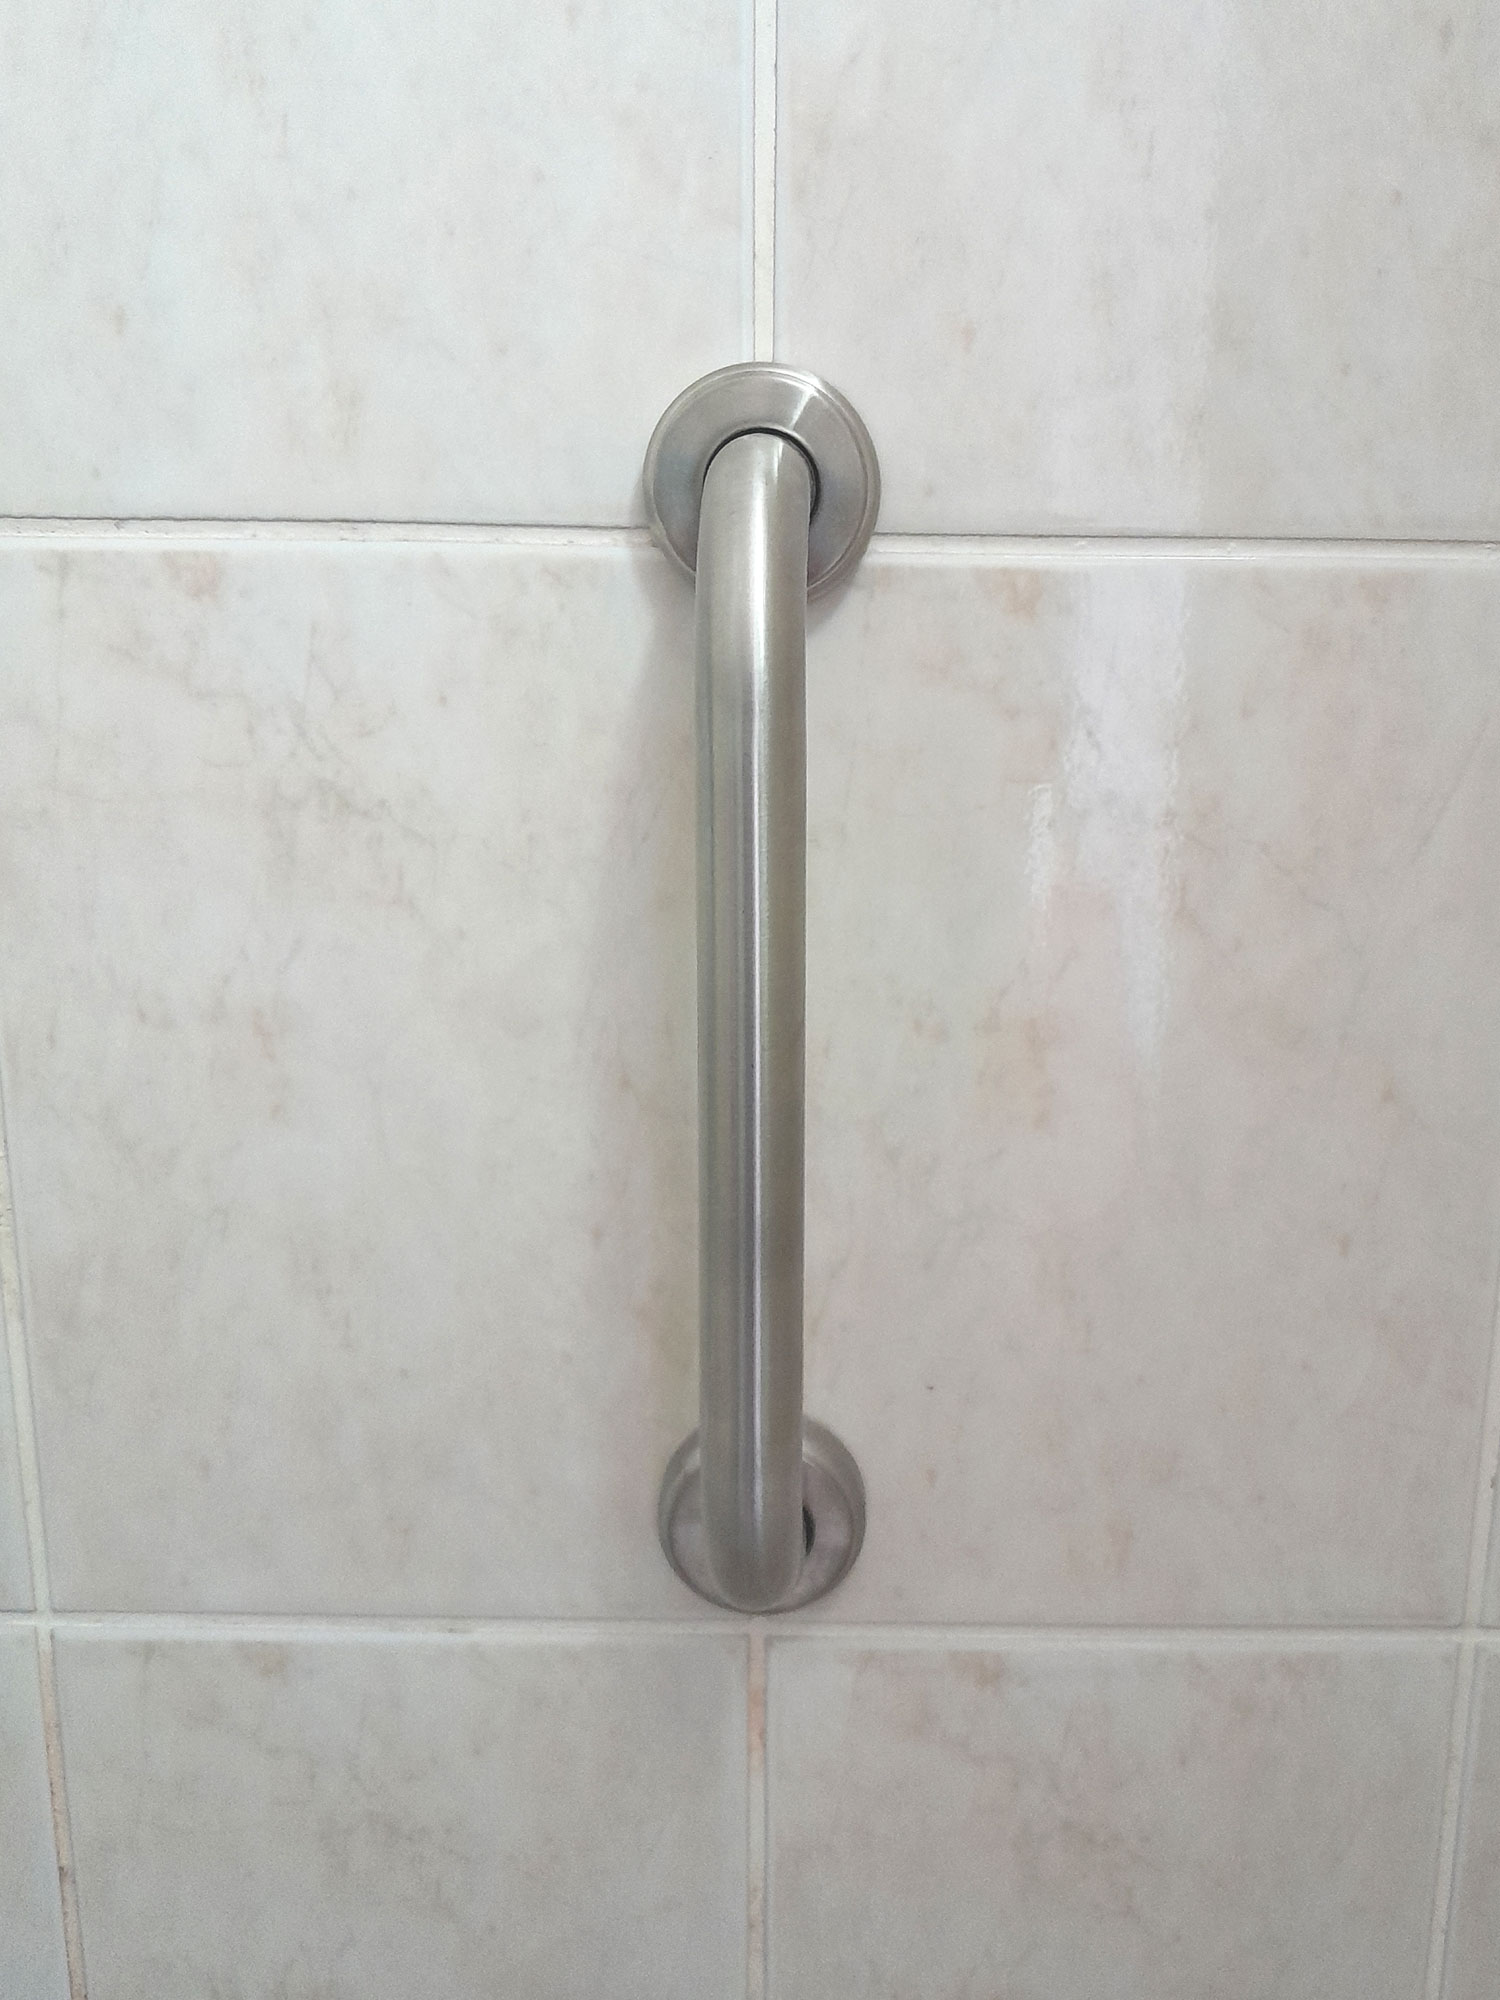
How to fit shower hand rails
This is one of two features. This one shows just the simple steps required to fit a safety hand rail, in this case, in a shower. In the other feature we will take an in-depth look at safety rails (also called grab rails)… their sizes, types, designs, materials, types of fasteners, where to fit the handles, how to fit them, and how to avoid the nastiness that comes from drilling though a water pipe or electrical conduit when drilling the holes to fit one.
Materials:
- Stainless steel (304 grade*) 300mm hand rail
- 6x40mm stainless steel screws** – 12
- Nylon walls plugs – 12
*Stainless steel is available in a range of grades, such as 316 – used in marine environments, for example, and 304, the grade used in this instance. 304 grade stainless steel is the same grade often used for stainless steel cutlery and cooking utensils.
** Even if you fit chromed, plastic or mild steel handles, it is a very good idea to use stainless steel fasteners to attach them. Should you even have to remove or change them, the fasteners should still be in fine shape. Using mild steel fasteners will almost certainly see them rust. Not only can that result in unsightly stains down the tile surface below them, but when it comes to removing them they may have rusted beyond redemption – or removing.
Method:
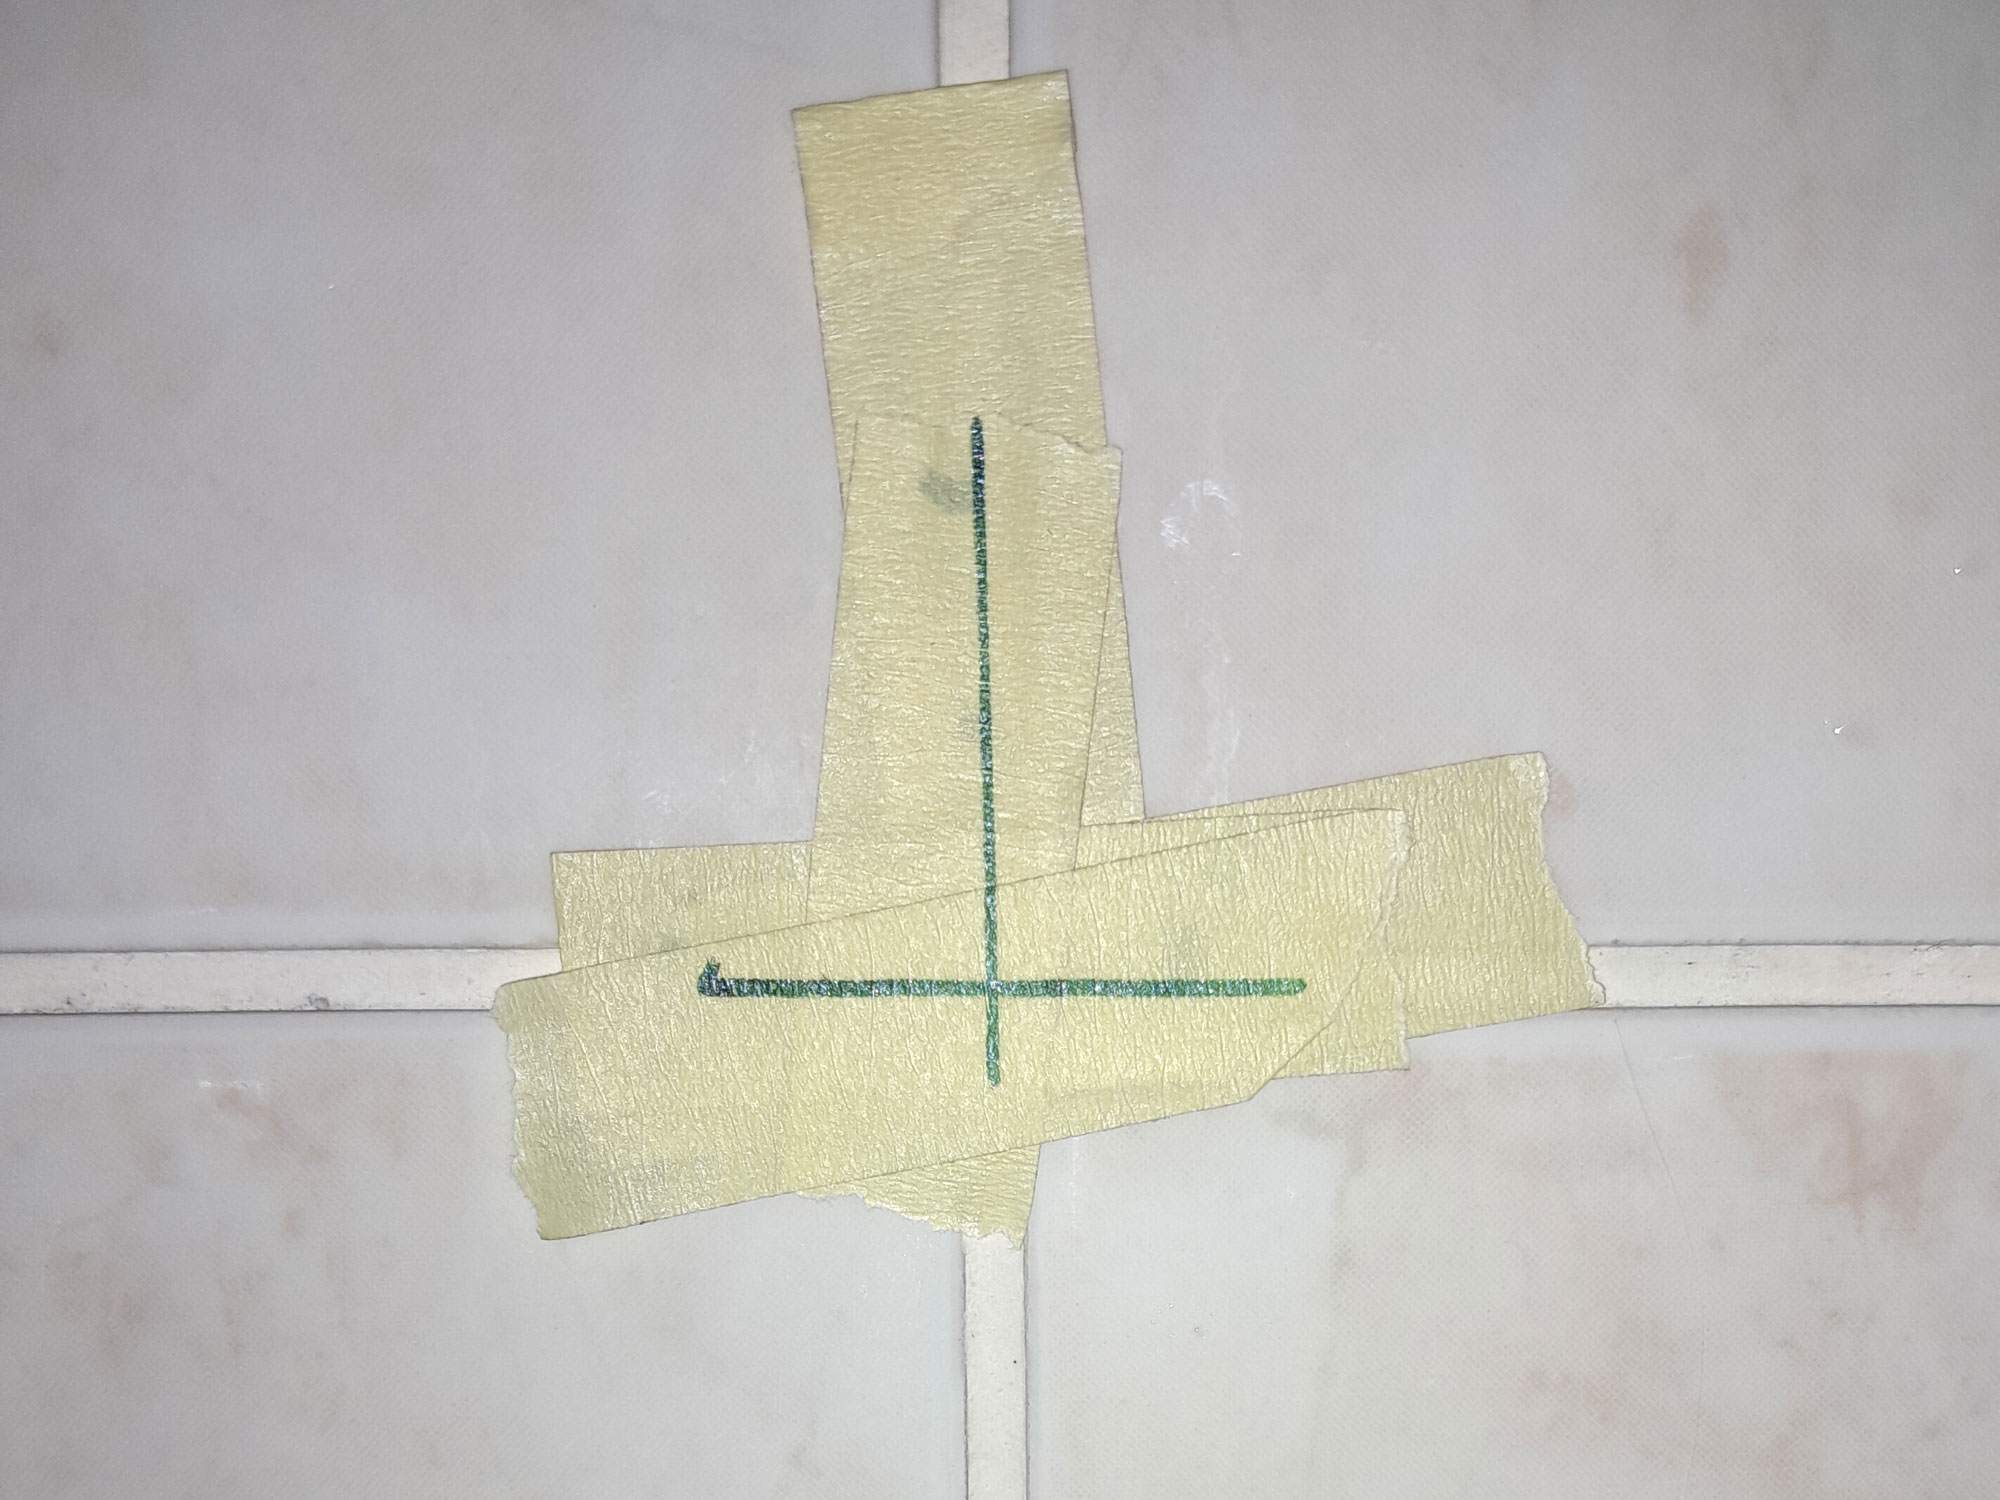
- Whenever it’s possible, when drilling holes in a tiled wall or surface, I drill into the grouting between the tiles. The reason is simple… should I ever need to replace a fitting, or remove it completely, filling holes between the tiles with grout means that they are not as obvious as holes drilled through a tile and then filled. So, first step is to mark the mid lines of the grouting at the junction between four tiles. I used masking tape and a marker pen, as shown here.
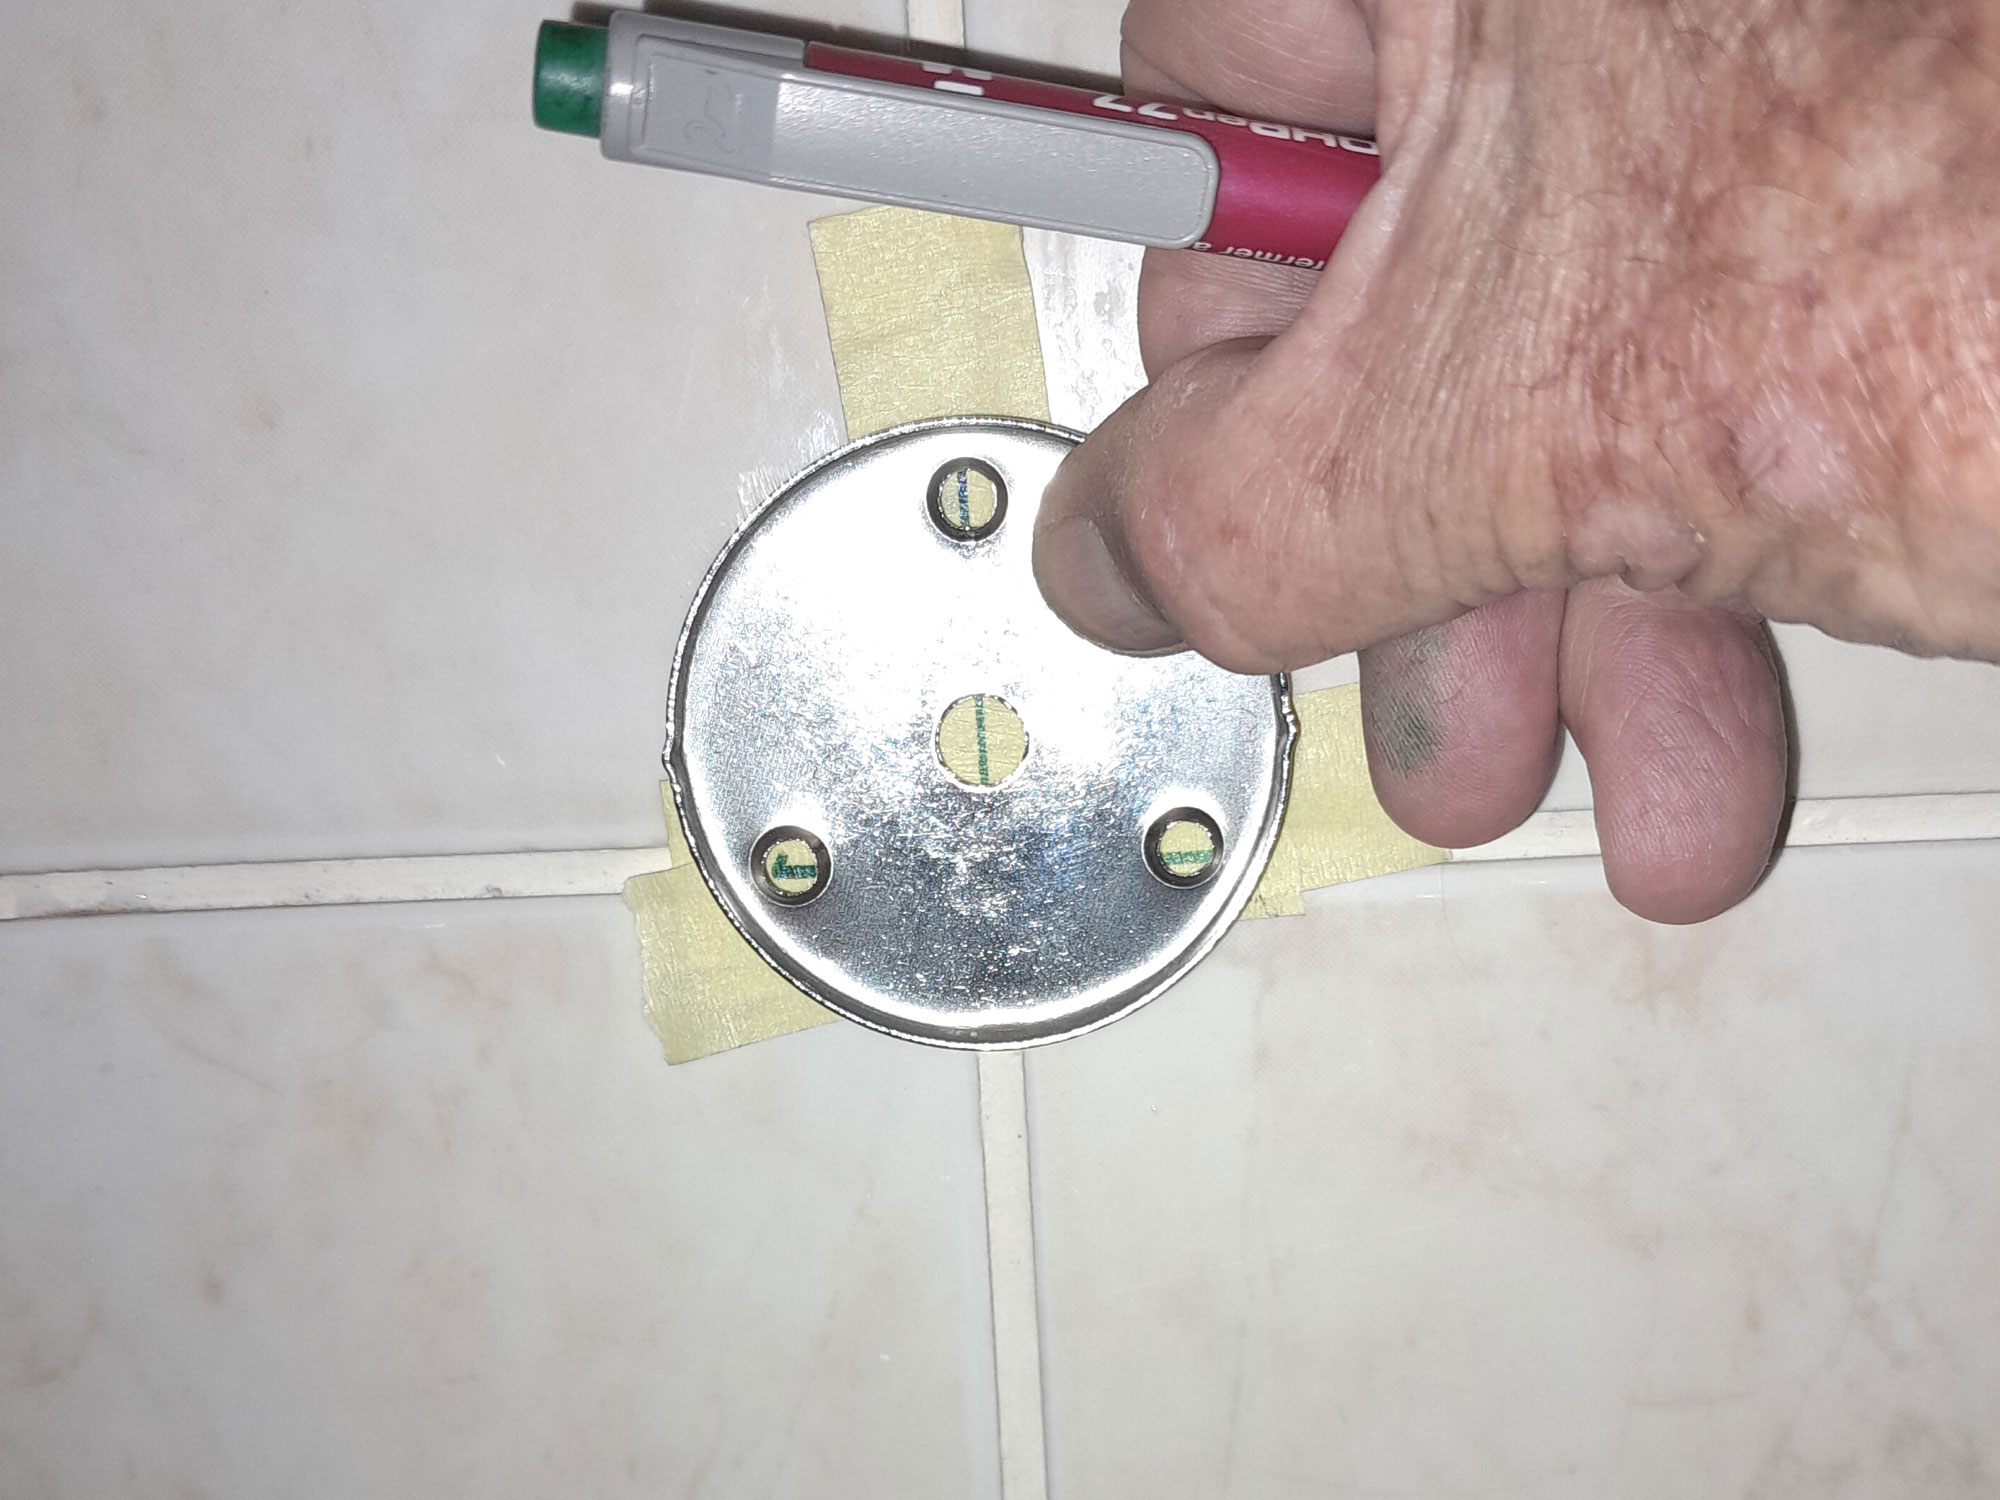
- Then I removed the handle’s base plate, held it against the wall with the screw hole positions centred on the lines I had drawn.
- Then I marked the positions of the screw holes.
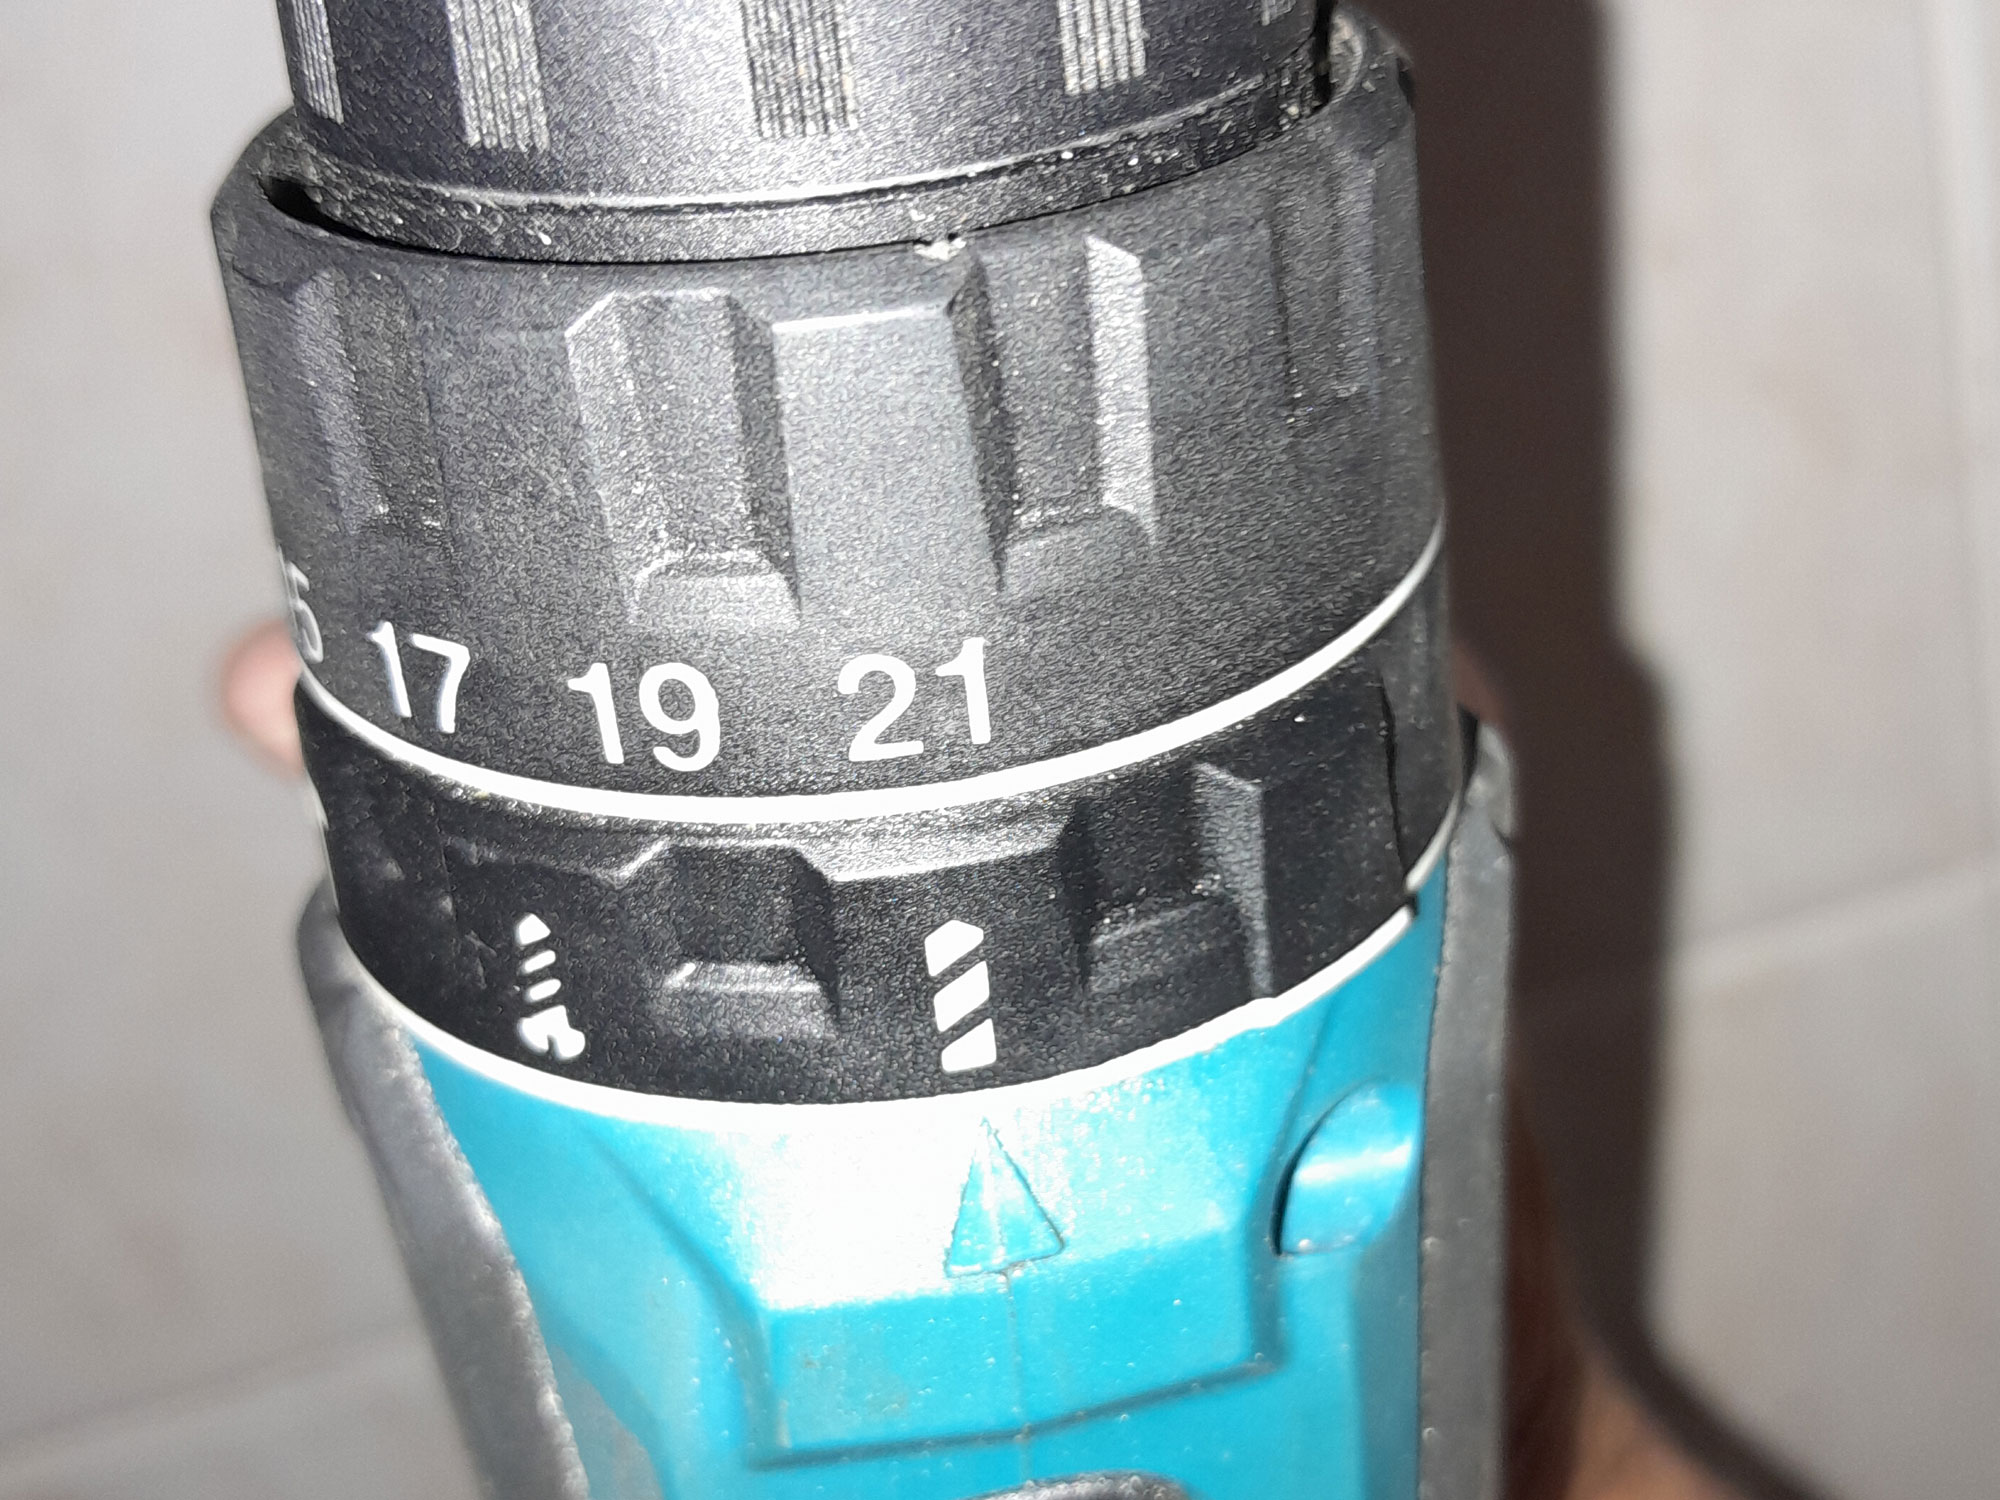
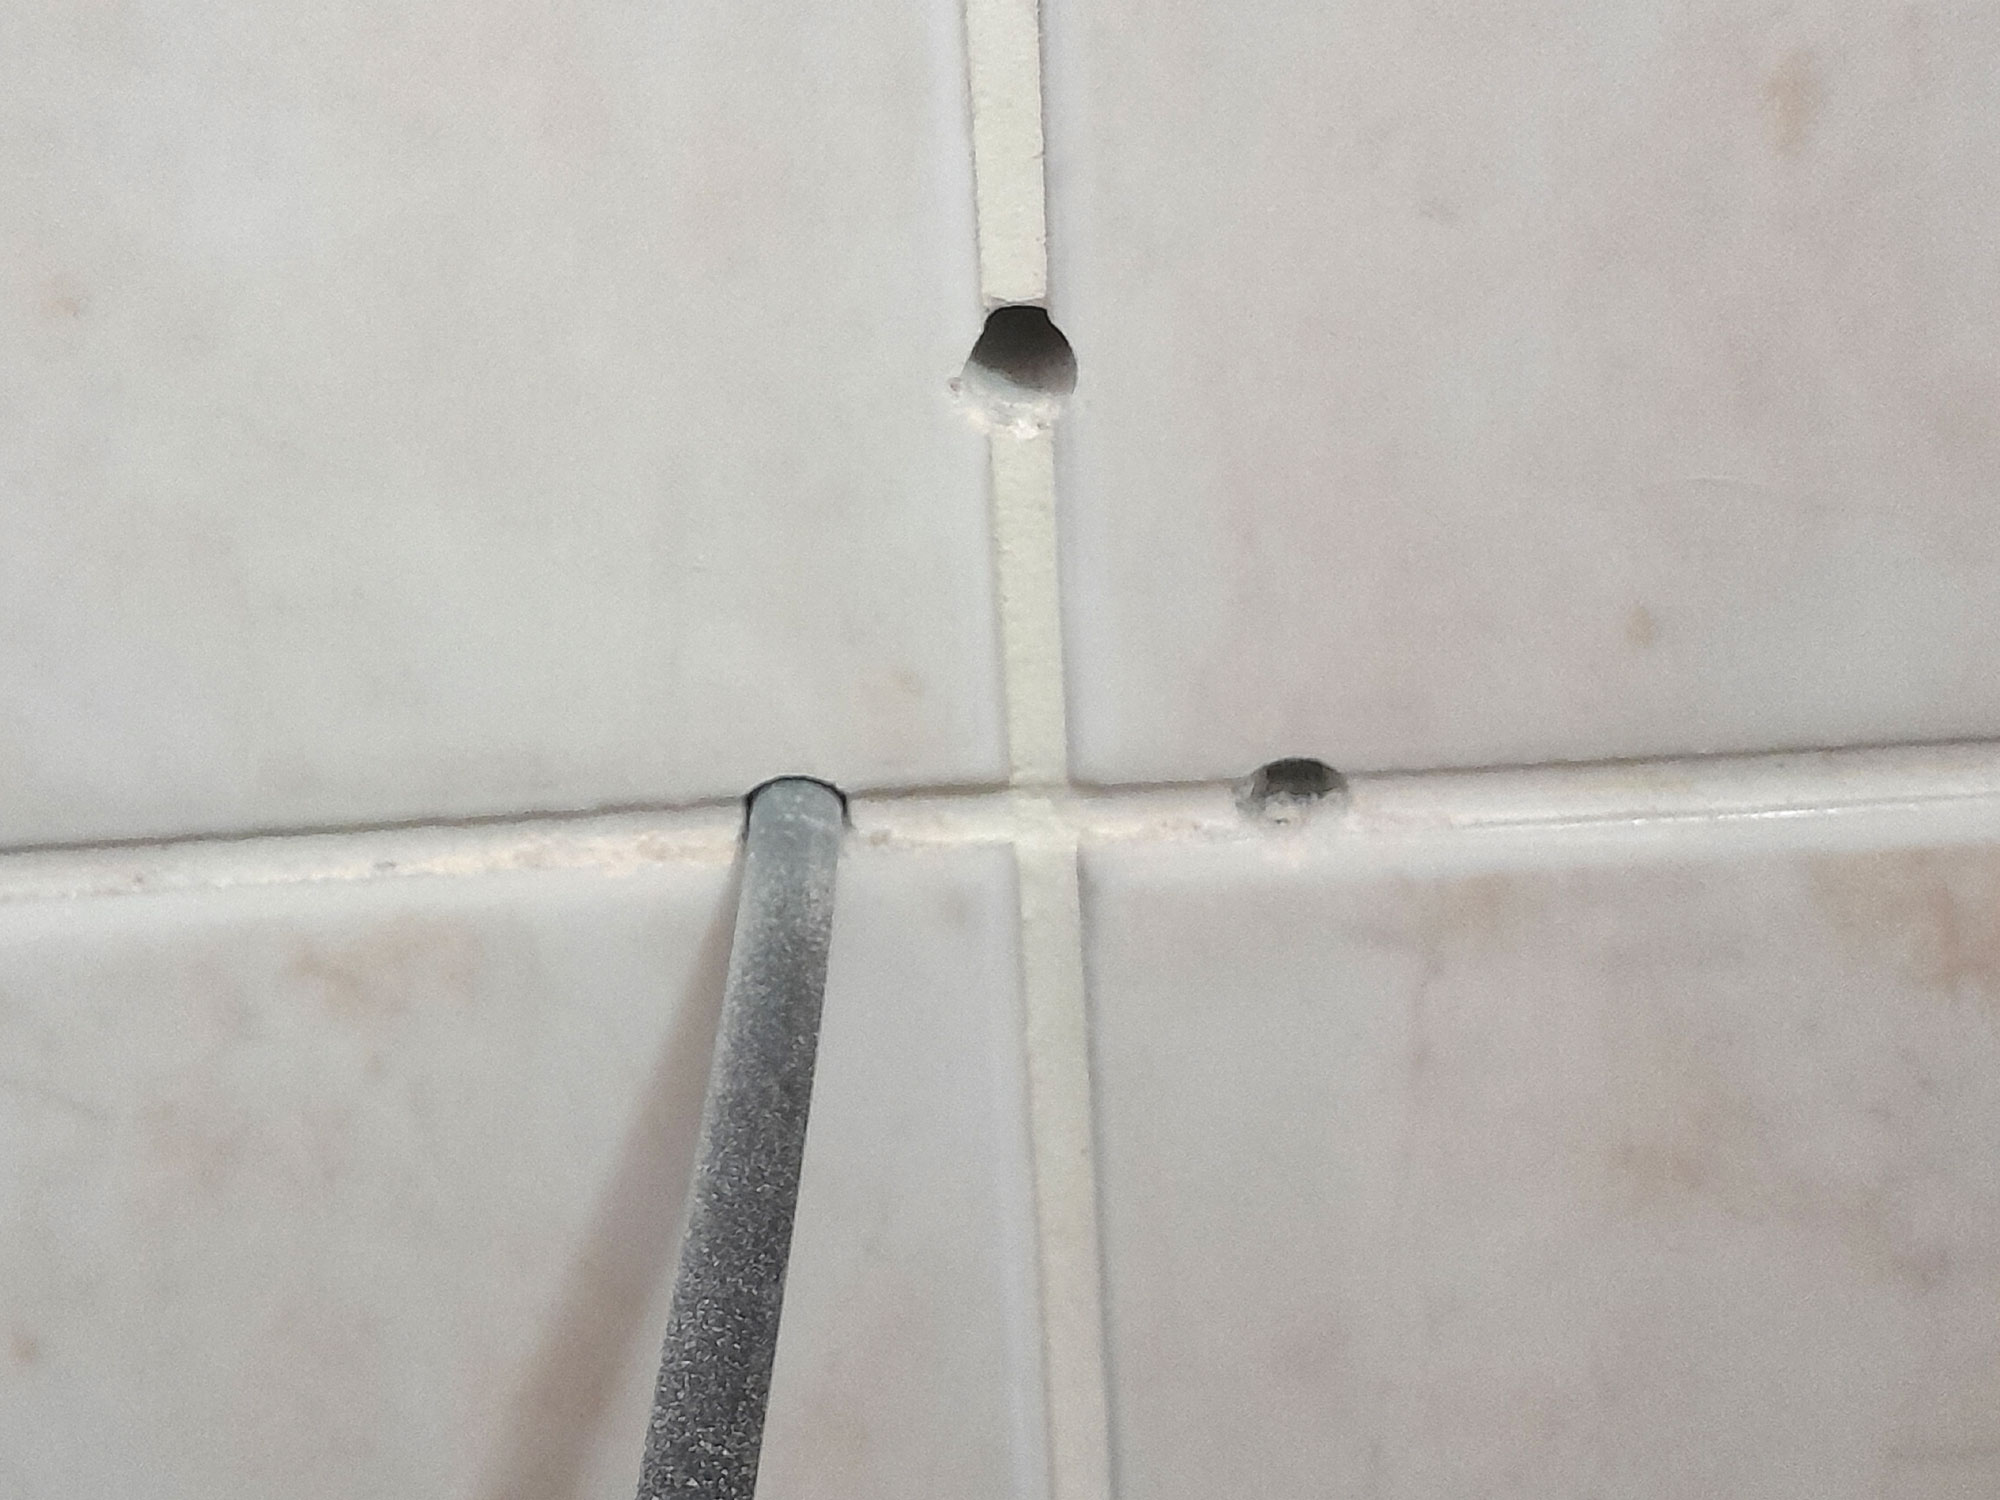
- You will often use a hammer drill to drill into a brick wall, but while you can use the hammer function from the get-go on plain masonry wall, don’t do so when drilling though tiles. Set the drill function to drill, as shown here.
- Then I fitted a small (3mmØ) masonry bit to drill the starters for the holes. Using a small bit like this allows you to be very accurate in positioning the bit.

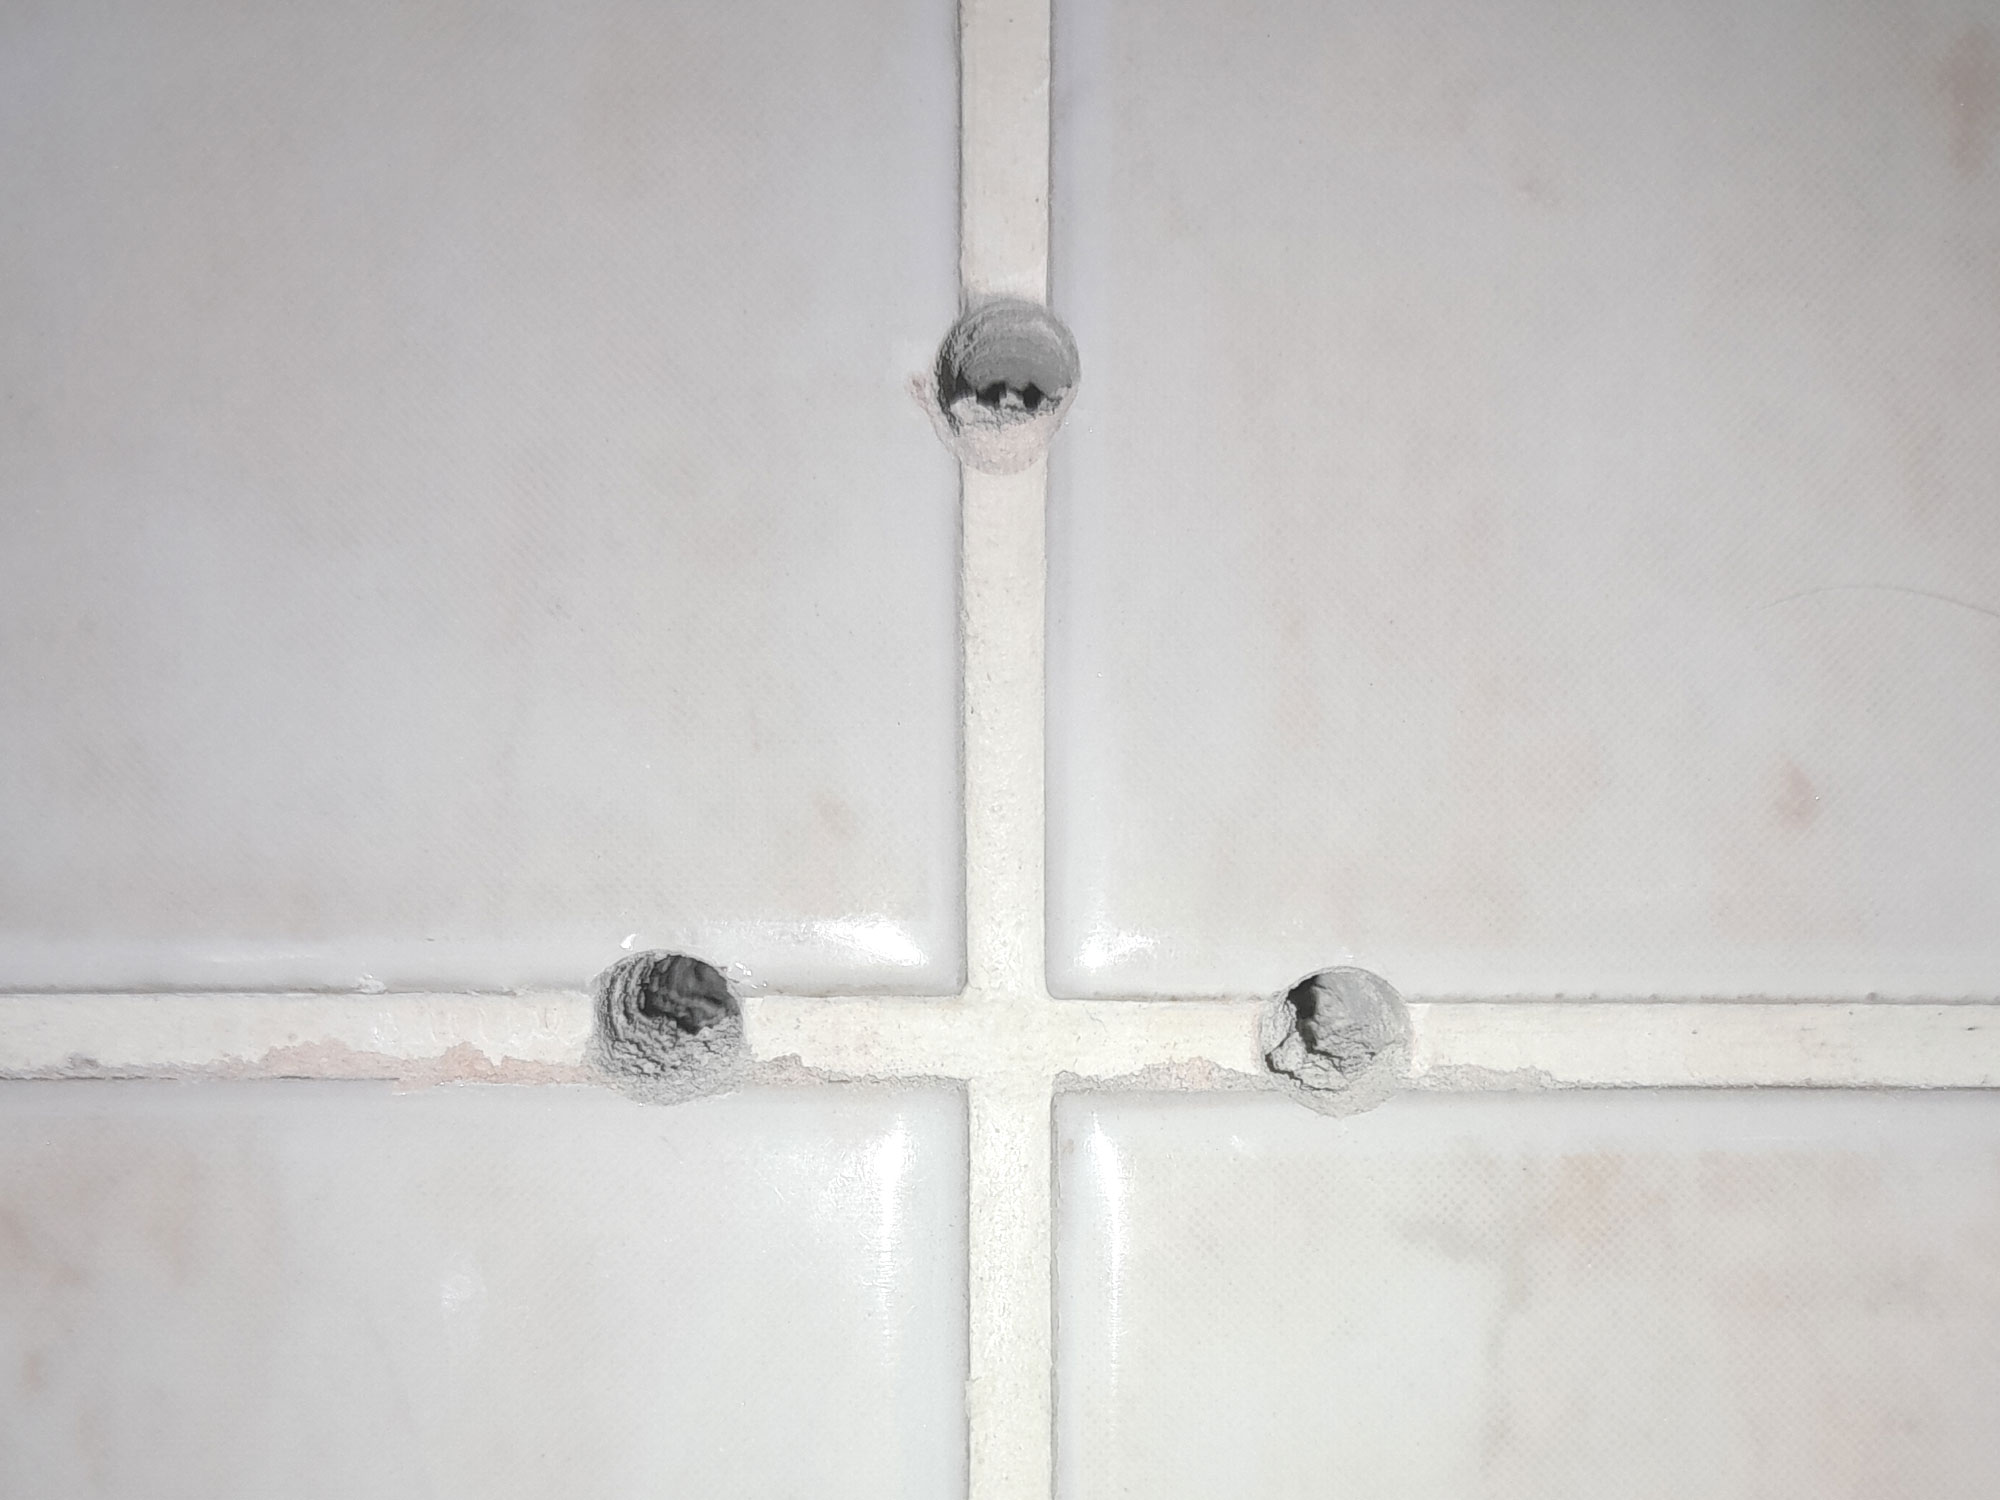
- Then I switched to the full-size 8mmØ bit required to fit the wall plugs, drilled into the starter holes, and only once through the tiles (one can feel a slight “give” when through the tile and on the wall’s surface), did I switch to the hammer action, and completed the holes – as shown here. As you can see, they are full of debris.
- The solution… slide a length of plastic tube fully into each hole in turn, stand to one side (so you are not directly in front of it), and blow. The hole will be cleared. And because you stood to one side, you didn’t get a face full of masonry dust. It’s basically the same principle when you’re on as yacht and feeling queasy … go to the leeward side of the boat, NOT the windward (the direction from which the wind is blowing). Fail to do that and you could get your own back!
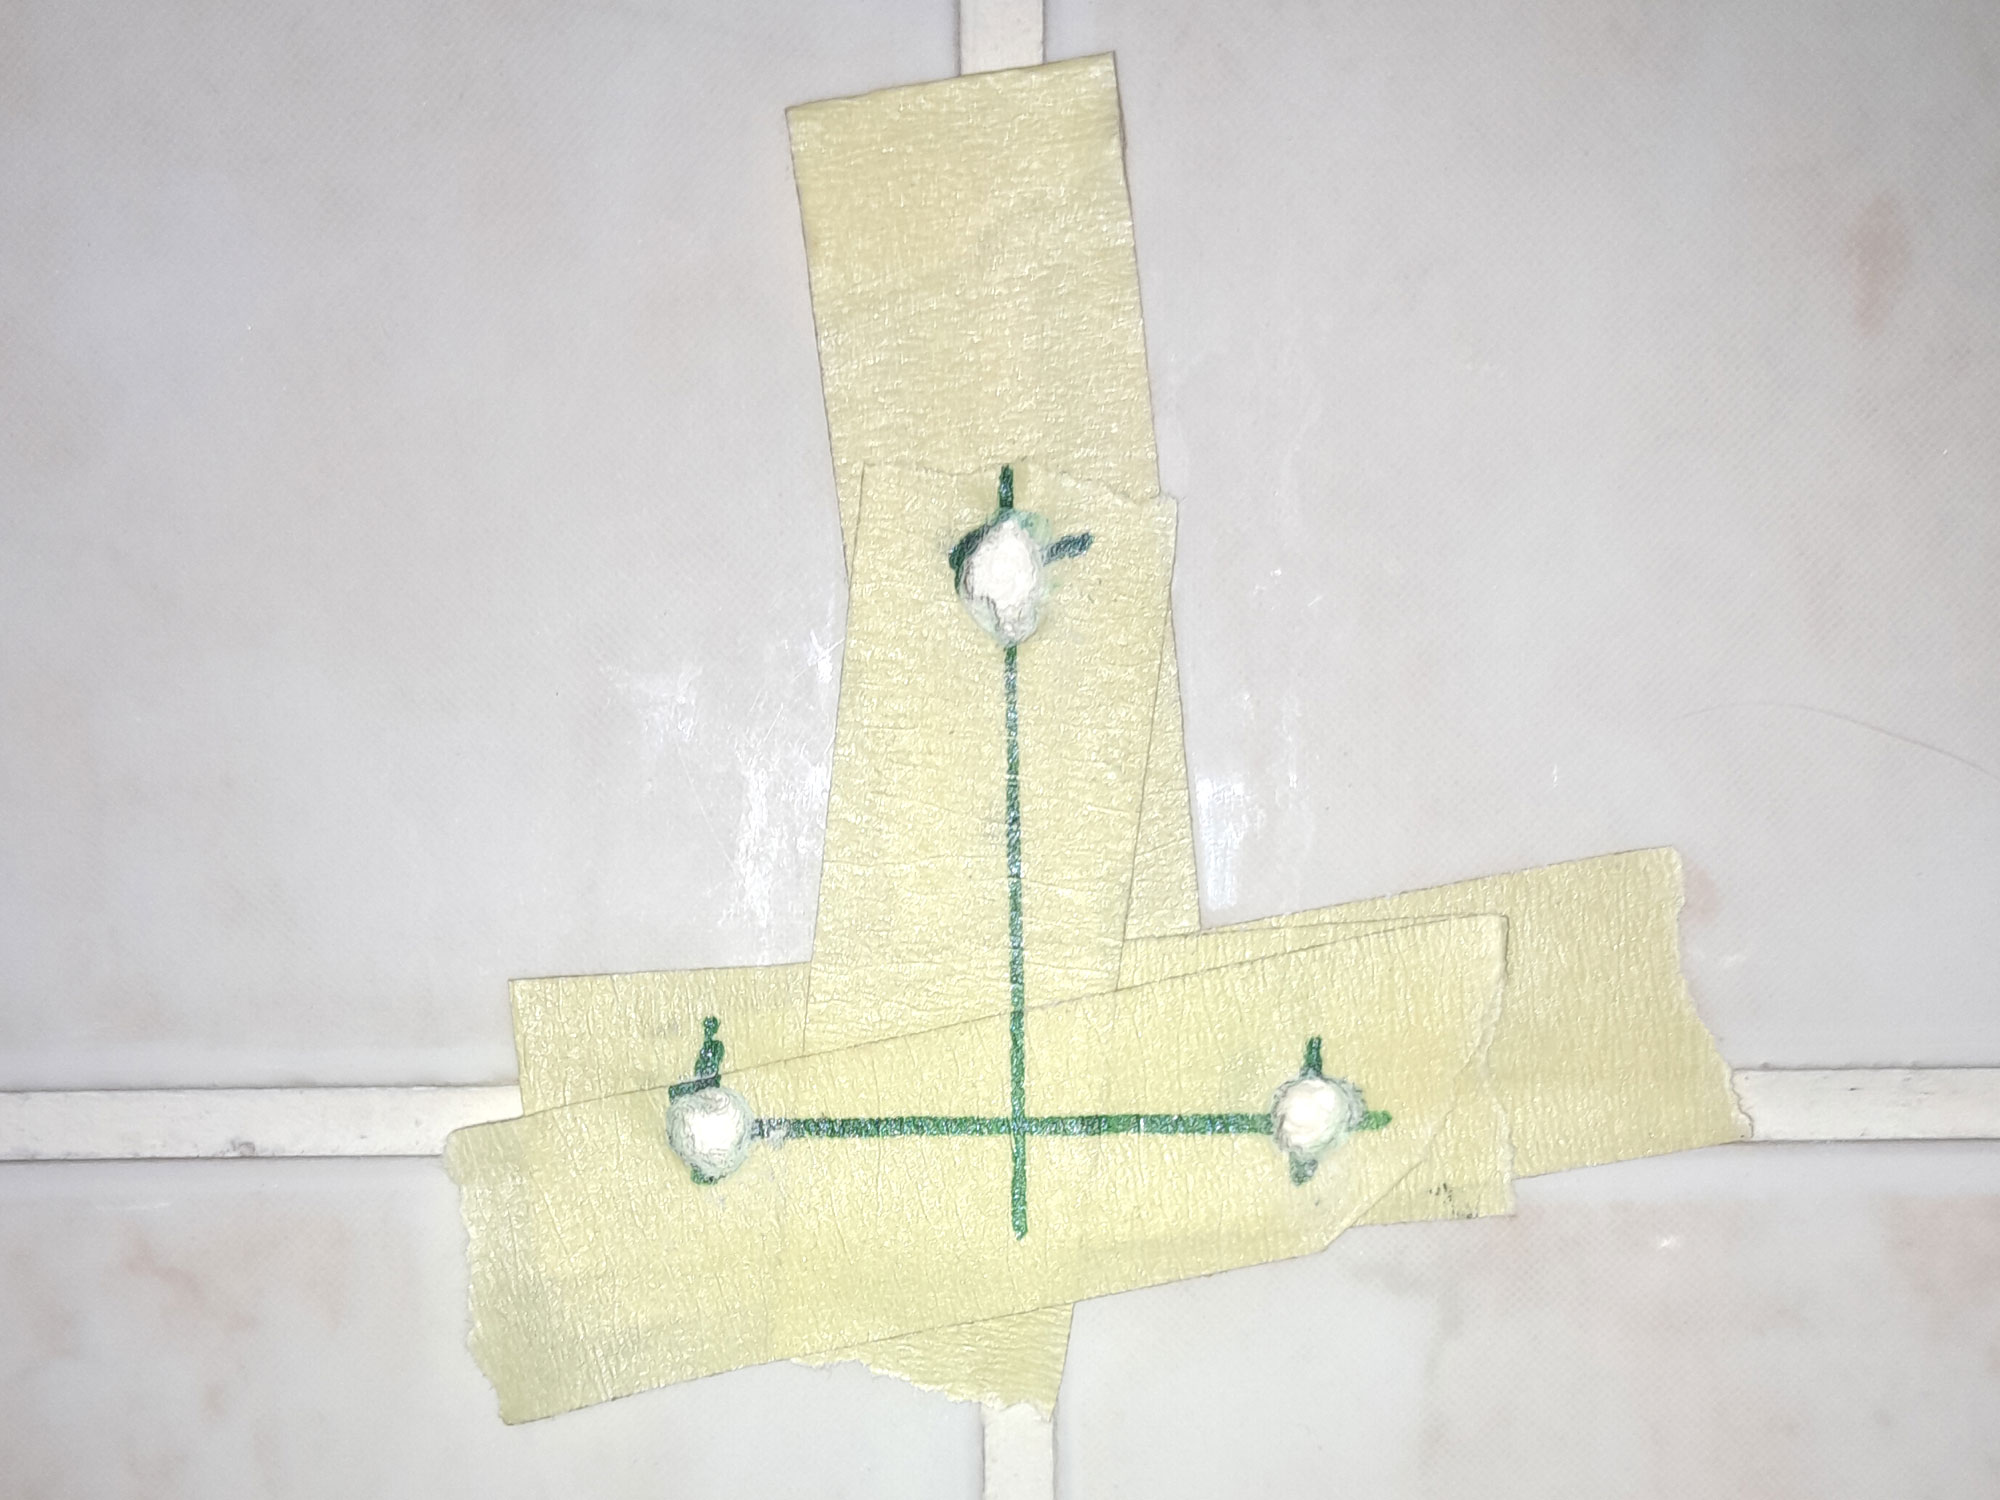
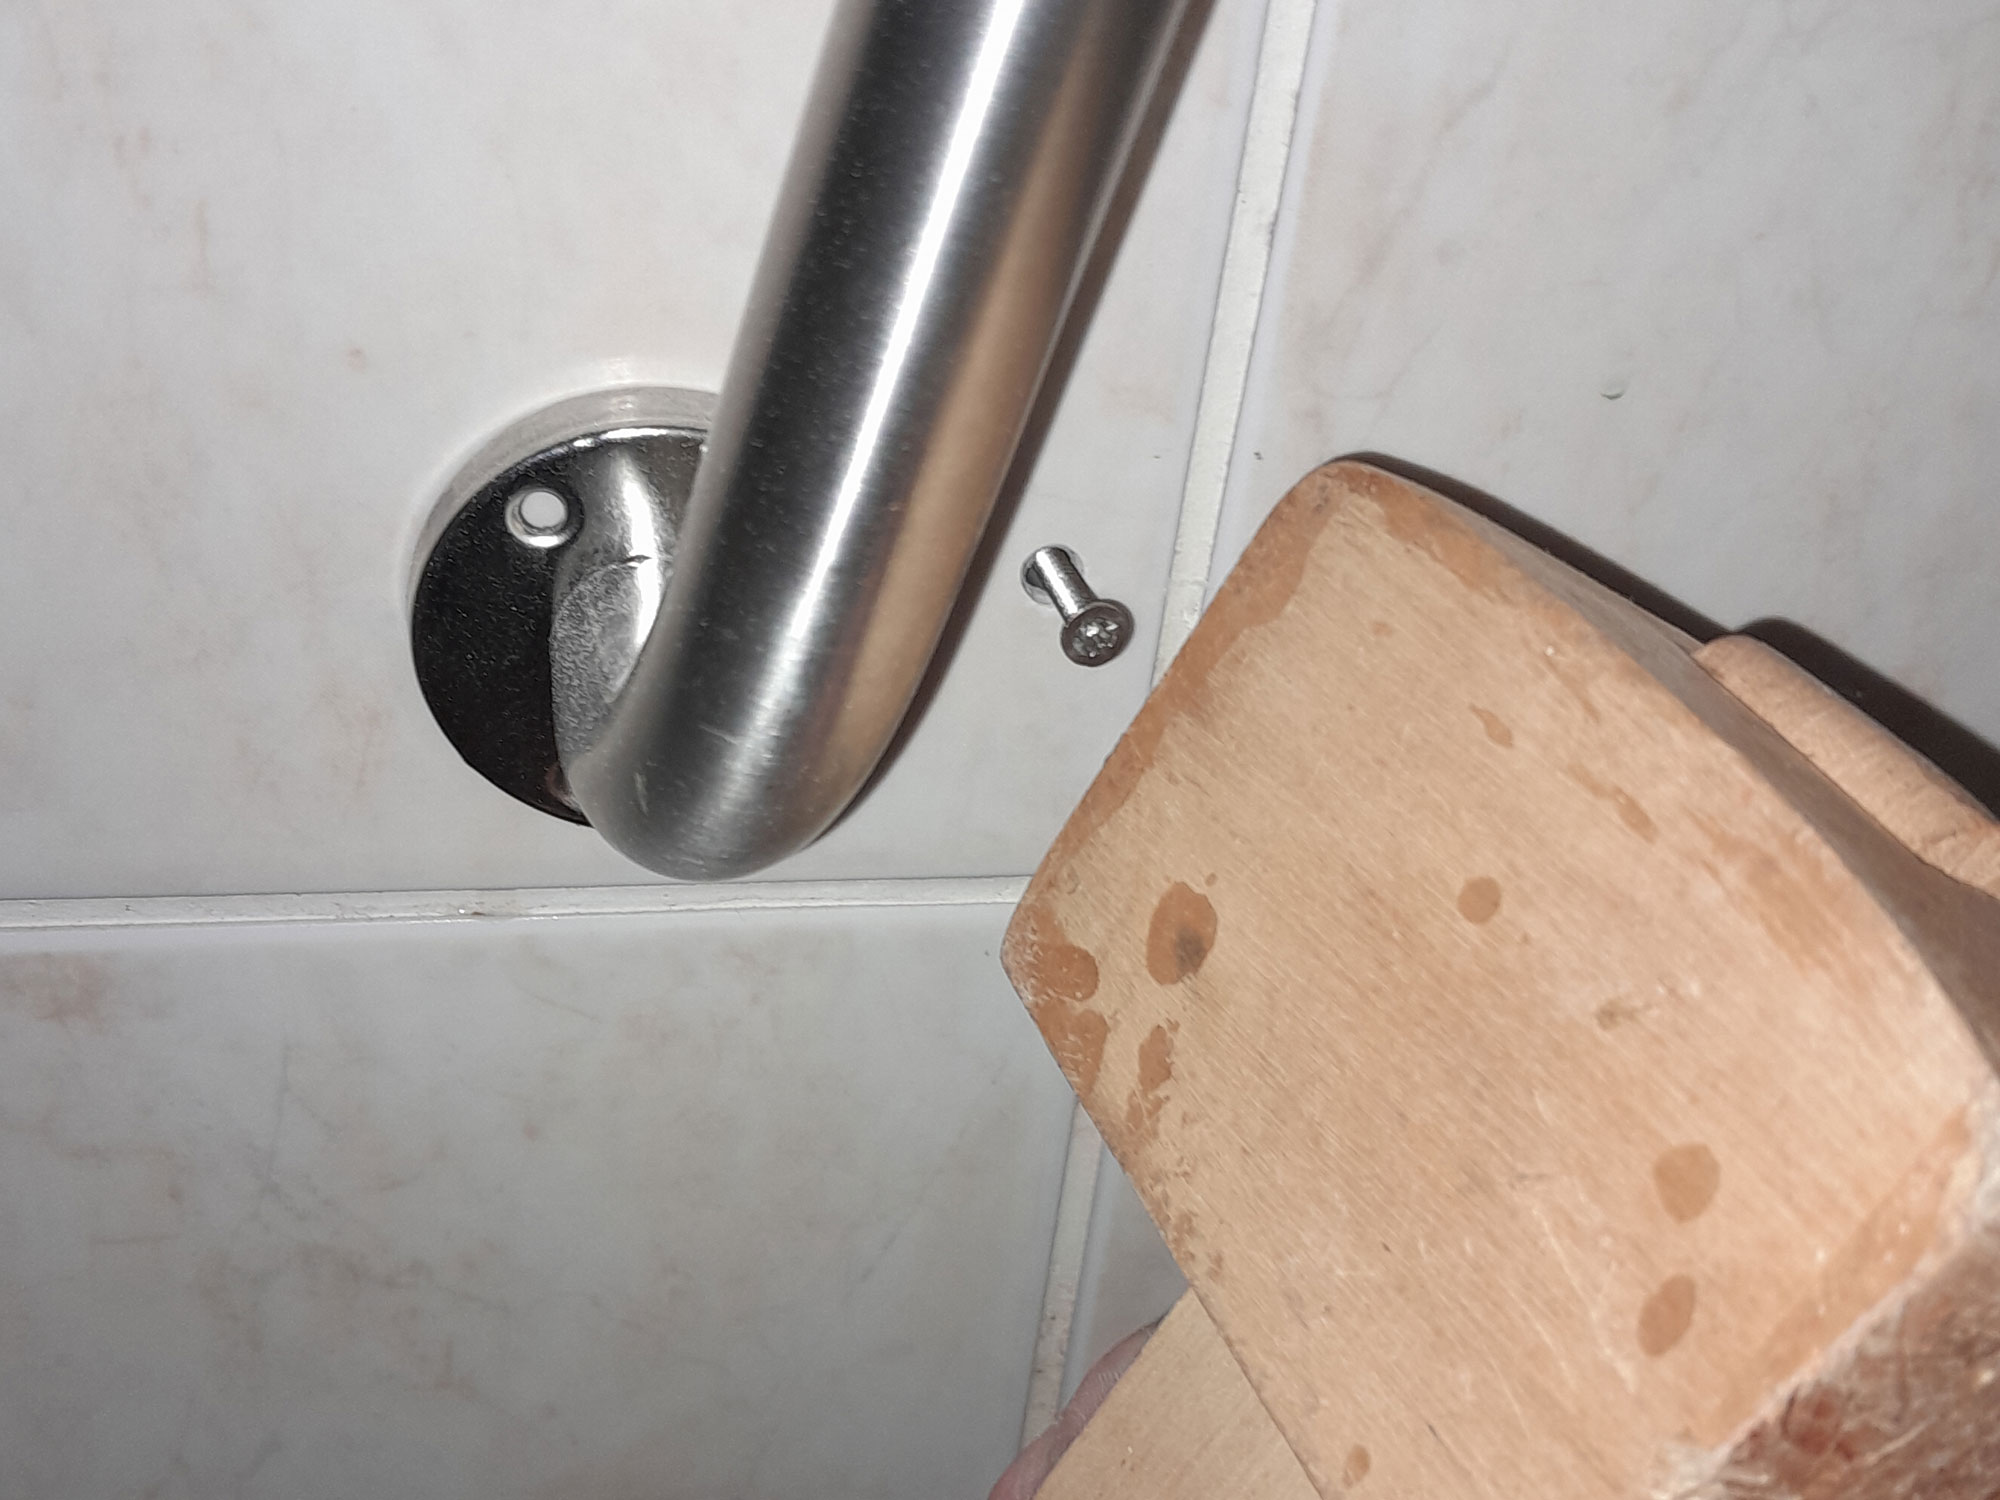
- This shows the lower attachment of the handle, but the point here is… when tapping the wall plugs into their holes, sometimes using the screw as shown here to fully seat it, use a wooden mallet. Don’t use an ordinary hammer… if you miss the plug, or overdo your swing, you will very likely crack a tile or two; the mallet, being wood, is much softer and much less likely to do any damage. HINT: If you do not have a mallet available, then use a short length of dowel, held against the plug or screw head, and tap the other end with your hammer. That should do the job without any damage, because the dowel, being wood, is friendlier to the brittle tile.
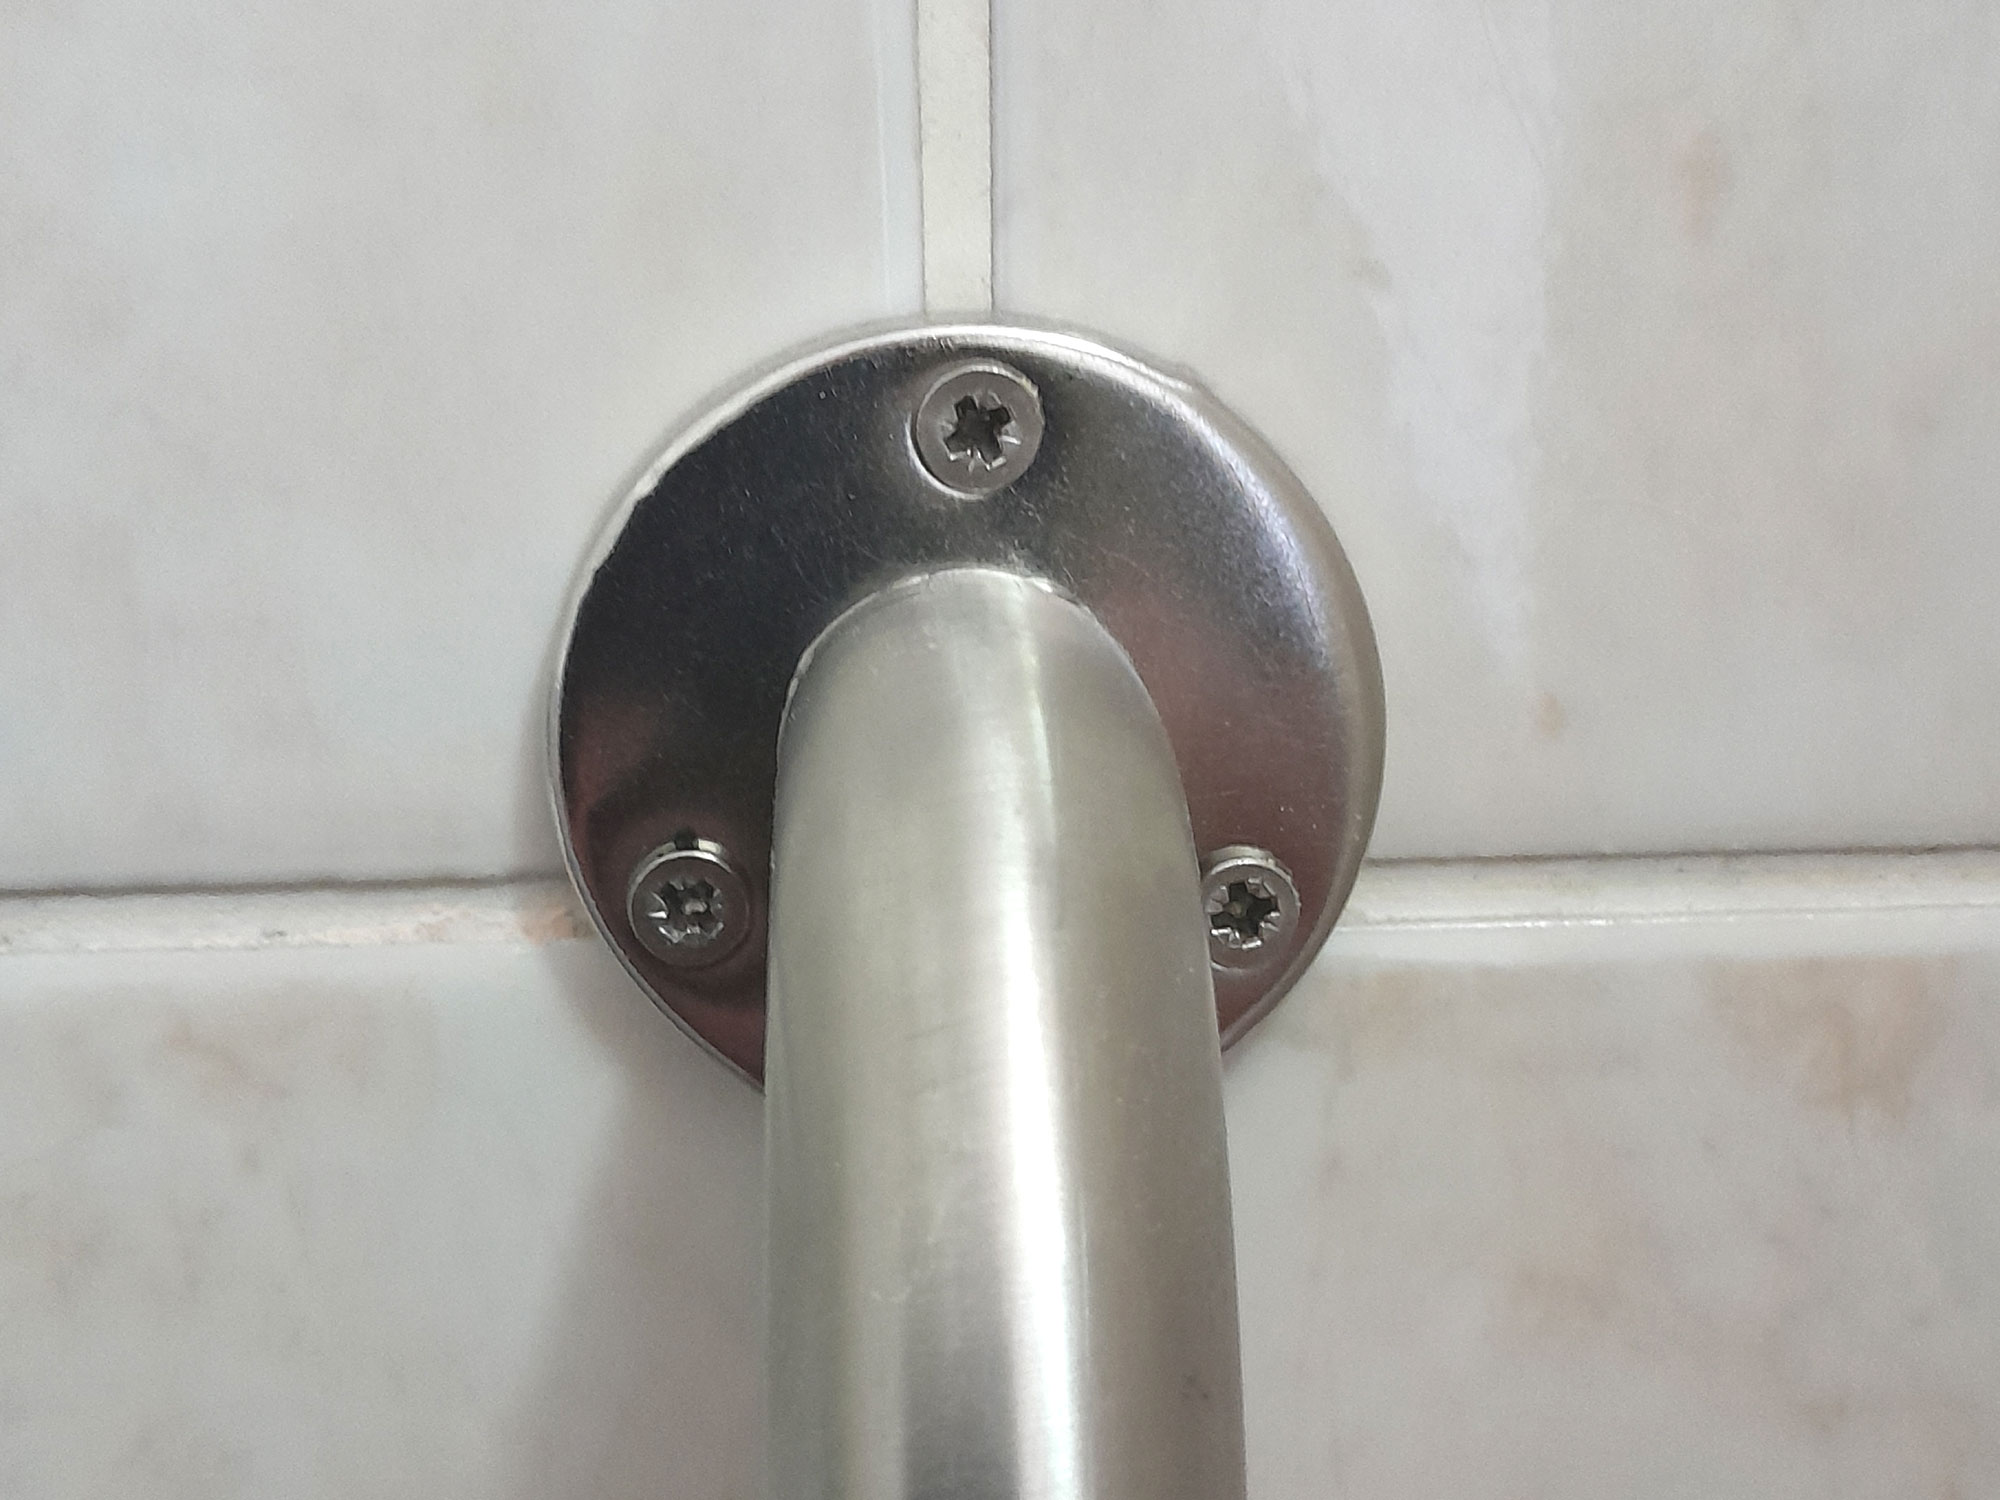
- Back to the top attachment… here the three attachment screws have been driven home, ready to have the cover plate slipped over the base plate.
- Job done! And even if I say so myself, looking neat – and making the shower that much safer to use.
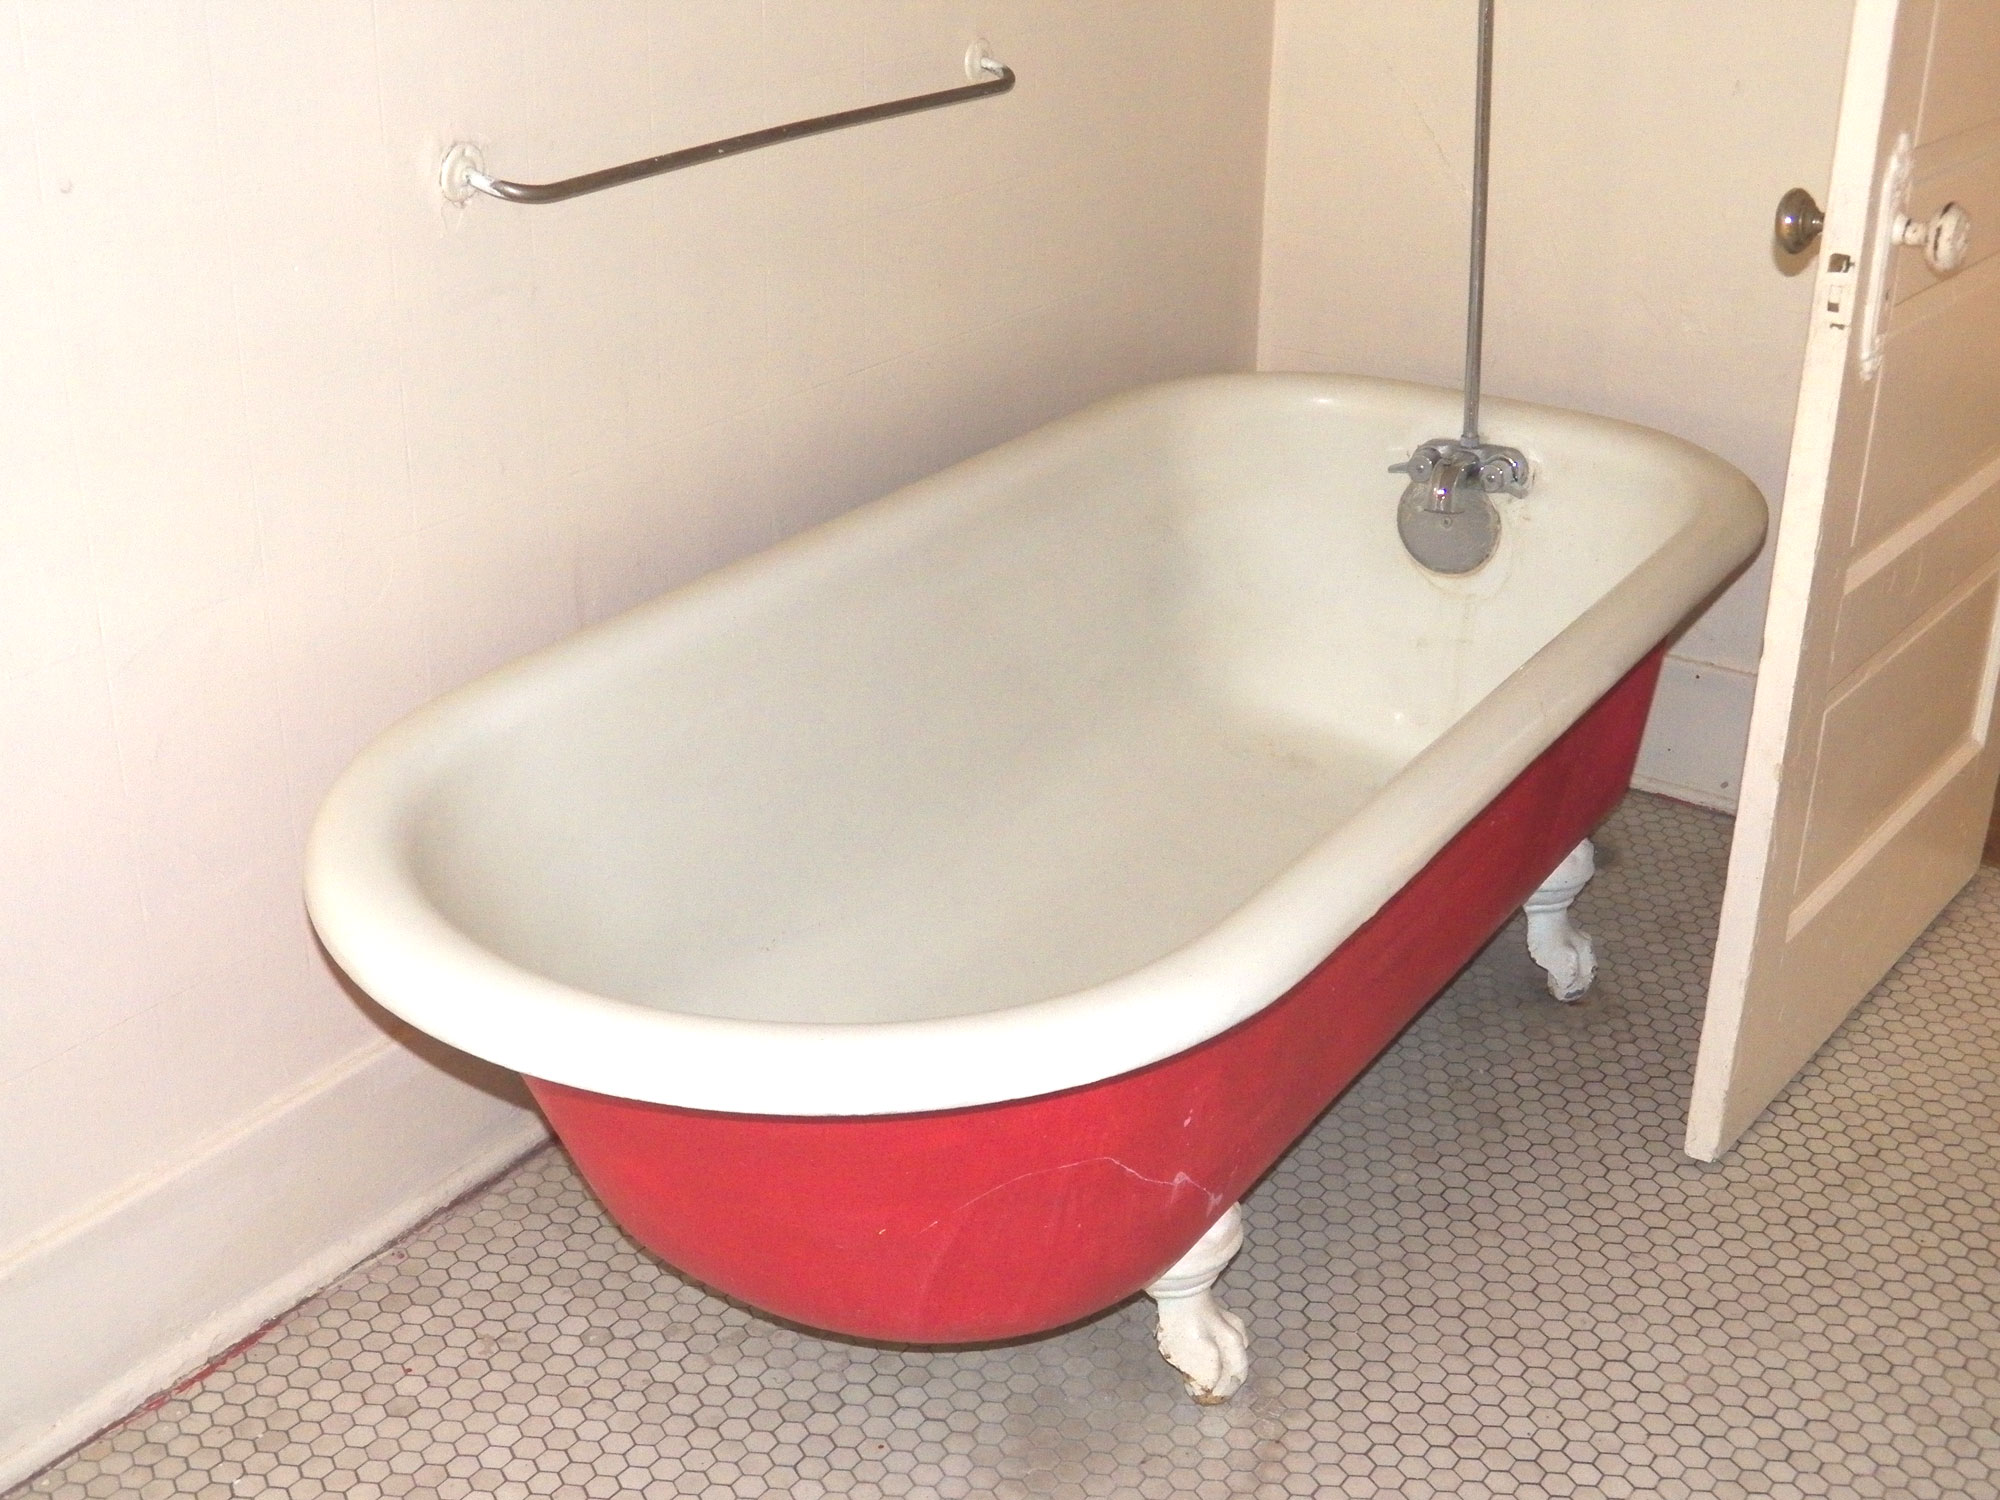
- In passing, here is an example of another safety rail, this time fitted horizontally above a bath. When standing it can be used to steady oneself, and when getting into or out of the bath, a handy handle on which to help the occupant get into or out of it.
Tools:
Hammer drill/driver (mains or cordless), masonry drill bits – one smaller than the other required to seat the rawl plugs, and then the full-size bit itself, wooden mallet
Project guide
- Difficulty: Beginner/Novice
- Estimated time: 1 hour
- Cost: (Depends on the cost of the hand rail and its length but can range from a low of R350 or so, up to R100 for the longest versions, and also whether or not they are stainless steel [recommended for installation in bathrooms and showers])
These materials are available at Selected Mica Stores. To find your closest Mica and whether or not they stock the items required, please go to www.mica.co.za, find your store and call them. If your local Mica does not stock exactly what you need they will be able to order it for you or suggest an alternative product or a reputable source.