09 September 2025

Protecting your wood window frames against wet rot
In this instance, the window frame is on a south-facing wall that seldom gets direct sunlight, and to boot has also been exposed to irrigation water for some time, and the beading had rotted. So the remedy was to replace the rotted beading, while also ensuring that the good frame was properly protected.
Materials:
- Wood treatment product that protects against wet rot and seals wood effectively
- Replacement beading
- Small pack of 30mm panel pins
Method:
- First of all, if possible remove or stop the source of the water (in this case, irrigation) and remove the rotted beading.
- Then brush out the space it occupied, and also remove any protruding panel pins, or where they have rusted away, tap them down flush or below the surface of the frame. It is important to ensure that every speck of loose debris is removed.
- At this stage I cut the replacement beading and did a dry fit.
- Ensure the replacement fits properly, and then remove it and apply at least 2-3 coats of sealer, taking care to ensure the ends are fully sealed. This will take a couple of days as you must leave the various coats to dry properly.
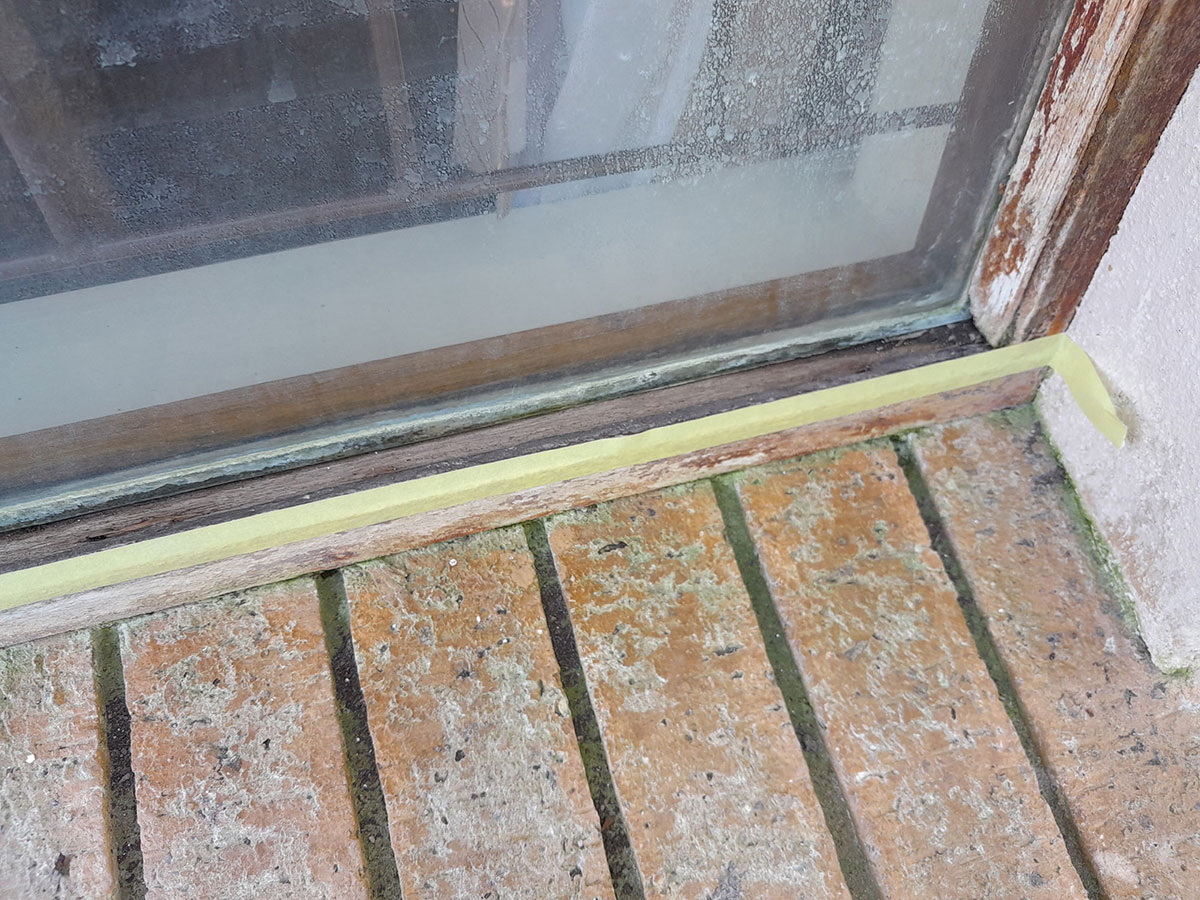
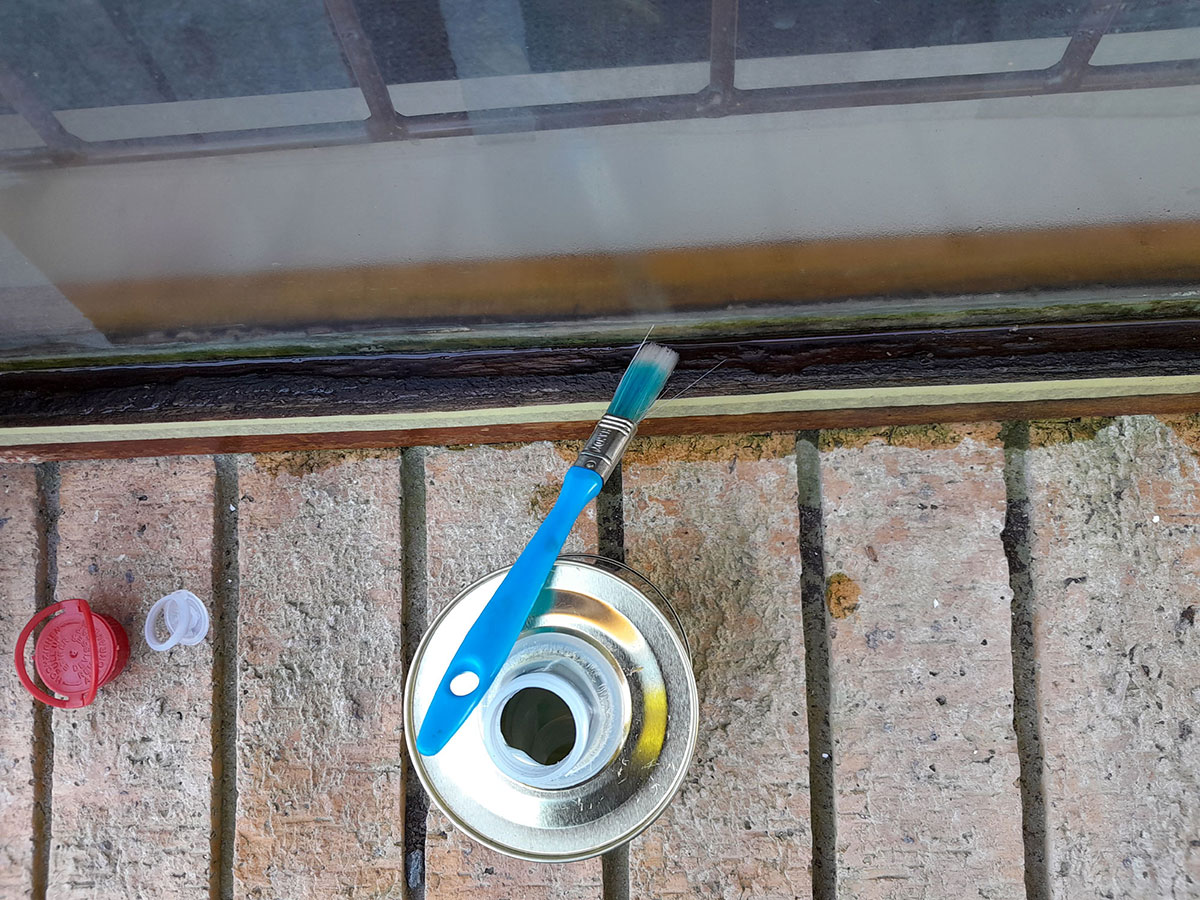
- While that is going on, apply masking tape to the edge of the frame to keep any product from dripping on to the window sill.

- Then apply a number of coats of the product to the frame, allowing each adequate time to dry properly. You can use a brush, or…
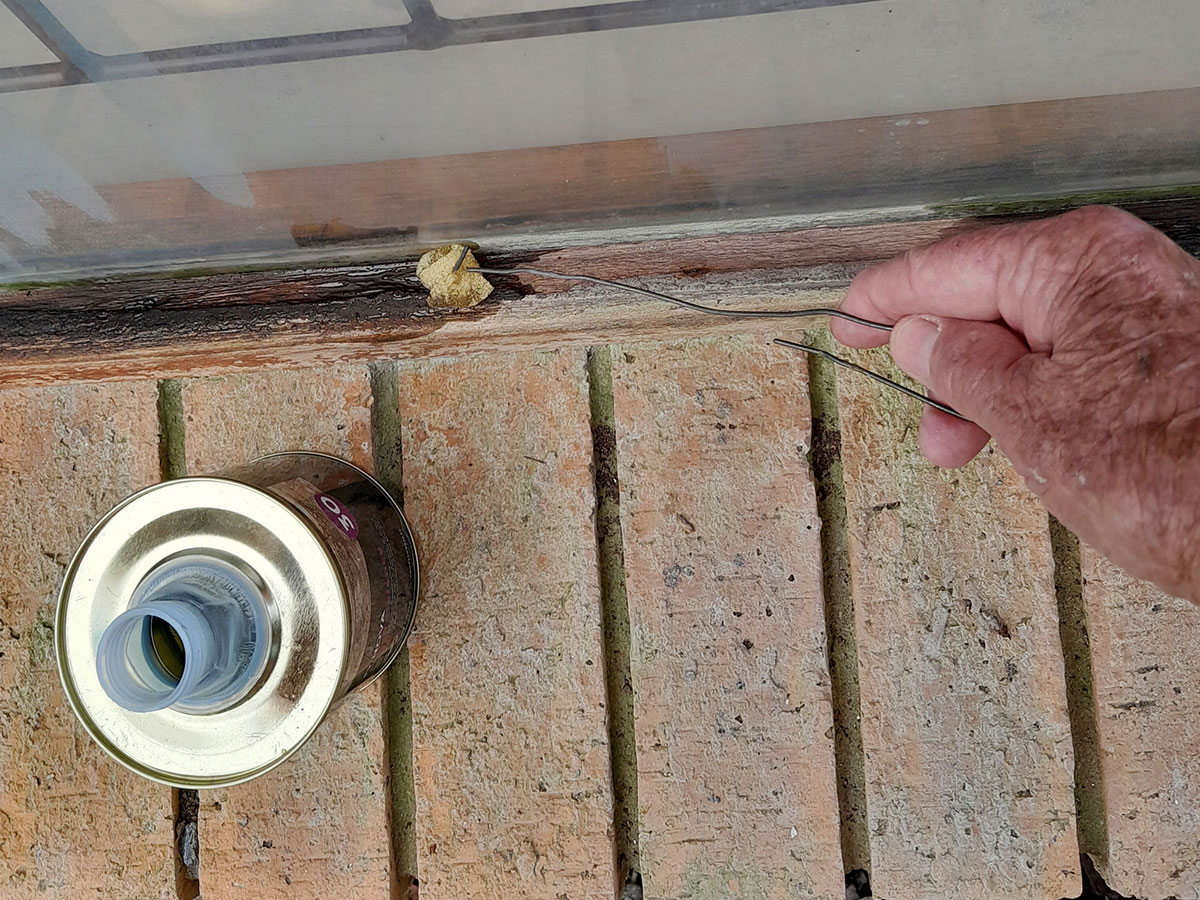
- As I did here, I used a tablet sponge secured on a length of wire, to apply the finish. It just cuts down on cleaning afterwards. And in any event you are not aiming for a Chippendale finish, right?
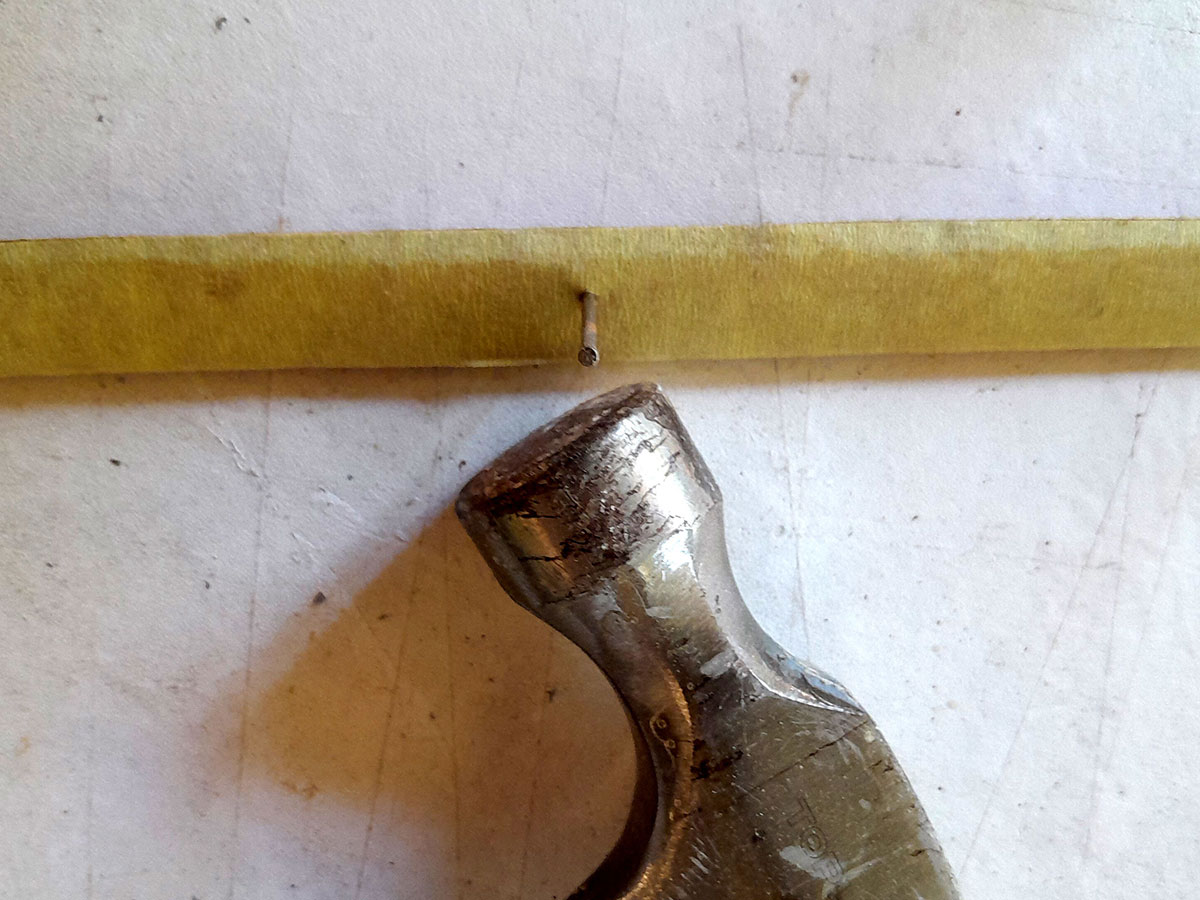
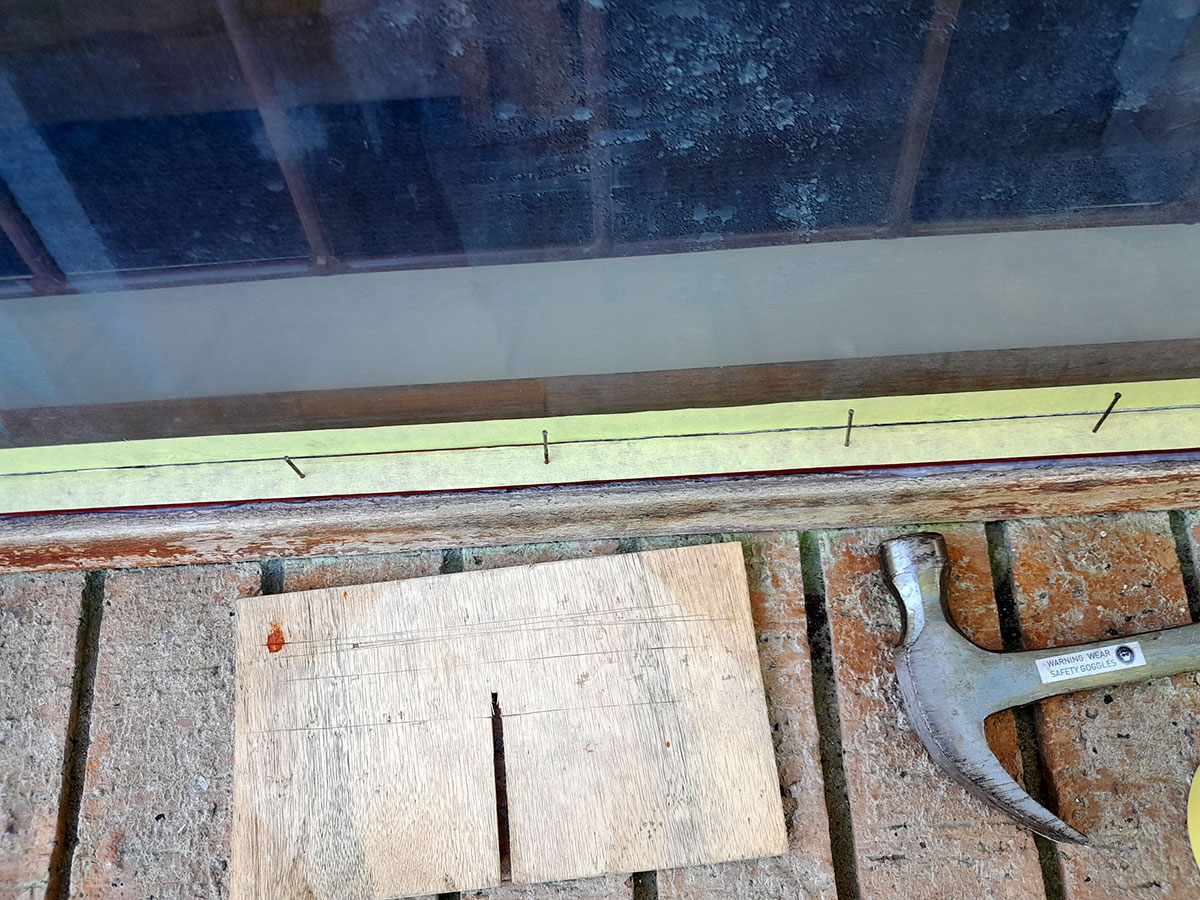
- Meanwhile, I drove a number of evenly spaced panel pins into the prepared replacement beading, just far enough that only their tips were penetrating the lower edge. It is much easier to do it this way than driving in the panel pins while holding the beading in place. That way tends to make you swear!
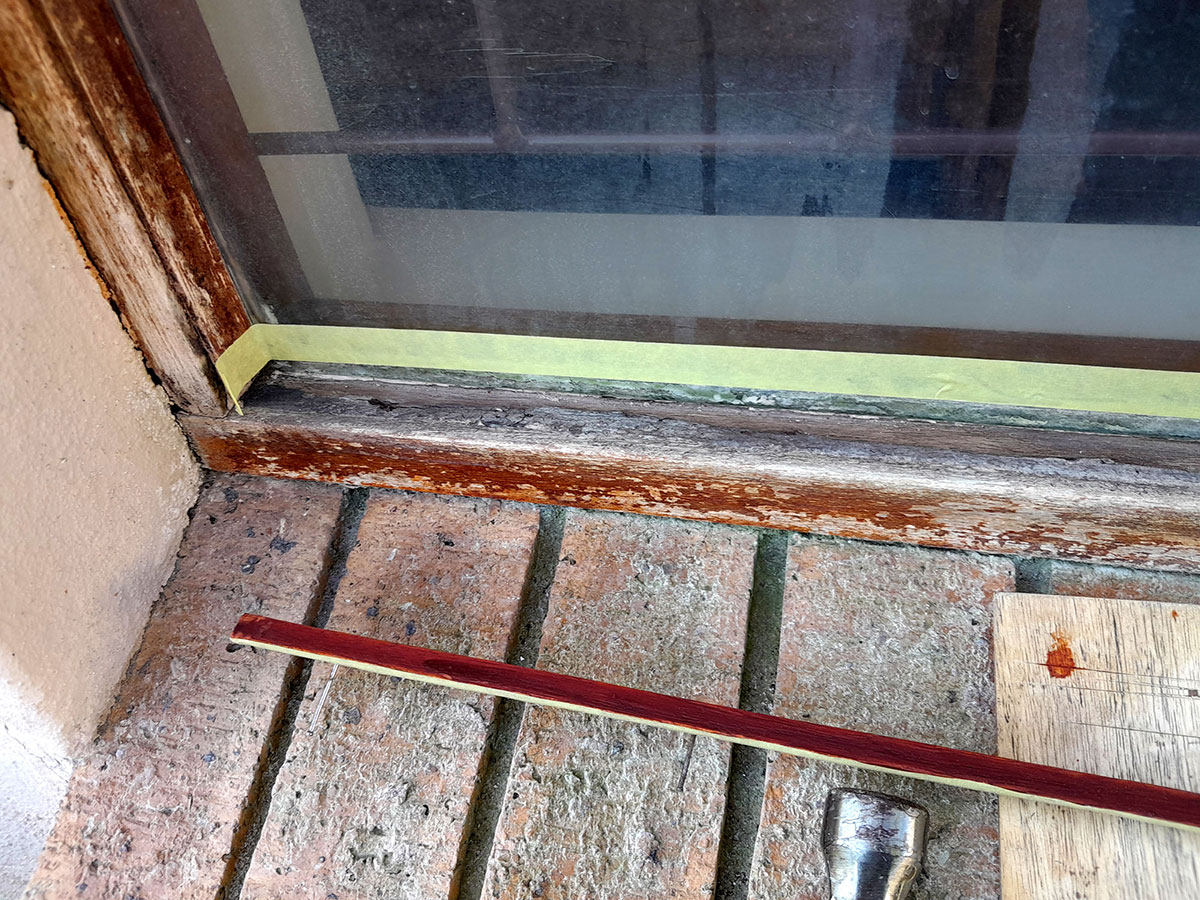
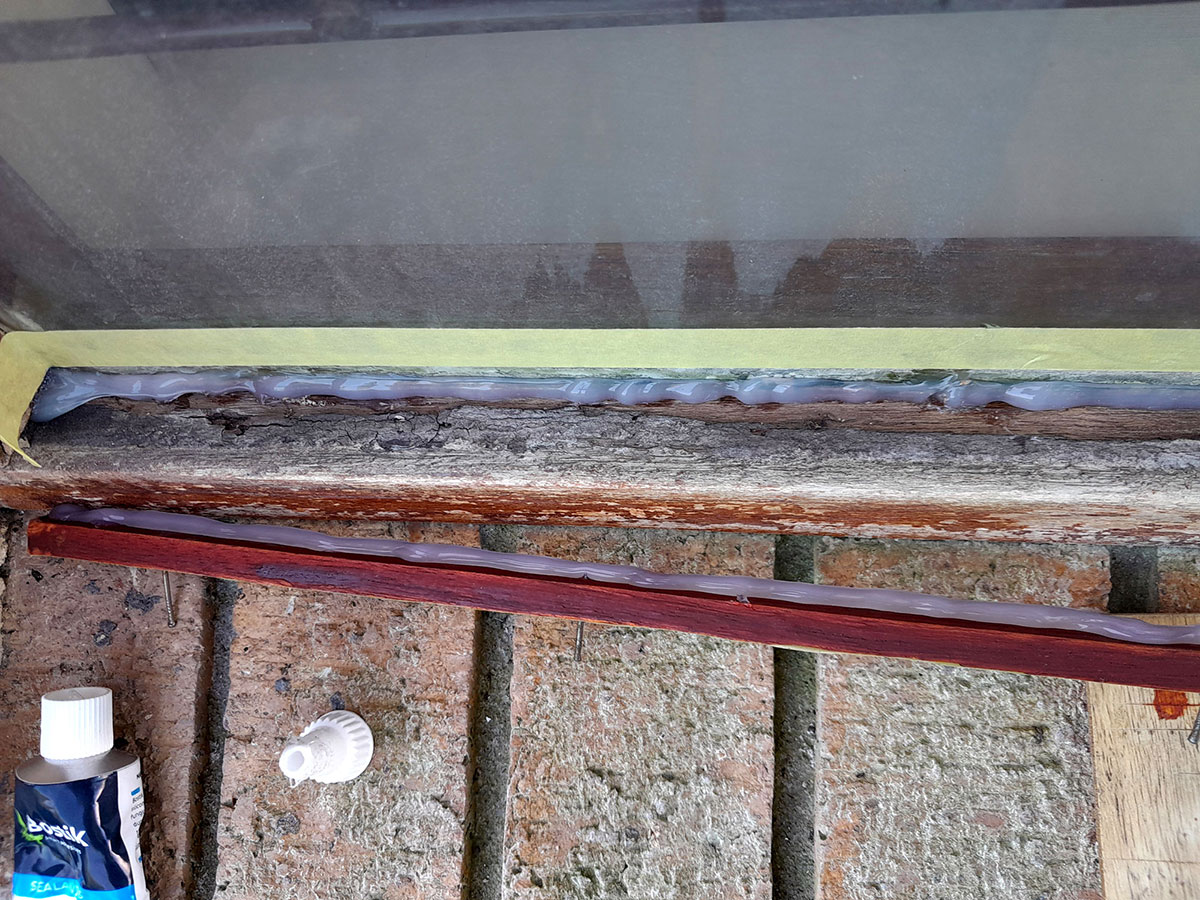
- I laid masking tape along the window pane, as shown, about 8mm up from the bottom edge, plus a second strip along the window frame, on the line at which the beading meets the frame. You will see why, very shortly.
- Then I applied a generous bead of clear silicon sealer along the surface, and pane, and also to the lower surface of the replacement beading.
- Then I pressed it into place, and…
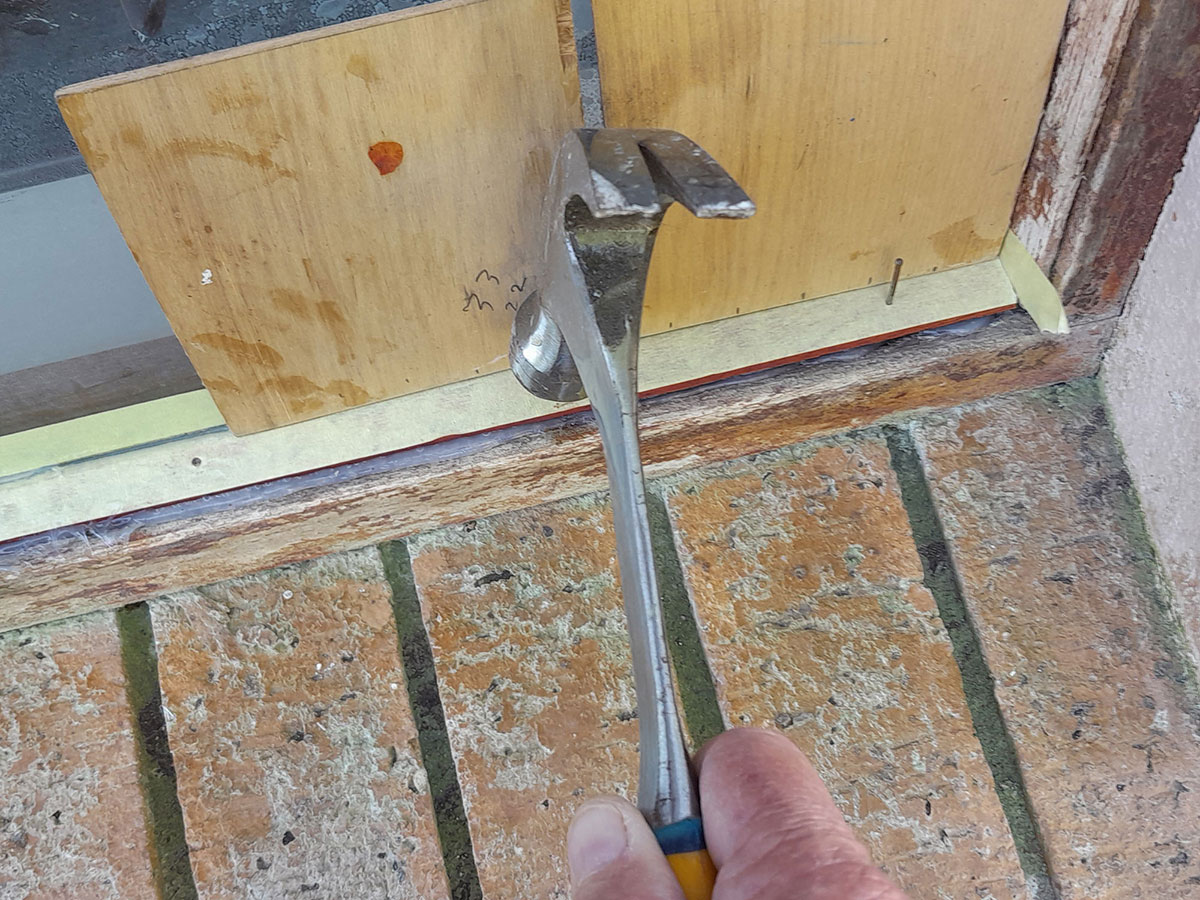
- Using a piece of scrap 3mm plywood as a glass protector so I would not crack the window pane, I tapped the panel pins home, securing the replacement beading securely in place. And as the panel pins had already been seated, all I had to was press the beading down firmly in place and the hold the plywood protection panel against the pane as I tapped in the panel pins. Easy!
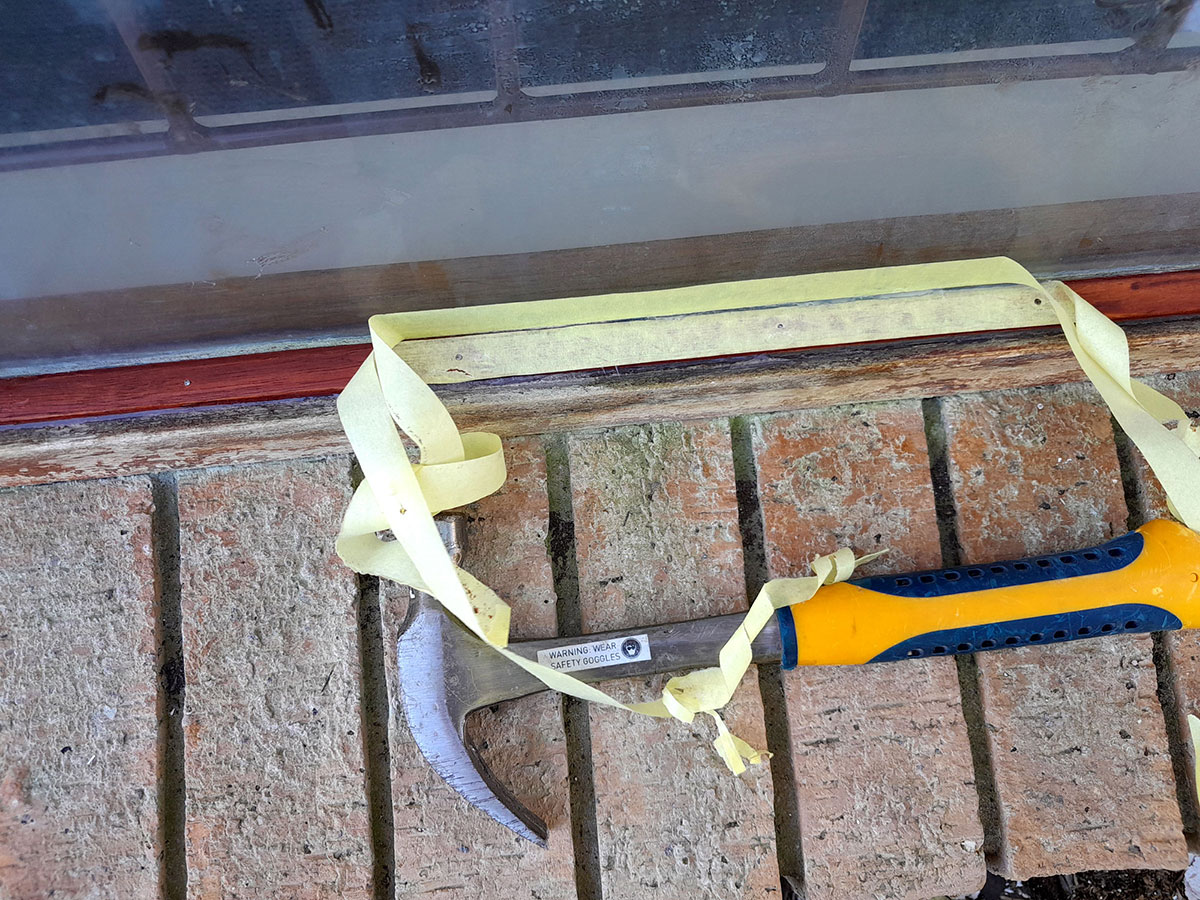
- Finally, I removed the masking tape, in so doing removed any excess silicon that had oozed out, thus making for a very neat result.
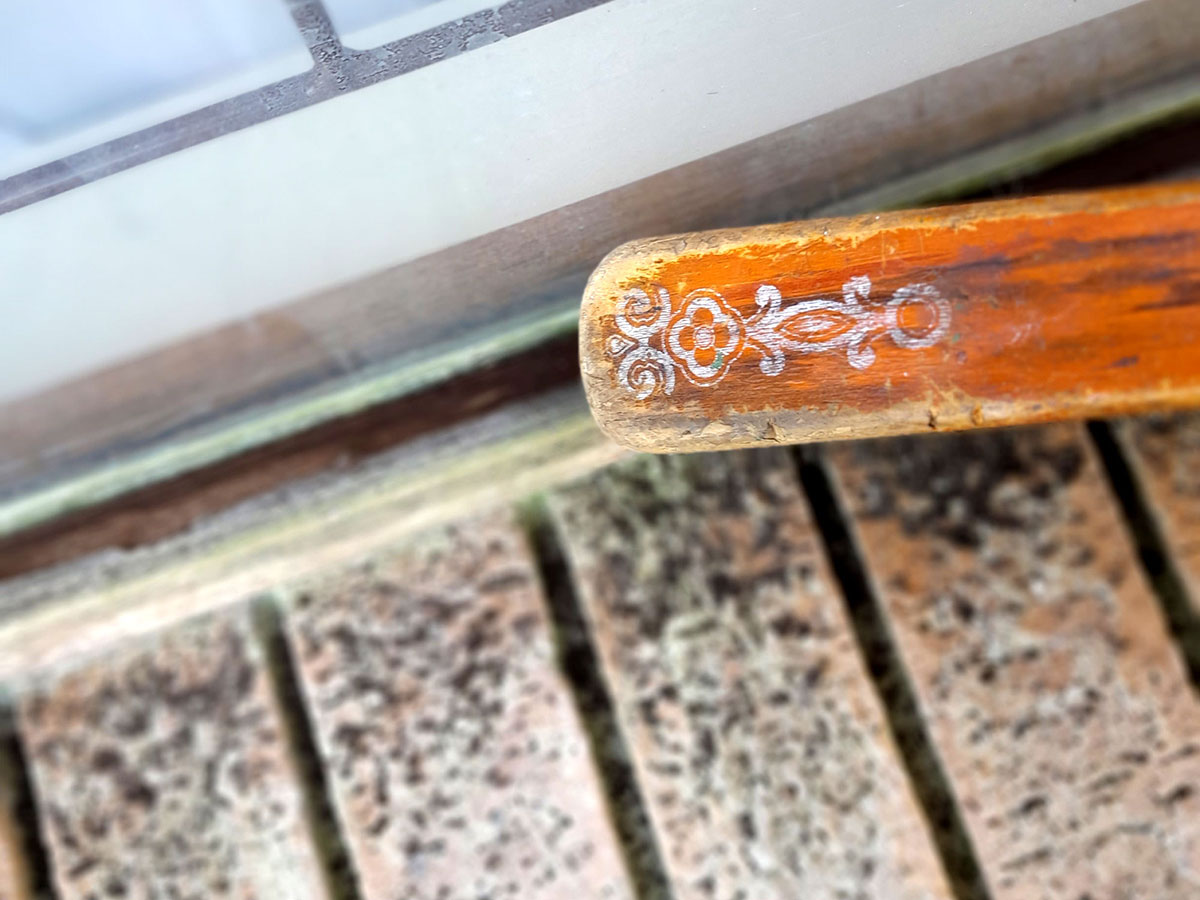
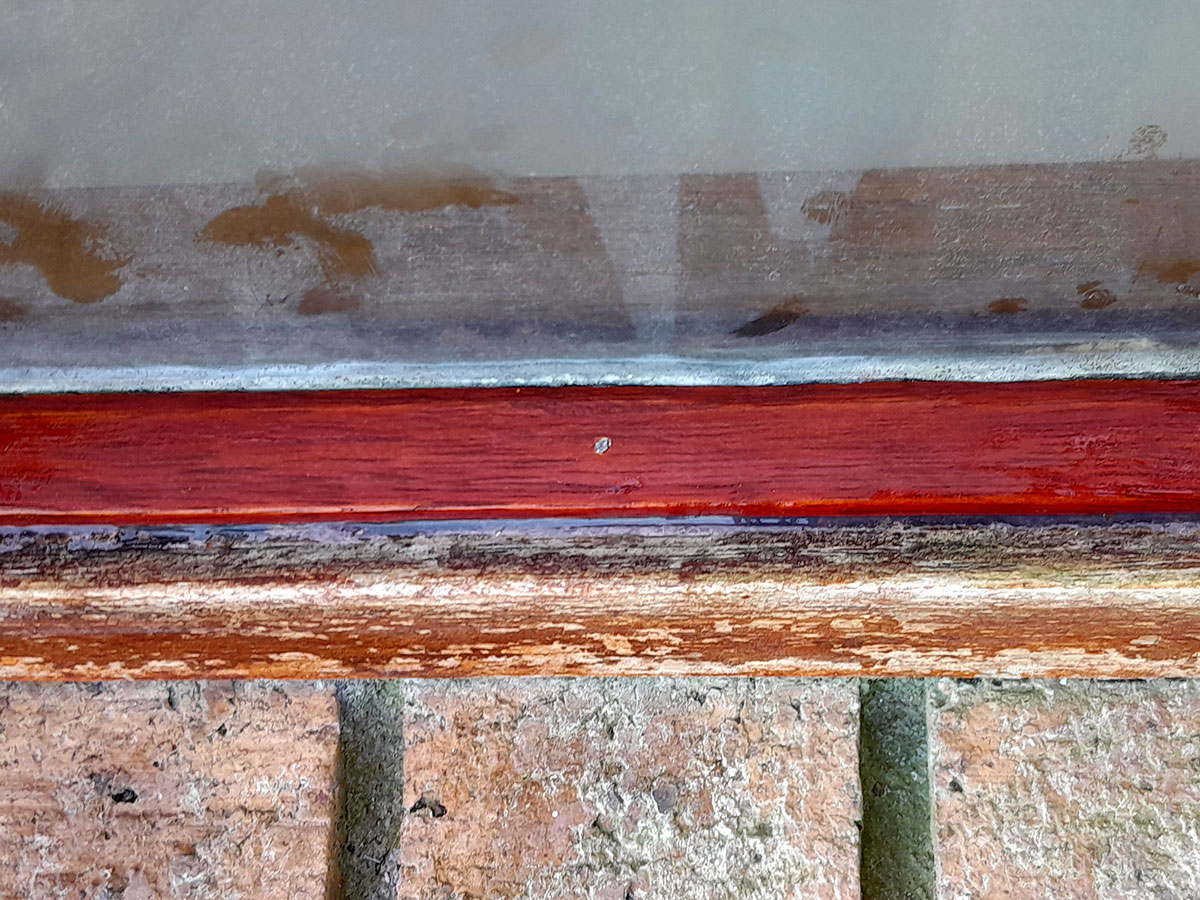
- And here it is – well, part of it, anyway.
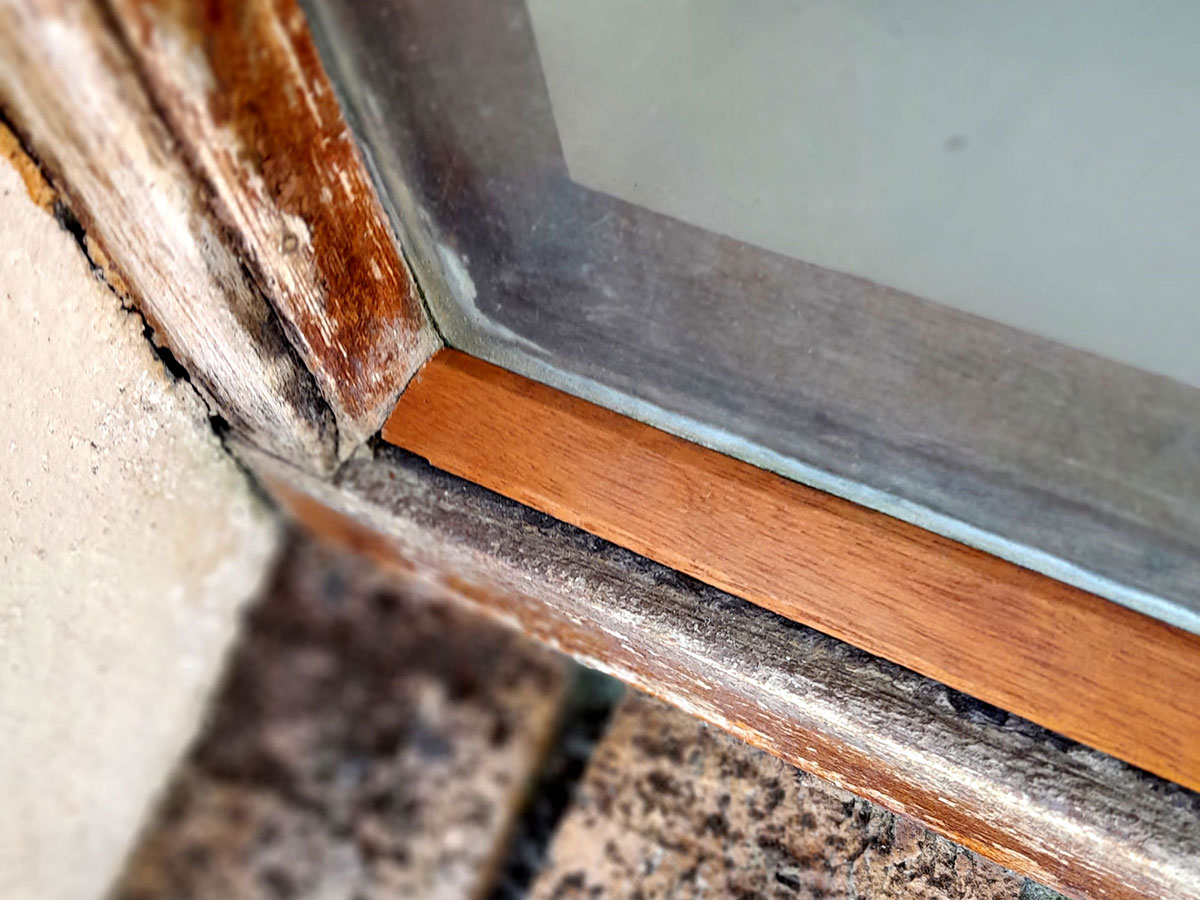
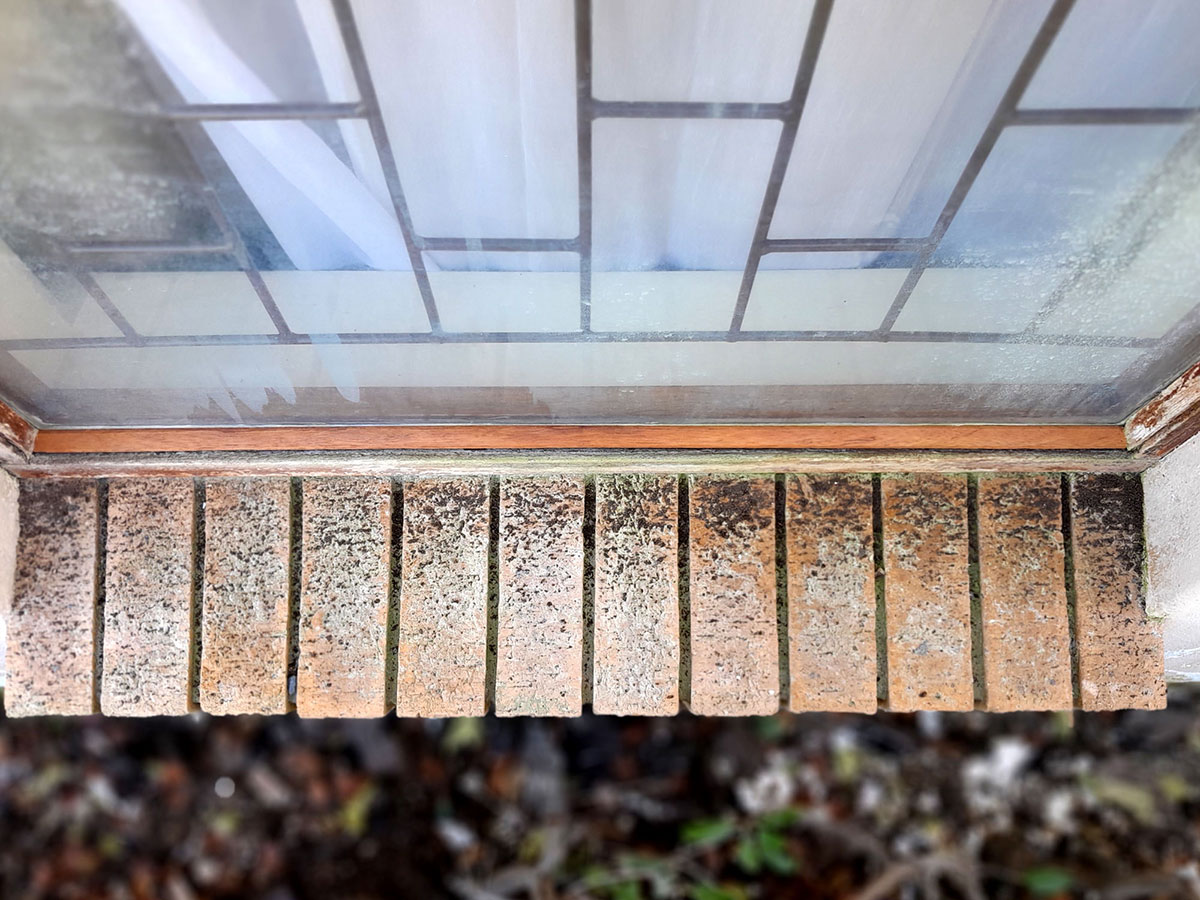
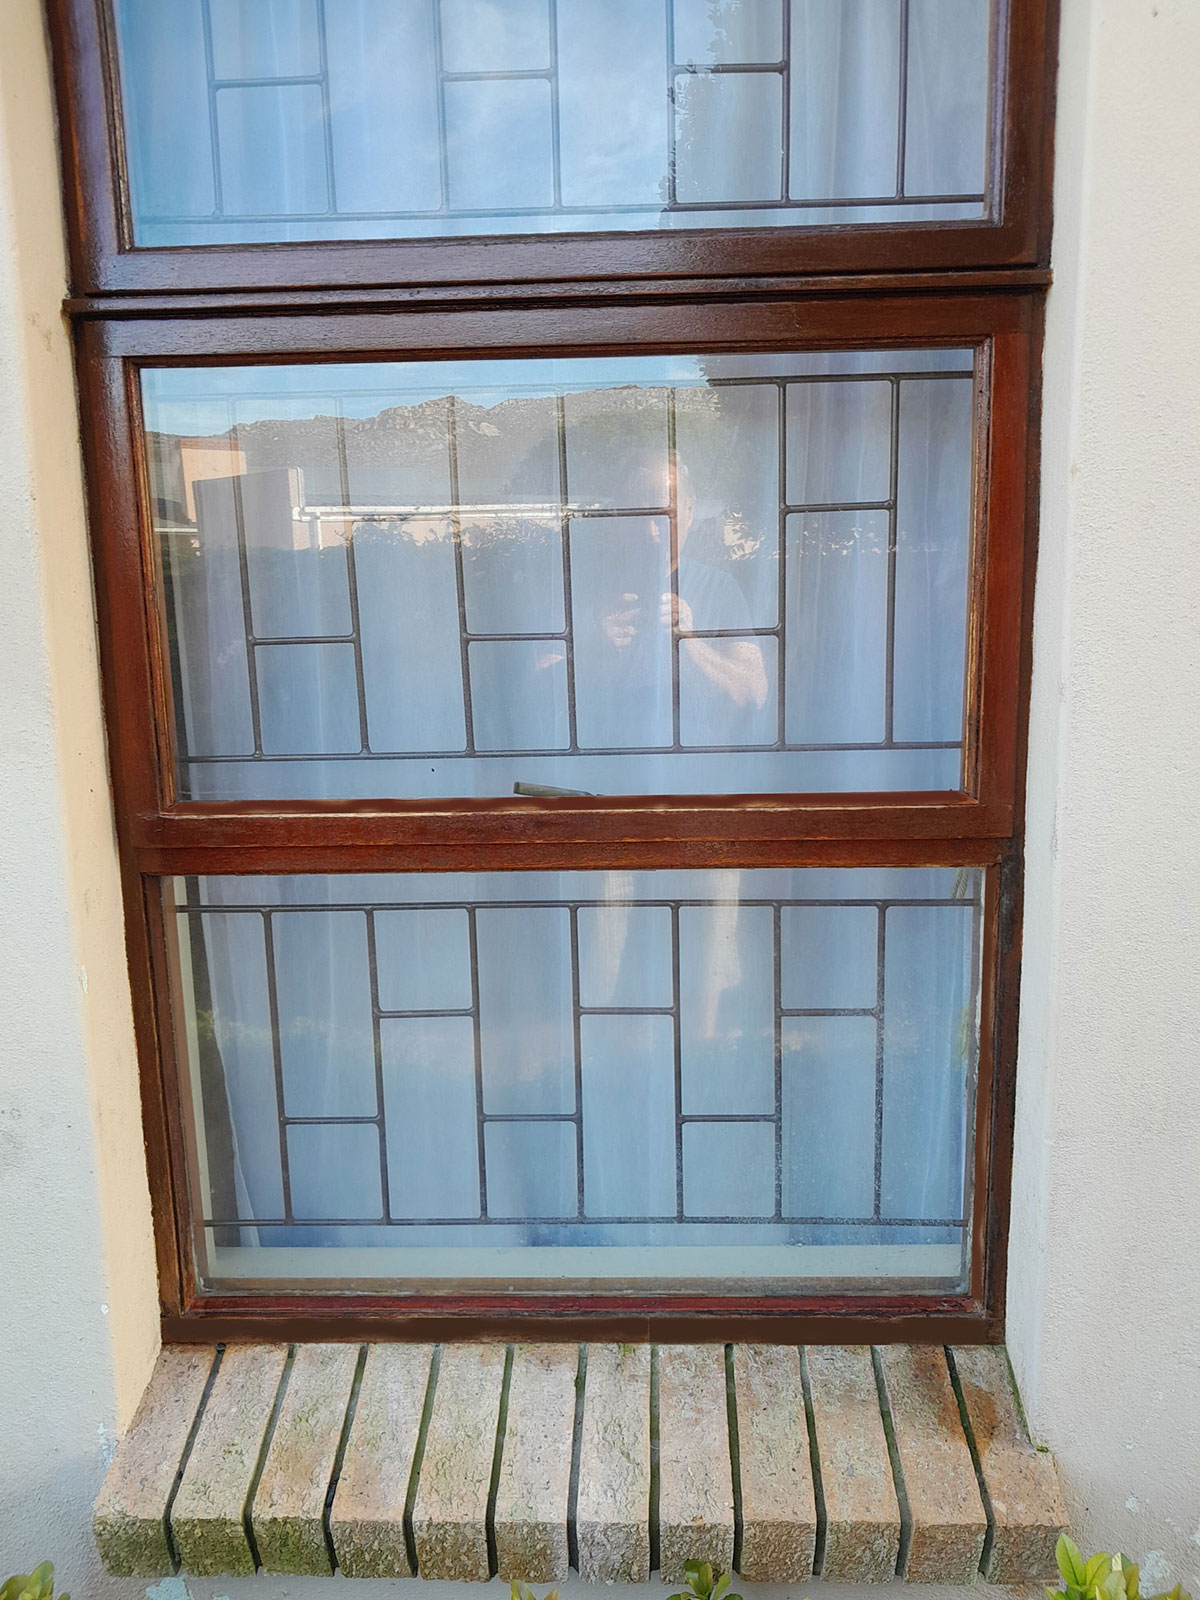
- Here’s a view of the complete repair.
- And here is the final, completed job… the new beading and frame are completely sealed off from ANY moisture, and a couple of coats of the final finish, a mahogany gloss varnish, not only completes the job, but also protects the new panel pins from corrosion as well.

Panel:
These materials are available at Selected Mica Stores. To find your closest Mica and whether or not they stock the items required, please go to www.mica.co.za, find your store and call them. If your local Mica does not stock exactly what you need they will be able to order it for you or suggest an alternative product or a reputable source.
Project guide
- TIME: little more than an hour, but spread over a couple of days for repeat applications of the product
- COST: +-R150, depending on the treatment you use and the cost of any replacement beading
- Skill: 2
- Assistant: No
Tools required:
Panel saw to cut the beading, mitre box, and hammer