09 April 2020

Make yourself this handy charging station
Many cordless tools are supplied in cases, but some are packaged in boxes, which over time will deteriorate and finally you will have to discard them. So why not make a charging station that keeps everything close at hand, keeps the tools safe, and can be free standing – as is this example – or mounted on the wall, out of the way.
Materials:
- SA pine – 222x22mm – one 3m length
- 40mm decking or chipboard screws – we used 24, but depending on the size of the unit you make, you might need more, or fewer.
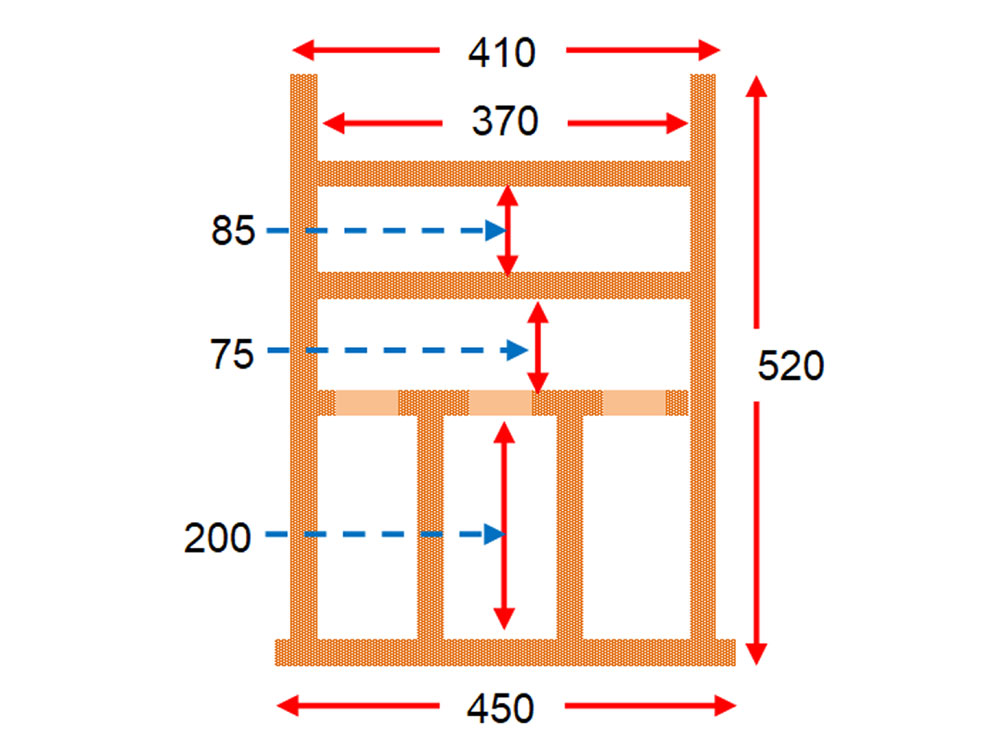
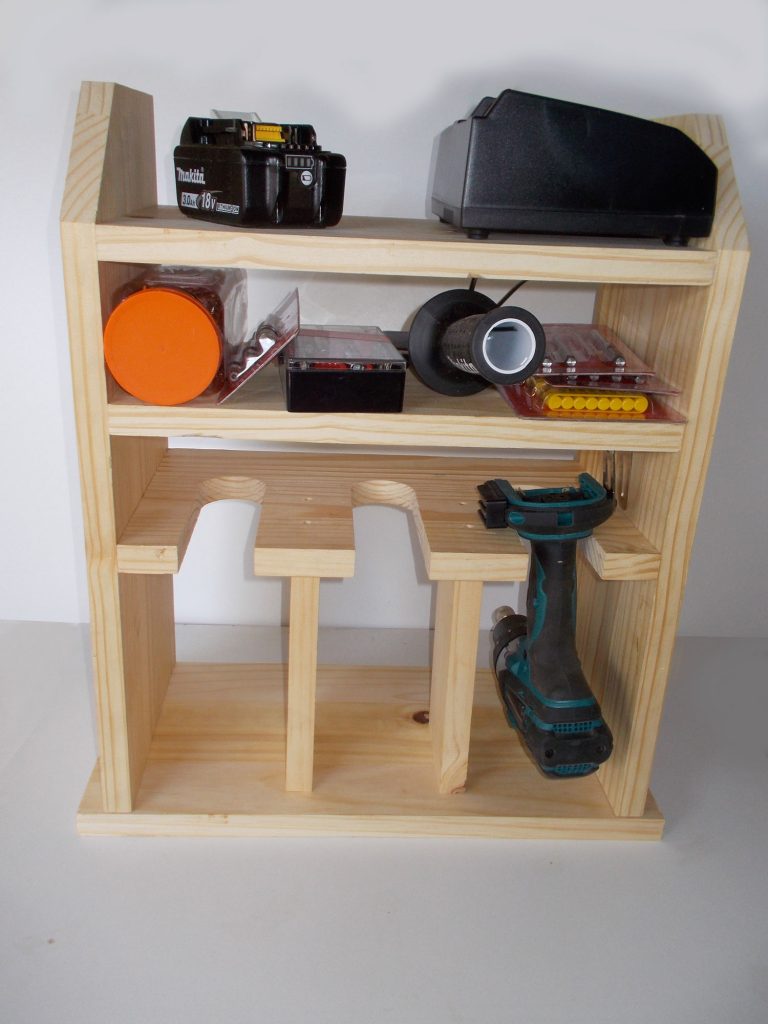
Note: The materials you need will be determined by the size and dimensions of the station you make, so adjust accordingly. For the record, this unit is 520mm high, including the base, and width of the storage section is 410mm, with shelf lengths of 370mm. depth of the unit is 222mm. The base is 450mm wide. (Refer to the illustration.)
We did not include a backing panel as the unit is intended to stand against a wall, and is laterally rigid without a backing panel.
Method:
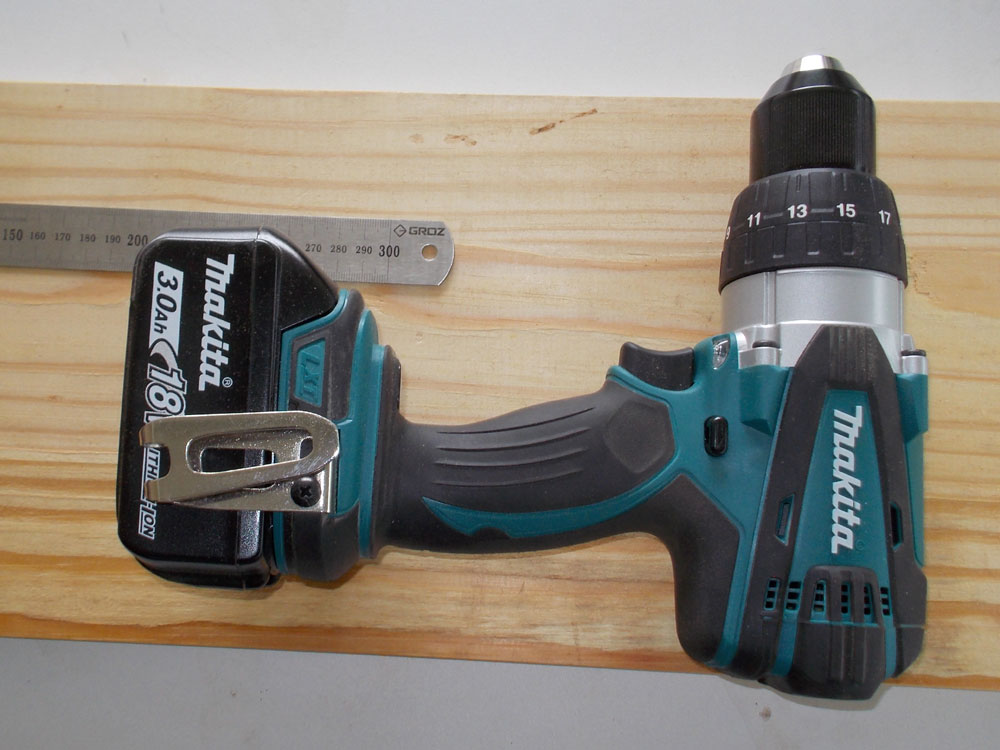
- First check the tools you intend storing the unit for size and mark off the cut lines ensuring that you leave at least a centimetre top, bottom and on either side of the widest part of the tool to ensure that it will fit… there is nothing like the misery of completing a storage unit or for that matter anything that will be used to house various items – only to discover the darn thing is too small in one dimension or the other and what you want to store won’t fit! The golden rule is measure twice – or even three times – and only then cut.
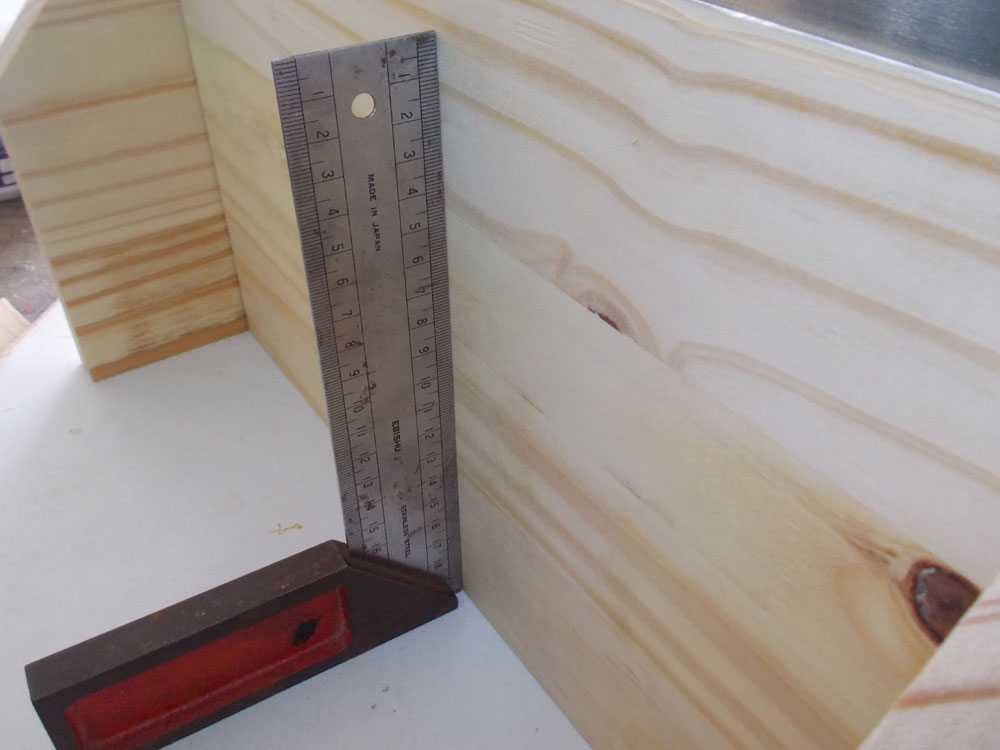
- We cut the sides and then bevelled the front corner of each… not only does it improve the looks of a very basic design, but also removes the sharp corners.
- We cut the two top shelves and checked them for fit.
- Then we cut a third shelf, precisely the same length of 370mm and carefully measured the spaces between the tool handle recesses and the sides of the shelf as well.
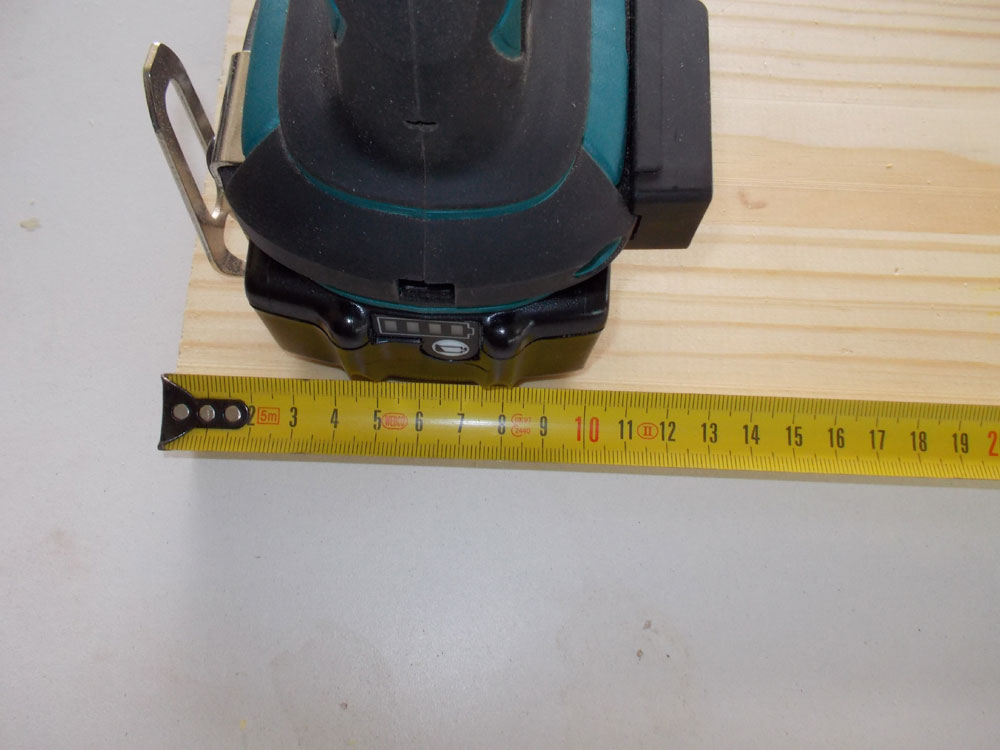
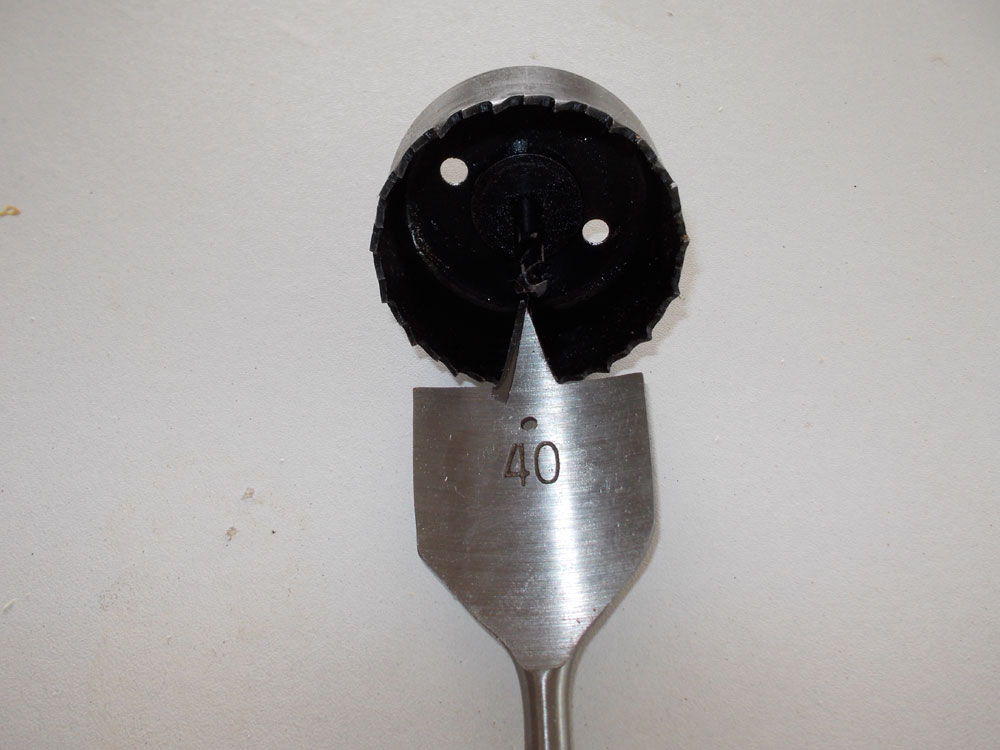
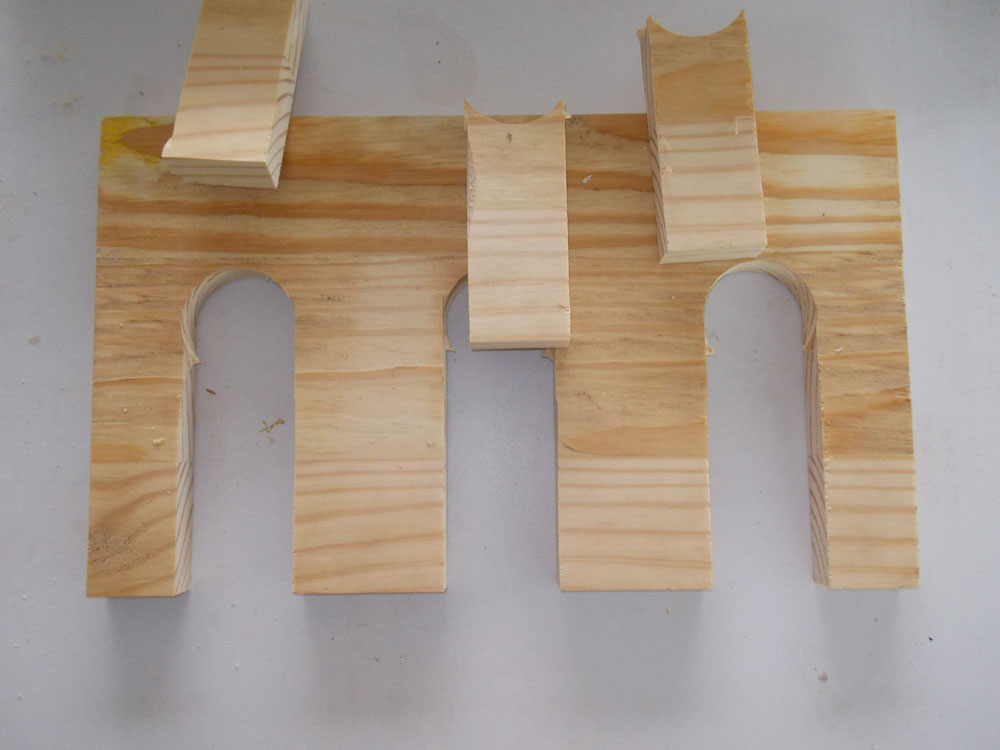
- The next step was to cut the recesses for the tools. Initially we looked at 40mm, but that might have been a bit on the tight side. So…
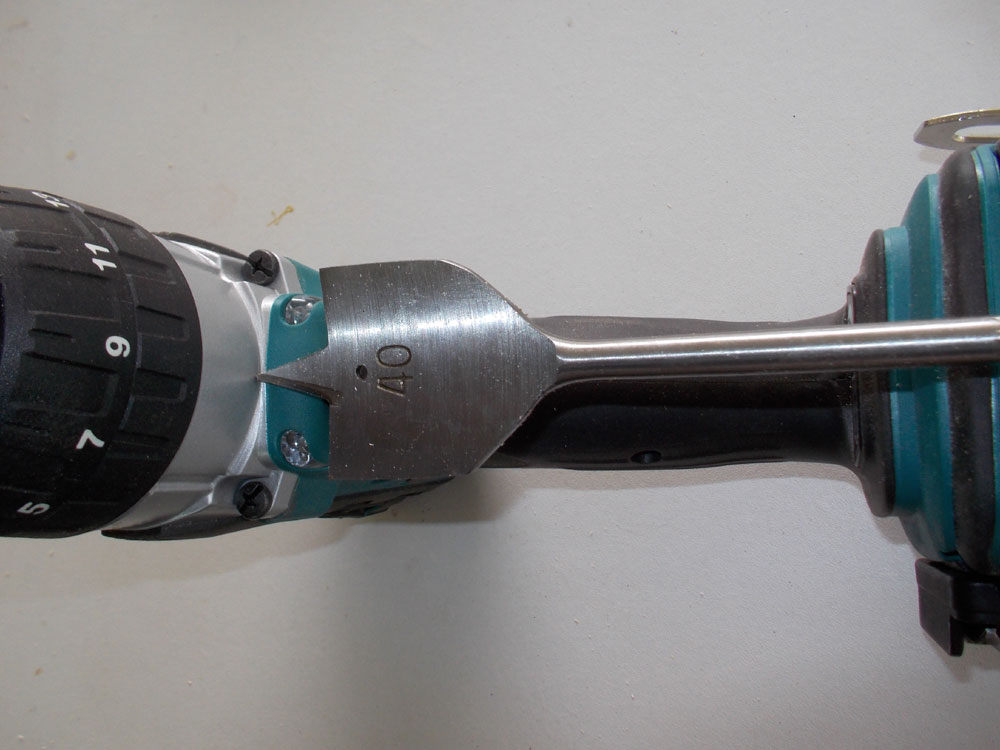
- We decided instead to use a 51mmØ hole saw, which would accommodate the tool handle comfortably.
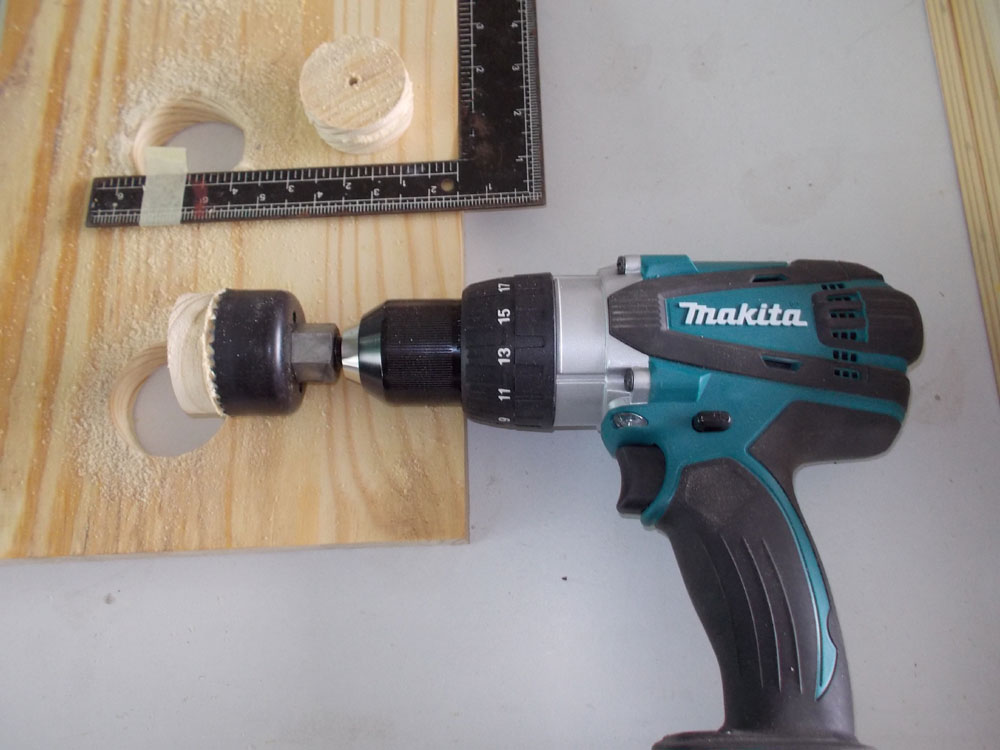
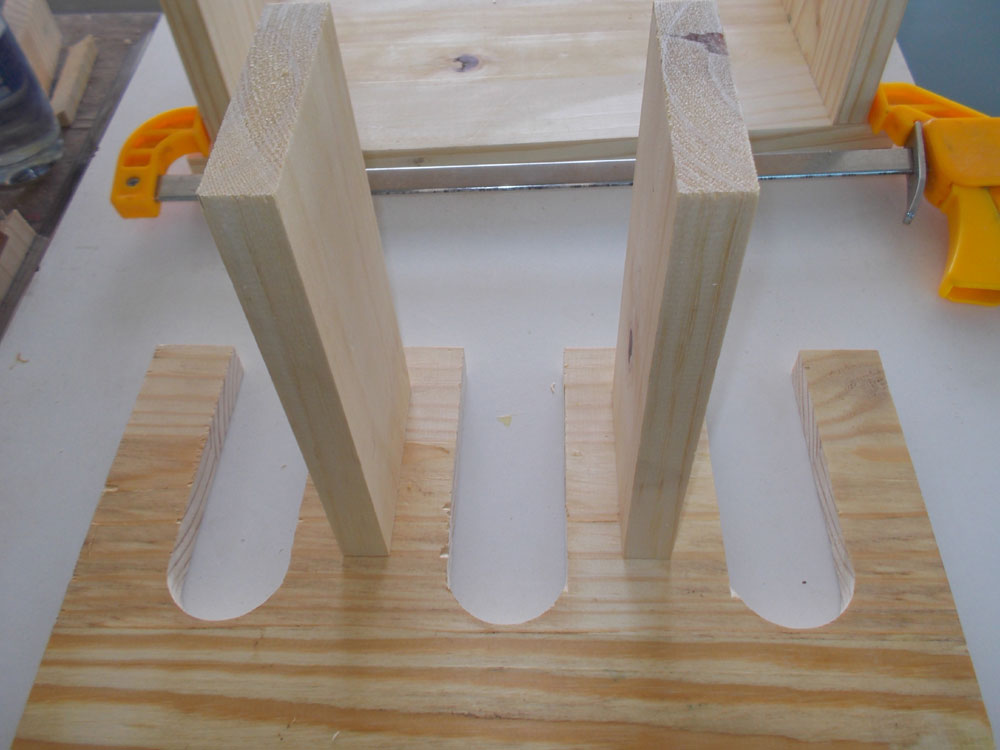
- We marked off the positions of the three holes for the recesses, and used the hole saw to make the holes. Note the use of tape on the square to make it easier to line up the holes exactly. Also note we cut halfway through each hole then flipped the workpiece over and completed the holes. This not gives a cleaner edge to the holes, but also makes it easier to remove the plug from the hole saw.
- Now use a square to mark the cut-out lines for the recesses.

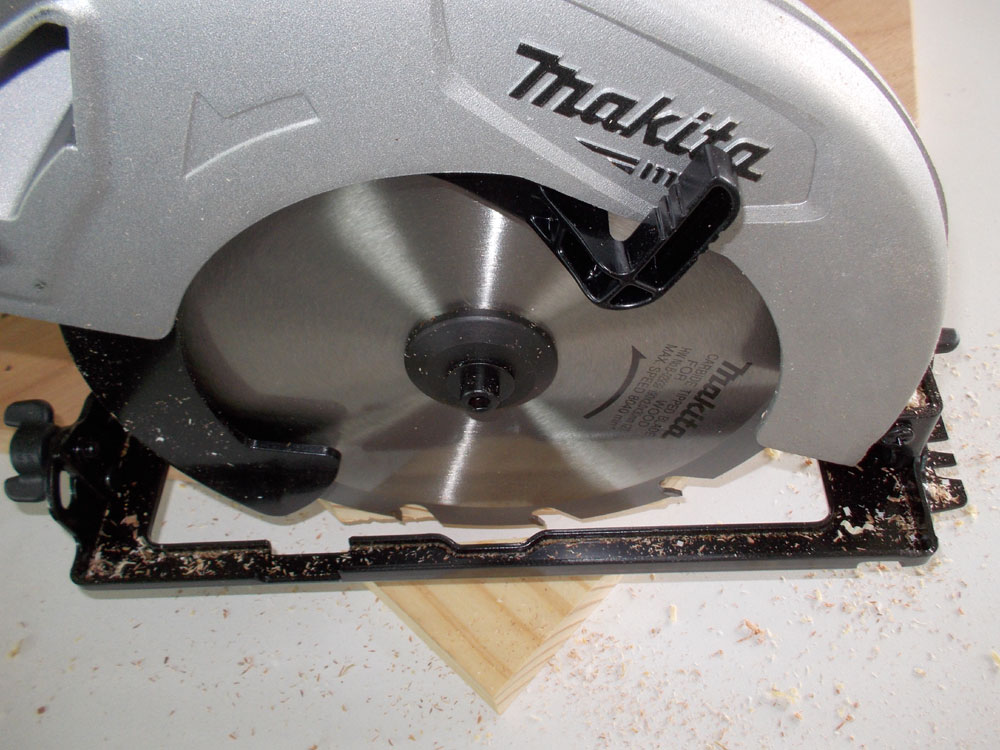
- They were also cut with the circular cut-off saw, taking care to not cut too far.
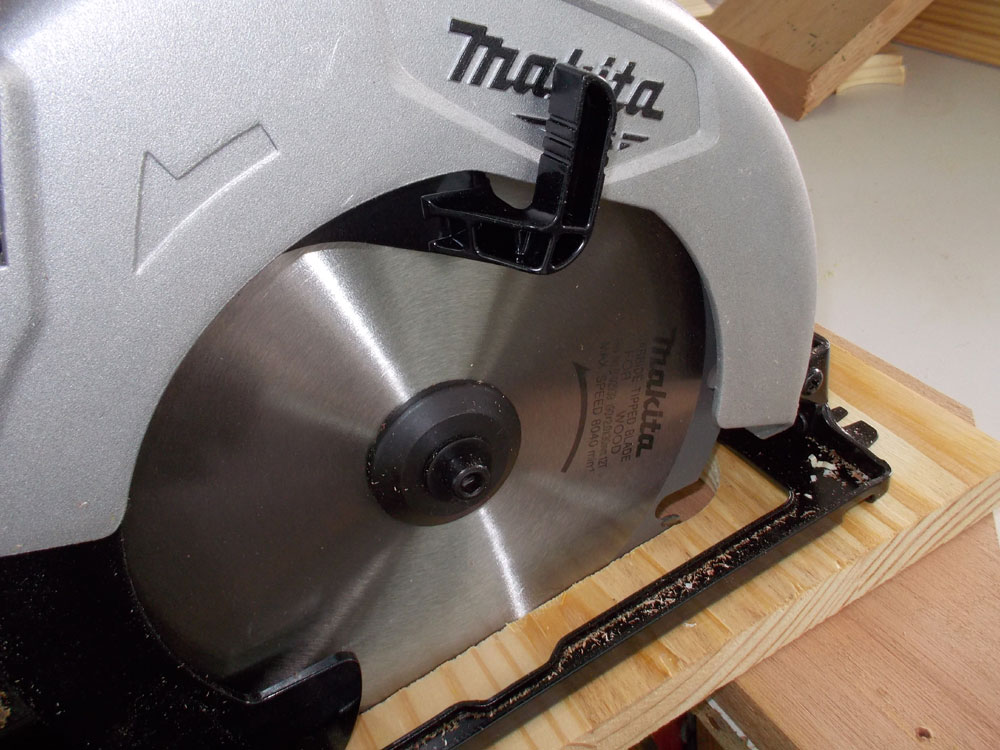
- The recesses cut and ready for finishing.
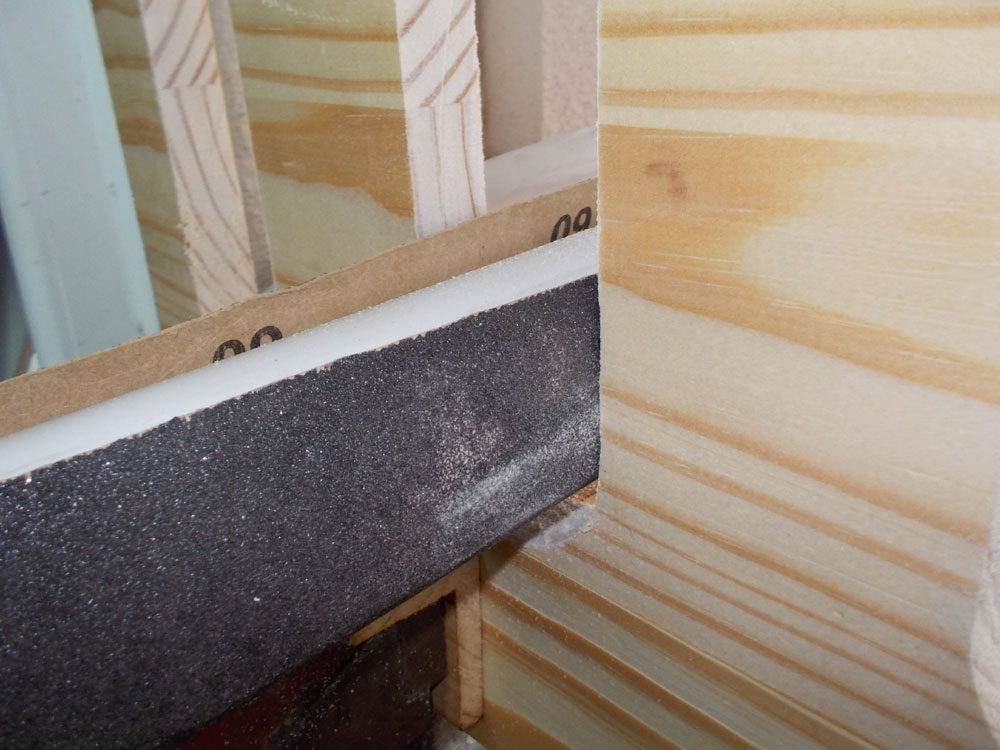
- How’s this for luck… a length of 50mmØ PVC pipe with sandpaper was the ideal device to sand and smooth the sides of each recess.
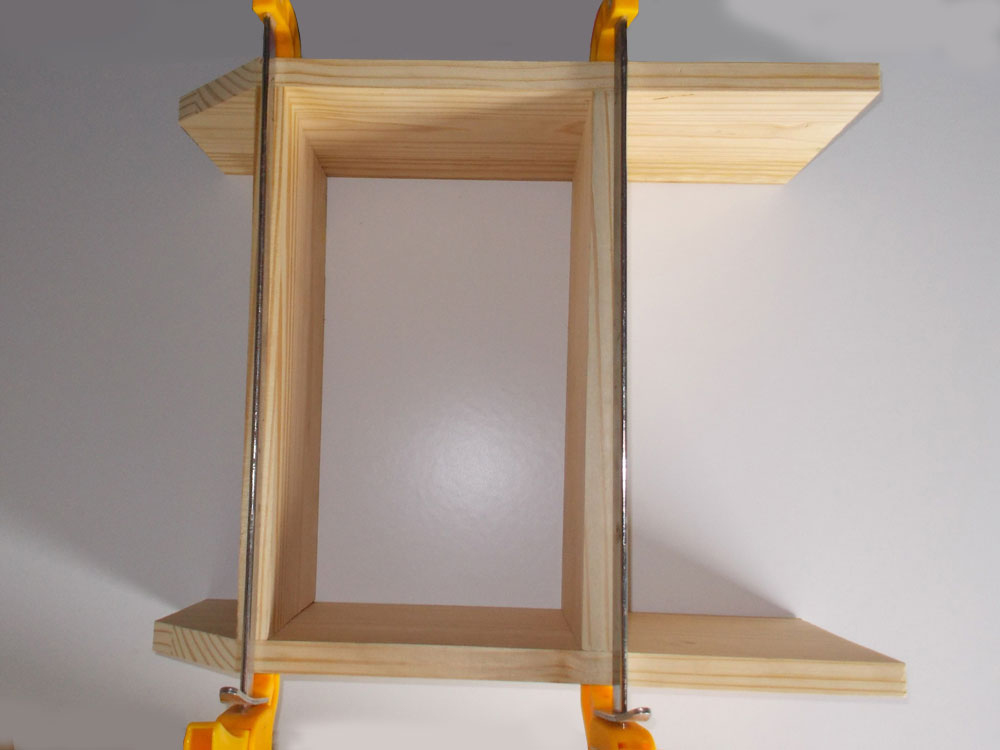
- Now for the assembly… we aligned the top shelf with the bevelled tops of the sides and clamped it in position, ensuring that it would be level when the station is standing upright. We attached the top and second shelves the same way – using two 40mm screws per side to secure the join.
- We cut two bottom shelf supports from the left-over 222x22mm SA pine. Each support is 200mm long and 95mm wide. We positioned the supports, marked off their positions on the underside of the bottom shelf and drilled 2mmØ pilot holes for two screws per support.

- Then we positioned the supports and attached them to the underside of the bottom shelf, as shown here. These supports are necessary because the tools will be resting across the grain of the wood, which is its weakest axis and either or both of the middle two tongues could break at some stage. Now they will not! Then we attached the base, using two screws per side to attach it to the sides, and two screws per side to attach the bottom shelf in position to the sides, and a further two to attach the supports to the base, by driving the screws, two per support, through the underside of the base.
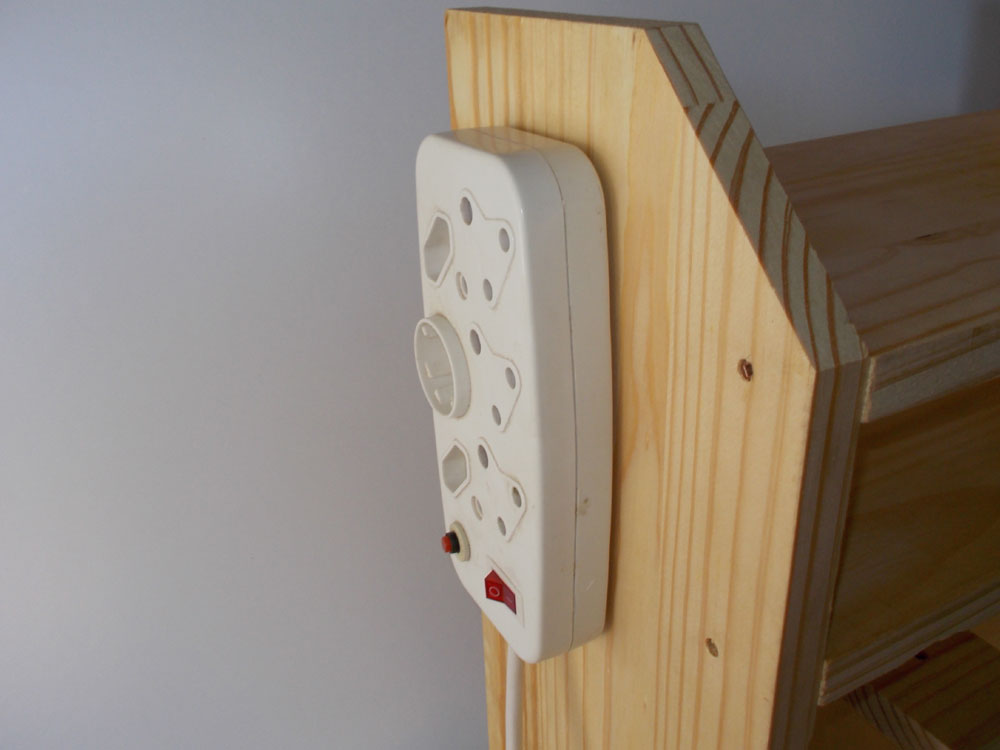
- After taking the final shots, we then had a brainwave (better late than never)… why not attach a multiplug to the side of the unit so you have power ready to hand. So we did.
There you go… a single, lonely tool (one for now, but more to come – there are birthdays and Christmases you know) – plus space for chargers on the top shelf and storage for drill bits and so on the second shelf. Adapt the design as you wish to accommodate perhaps not only cordless tools, but also mains-powered as well, plus all the accessories you need.
Panel:
These materials are available at Selected Mica Stores. To find out which is your closest Mica and whether or not they stock the items required, please go to www.mica.co.za, find your store and call them. If your local Mica does not stock exactly what you need they will be able to order it for you or suggest an alternative product or a reputable source.
Project guide
TIME: 1 day
COST: R300
Skill: 4
Assistant: No
Tools required:
Mitre saw (you can alternatively use a jigsaw, but then your cutting needs to be extremely accurate and straight), clamps, 51mmØ hole saw, orbital sander, cordless or mains drill/driver.