03 February 2026

It’ll be all white on the night*
Make this headboard or one to your own design, to add that little bit extra… the finishing touch, if you will… to a bedroom.
It is all held together with dowels and glue, the only two metal parts being the screws in the feet on the legs to attach the doorstops to the feet.
*The boss – SWMBO (She Who Must Be Obeyed – pronounced “Swimbo”) – or “may waif” in upper-class English, said originally that she wanted the headboard to be all white. I, being the rebellious and recklessly brave character that I am, threw caution to the winds, and decided to do what you see here – a mix of white, and varnished meranti. When she saw it for the first time, I hurriedly gabbled, trembling, “I can paint it all white… if you like”. She, to my astonishment, replied… “No, I like the way you have done it – it ties in with the bedside cabinets. Keep it as is.”
“Jawohl!” I replied, clicking my calloused heels.
So I survived to annoy her at least another day.
Materials**
- SA pine:
- 44×44 – one length of 2400mm cut to two legs of 1000m
- 44×32 – one length of 3000mm cut to two crossbars of 1312mm each
- 12×100 ceiling TG&V*** – two lengths of 3000m cut to 14 lengths of 424mm
- 21x96mm – one length ripped into strips 20mm wide and then cut to fit across the back of the panel to reinforce the join between the TV&G panels and the crossbars and legs
- 22x44mm offcut, cut to four lengths of approximately 90mm long – I bevelled each at 45º
- Meranti:
- 22×44 – one length of 1800mm, to the headboard capping
- 9×19 beading – two lengths of 1800mm cut to fit as trim around the inner front edge of the TG&V panelling
- 8mm dowels – one pack (or five, if you have them already to hand), and one 1000mm length of 8mmØ dowel rod
- Two pine doorknobs – 44mmØ
- Wood glue
- Finish/es of your choice – I used gloss varnish on the meranti capping and on the 9x19mm trim, and water-based white gloss for the rest of the headboard
- Two white doorstops (they are supplied with attachment screws)
- One pack of felt self-adhesive padding, for the wall spacers
**Obviously, should you change the design and/or dimensions, then your materials will change
*** Note: TG&V ceiling panel cross-section dimensions might vary slightly according to the manufacturer… 12x102mm…13x102mm…for example. In this case, the TG&V we used was 12x100mm
Captions:
- First step is to measure the bed for which you are building the headboard. That sounds like an obvious step, but there is not much more disheartening than completing the thing, and finding it is too narrow. Too wide you can live with – perhaps. But too narrow? So… measure away, and in this case, including bedding, the width was a shade over 1400mm
- Height to the top of the bedding on the mattress was 540-550mm.
- In passing, I use one of these writing pads for recording measurements, making the basic design, and so on. Very useful… you can lock your screen, and then unlock it later when the unit is well on its way, and clear it – ready for the next project.
- I cut the legs to the required length of 1000mm, and measured and marked 44mm in from what would be the top of the leg.
- Then I measured off the 1312mm crossbars (1312 + 44 + 44 = 1400mm, for the total width).


- I positioned one crossbar on the one leg and positioned it on the centreline, and on the line just marked. On the leg, I had also drawn the lines to position the lower crossbar.
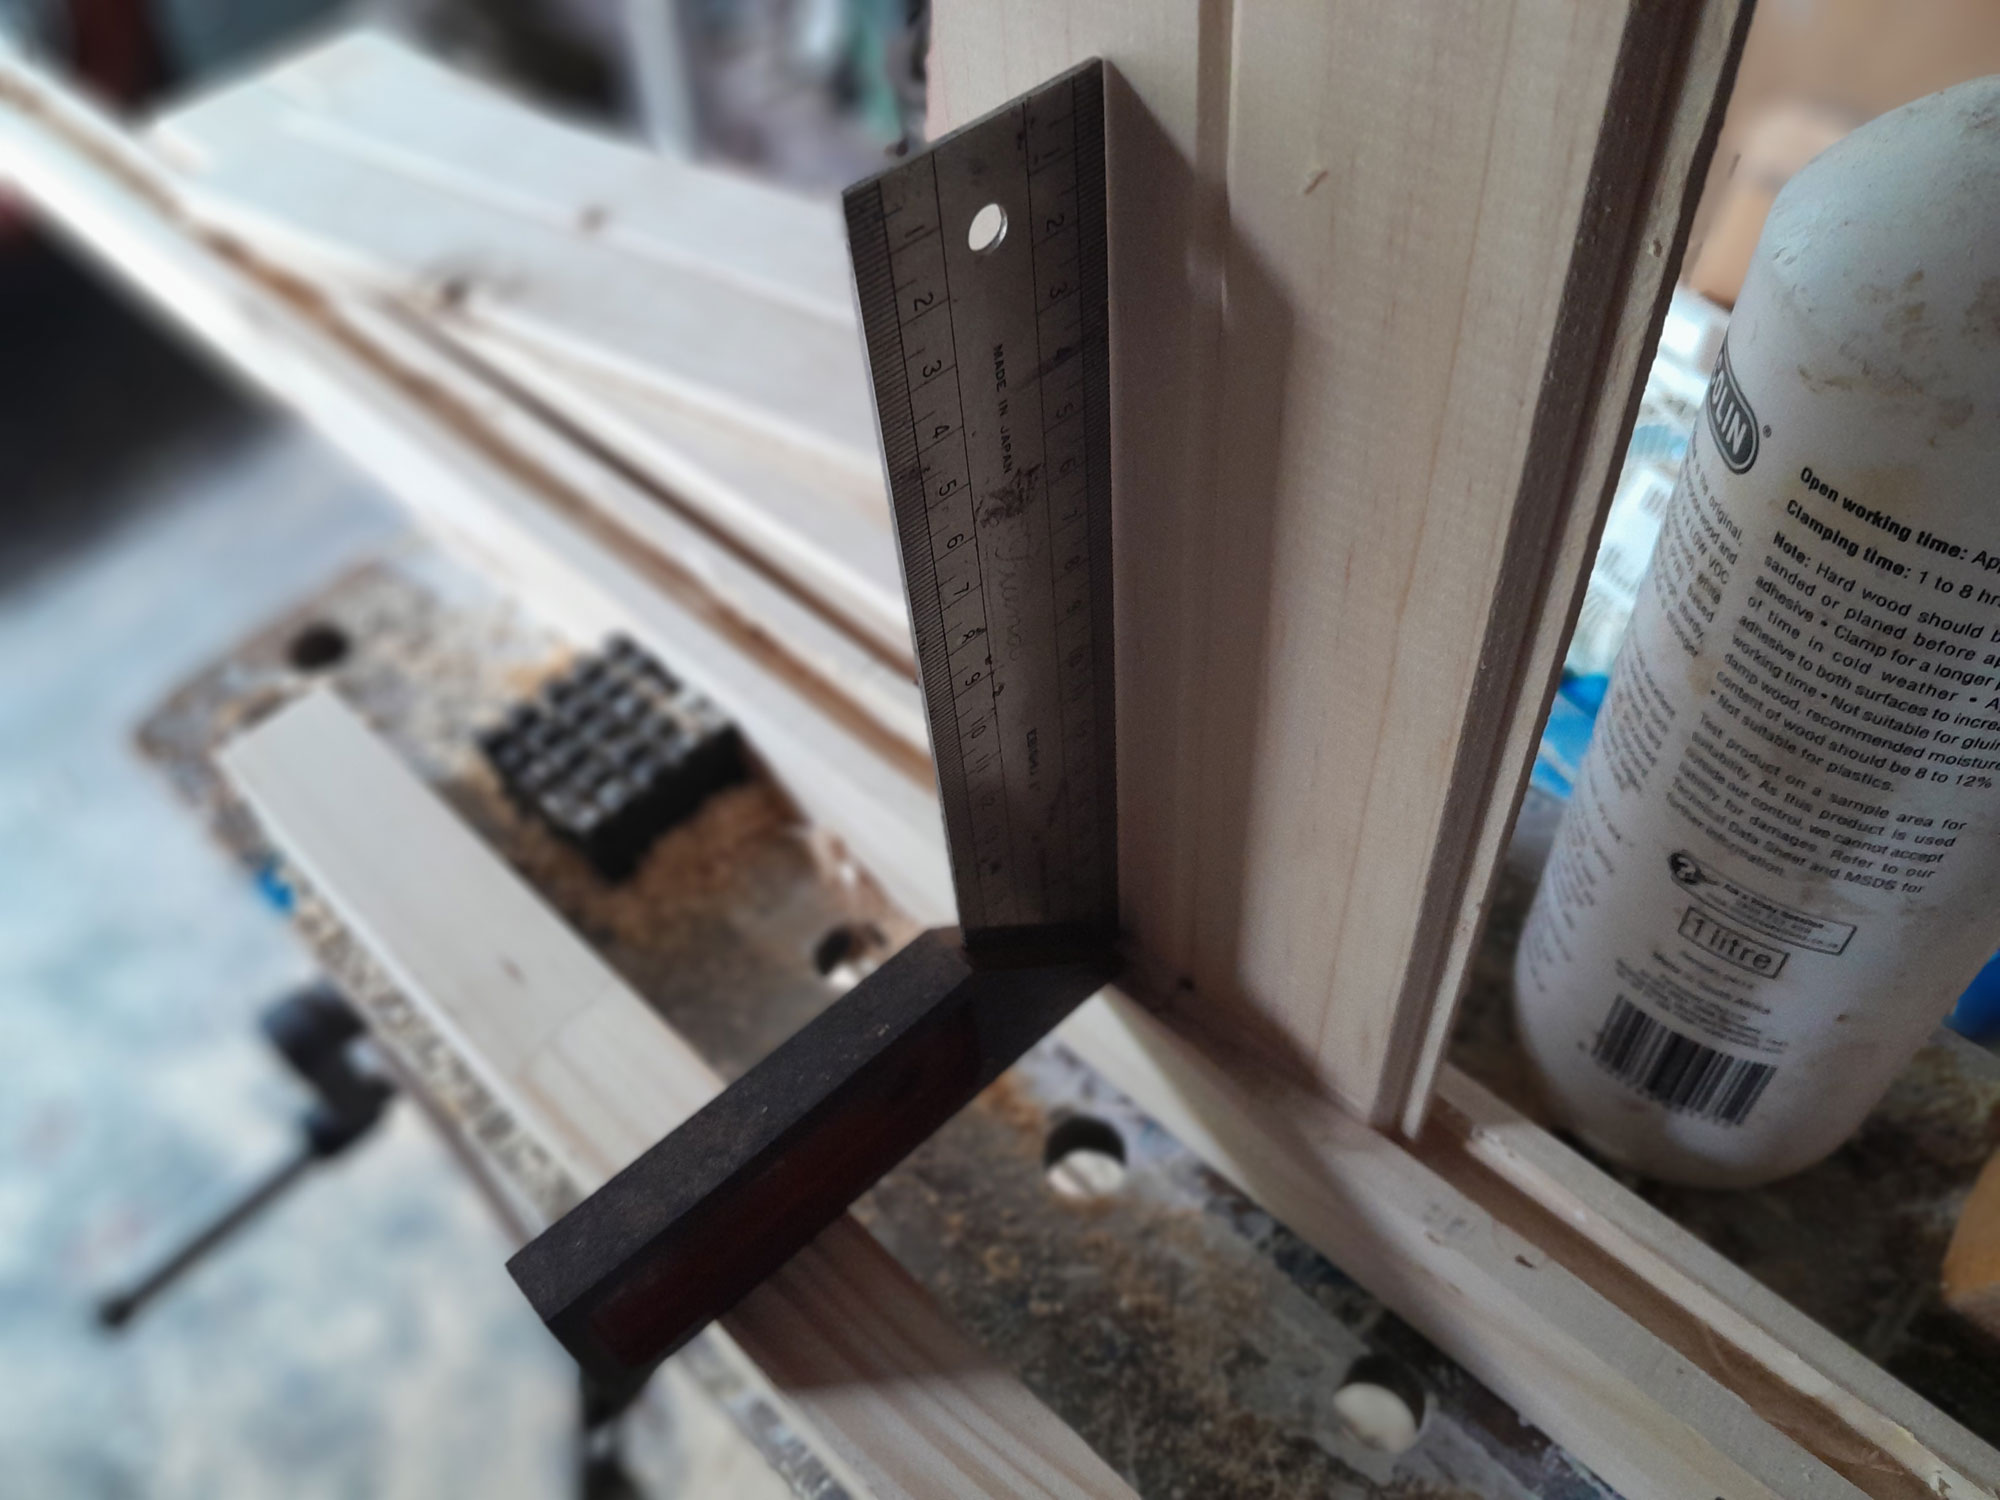
- I used a gauge to mark off the centreline on the crossbar.
- And I confirmed with the router that the fence was correctly set.
- Then I routed a 12mm wide channel, about 15mm deep along entire length of the 32mm edge of the crossbar.
- The end of the bar shows clearly the extent of the routed channel. The TG&V panelling will slot into this channel.


- I then routed the legs in turn, extending from the 30mm from the top, to about 30mm into the lower crossbar position. In passing, I find it a good idea to rout a very short channel, or even a hole at either end of any routing of a set length, as in this case. It prevents you routing too far, as the drop in resistance tells you when you reach the planned end of the channel.
- Here it is, the channel in the leg at the lower crossbar position.
- This is how the routed channels in the legs and crossbars match up.
- Now comes the aesthetically important part… as the TG&V panels have ‘V’’ grooves in them, you need to ensure that the lengths of TG&V are properly centred. If you do not, then you could find the grooves will be “off-centre”. So, mark the exact centre point of the crossbar, and position the middle “V” groove of one length of TG&V on that point, as shown here.
- Apply glue and tap the single panel into position, and check and check again and again that it is absolutely vertical – in both planes.


- If it is out by even a fraction, then all of the panels will be out. Once you are 100% satisfied, leave the assembly overnight so the glue cures completely; if you position the other panels before that has occurred, you could shift the central panel out of vertical – and swear! In passing, if the weather is humid, raining and/or cold, allow the glue extra time to cure completely.
- The next day you can fit the rest of the panels, in this case six on either side to make up the thirteen in total. Tap each one into position against its neighbour and glue it in. be sure to check continuously when fitting the lengths that you make sure that are fully seated in the groove and up against their neighbours, and absolutely square on the crossbar. Then you can fit the second crossbar, using glue to secure it in place on the panelling.
- Use clamps to fully seat the crossbars and panelling, again, as always, constantly checking everything is at exactly 90º. Use length of scrap wood lengths as cushions for the clamps, so that you do not compress any part of the crossbars. You can then cut and rip a final length of the TG&V and rip it on each side to fit into the channels you routed in the legs, and complete the panelling.
- The height of the headboard backrest would be 490mm.
- You can now fit the legs… use offcuts of suitable dimensions to be able to correctly position the crossbars on the legs.


- Then drill two 8mmØ holes right through each leg and into the crossbars.
- Check the depth and drill deeper if necessary. And then cut eight dowels from the 1000mm length of dowel rod. Each dowel should be about 90mm long.
- Then apply glue to the holes, coat the lengths of dowels and the meeting surface of the crossbar where it meets the leg, and using a wooden mallet, tap the dowels into their holes until about 5-6mm is still proud of the surface, as shown here, and allow the glue to cure. However, if you wish, you can seat the dowels fully, to just below the surface, and use wood filler to fill the holes. Once the filler has dried, you can sand it down flush, for a very neat join.
- Apply clamping pressure to ensure the join is solid, but also…
- Measure the diagonals, from the bottom outer corner of each leg, to the top outer corner of the other leg, to ensure that the whole headboard is absolutely true. In this case, both diagonals were the same, namely 1712mm, as shown here. By the way, do not pull the tape when measuring as this can flex the leg just ever so slightly inwards and give you a skrik! No load on them, okay?!


- After completing the joins, I cut and glued in the 12x20mm cover strips around the back of the panelling, mitring the corners, as shown here. They are more to hide any slips with the router than to reinforce the bond between the panelling and the top and bottom crossbars and the legs – that’s my story and I am sticking to it! Note the very liberal use of hand clamps to hold them in position while the glue cured.
- Here’s a corner shot of the above… note that I have not yet sanded down the dowel ends protruding from the legs.
- I used a scrap piece of 22x44mm SA pine to make my spacers. They ensure that the headboard is held clear of the skirting and parallel to the wall’s surface, rather that leaning back against the wall as it would without the spacers.
- On each leg, one spacer is attached just below the top crossbar…
- The other is attached about 100mm up from the foot of the leg. It must be positioned so that it is above the skirting board. If it is positioned too low and comes up against the skirting board you will end up with a headboard leaning back, rather than standing parallel with the wall.


- Now for those protruding dowel ends… I used a pair of side cutters to snip them off.
- Like so…
- I rounded off the top edges and ends of the meranti capping using a rounding-off bit, and drilled an 8mmØ hole in the centre, and 22mm in from the end of the meranti capping. Then I drilled an 8mmØ hole in the centre of each doorknob and applied glue ONLY to the part of the dowel going into the doorknob, wiped off any excess glue and clamped the doorknob on to the meranti (as you can see already with its first couple of coats of varnish). This will ensure that the doorknob will sit absolutely flat against the capping when finally glued into position.
- Once the glue had cured, I could tap out the doorknob, now firmly seated on its length of dowel, and then position the capping precisely on the legs. I could then use the pre-drilled hole in the capping as a guide to drill into the top of the leg.
- Then I drilled five 8mmº holes along the top of the top crossbar.


- I popped a guide pin into each, repositioned the capping on the legs, with the doorknob dowels keeping it precisely aligned, and pushed down on the capping to indent the points on the pin guides in the bottom of the capping. I then marked the front (leading edge of the capping clearly on its underside, and drilled an 8mmØ hole in each position, but just 15mm deep.
- I took a little time off to sand the repaint each doorknob. Sanding is a breeze if you lightly fix the dowel in the drill chuck and turn it on… it saves you having to sand around curved surfaces… the drill does the turning for you.
- Thereafter I applied masking tape around the inner edge of the front of the panelling, and painted the panels, applying three coats. Thereafter I peeled off the tape. Why the tape, I hear you ask? Because that is where the 9x19mm meranti beading will go – and the glue needs to be applied to bare wood.
- I hand sanded the dowels on the legs, so that they were flush with the surface, and sanded other areas prior to painting.
- This illustration shows how the doorknobs, capping, legs, panelling, crossbars come together and the dowels hold it all together.


- Here the beading has been fitted and clamped in position while the glue cured. The beading serves two purposes… not only does it – I hope – enhance the headboard’s appearance; it also removes the sharp edge of the leg, crossbar, panelling junctions, which could be uncomfortable if one’s head meets any of them in the dead of night.
- A close-up of the corner of the beading… rather neat, even if I say so myself.
- This top-view illustration shows how the leg, TG&V panels, back strips and front beading all come together.
- Almost done… I applied the felt pads to the spacers. These protect the wall.
- Even closer to all done… I marked off the centre point of each leg…


- Then I screwed the doorstops into position.
- Here is a shot of the headboard in position, showing off the capping, beading and doorknobs. It also clearly shows how the beading frames the panelling.
- And why the doorknobs? Well, you can use them to hang a torch on…
- Or a sleeping mask…
- Or a phone recharging cable – or all three, to be frank.


- And there we are… all done and dusted.
- From straight on…
- And finally from the other angle.


Tools:
Drill/driver (mains or cordless), router, sander – orbital or random orbital, jigsaw or circular cut-off saw or mitre saw, wooden mallet.
Project guide
- Difficulty: Experienced
- Estimated time: About two weeks or so
- Cost: Depends on the cost of the materials from your Mica and the dimensions and design of the headboard, but for the example featured here, about R1000
Panel:
Mica Stores stock the timber, dowels and so on that you need. To find your closest Mica and whether or not they stock the items required, please go to www.mica.co.za, find your store and call them. If your local Mica does not stock exactly what you need they will be able to order it for you or suggest an alternative product or a reputable source.