04 February 2020

W means wine
This design changed during construction – you see, we make the mistakes so you don’t have to. We changed from a solid trapezium base, which made the rack look rather heavy and ‘blocky’ to a slatted base using three lengths of 9x44mm meranti cover strip. We also changed the positions of the bottle neck holes on two of the shelves to allow the rack to accommodate the wine bottles with greater ease…
Materials:
- Meranti: 22x144mm x 1.83m – one length – cut to four legs, each 180mm long, mitred at a parallel 45° angle at each end
- 9x44mm x 1.83m cover strip – one length – cut to three lengths… two of 520mm and one of 560mm
- Screws: one dozen 30mm mirror screws; four 45mm mirror screws plus two or four wall plugs; 1 dozen 40mm wood screws
- *Galvanised brackets: three 75mm brackets
- Finish: of your choice; we chose clear gloss varnish
*No glue was used in this rack, but if you wish to dispense with the brackets, and therefore also the 30mm mirror screws, then you can use glue to secure the shelf joins.
Method:
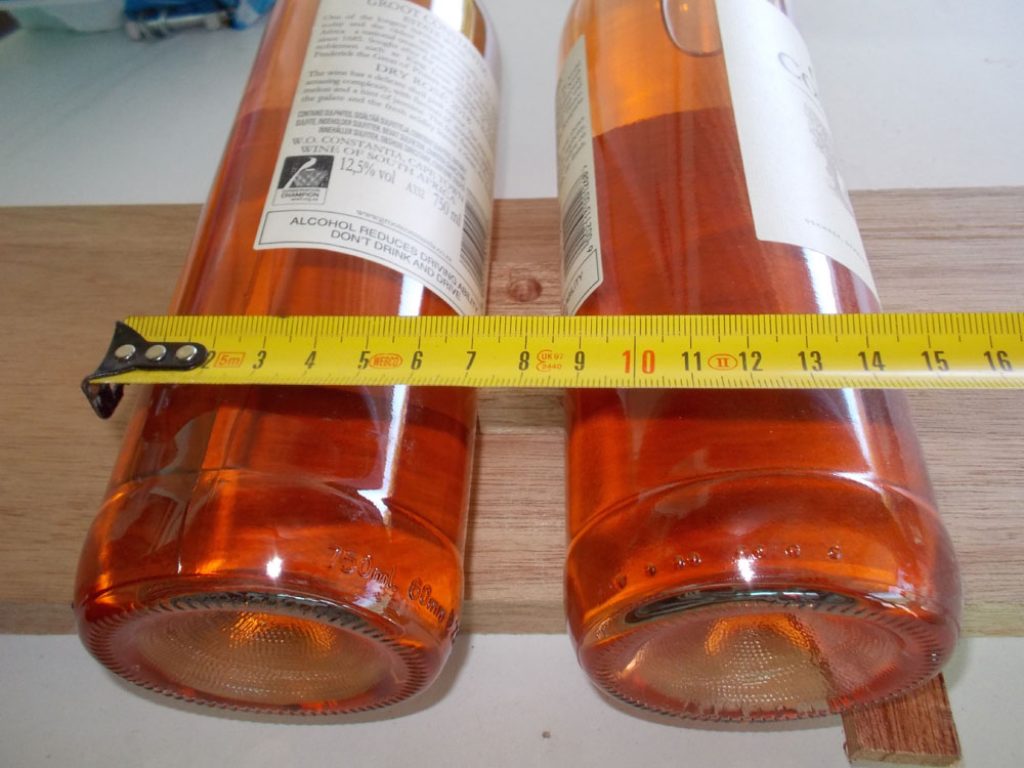
- First of all, we used two bottles of wine to establish how long each shelf would be. These bottles have a comparatively small diameter so we used spacers to hold them apart so that the final spacing would allow for larger diameter bottles to be accommodated.
- Setting the mitre saw to 45° we cut the four shelves. Note that the cuts are all parallel (unlike when cutting mitres to make up the sides of a box, for instance, where the mitre at each end of each side are reversed.

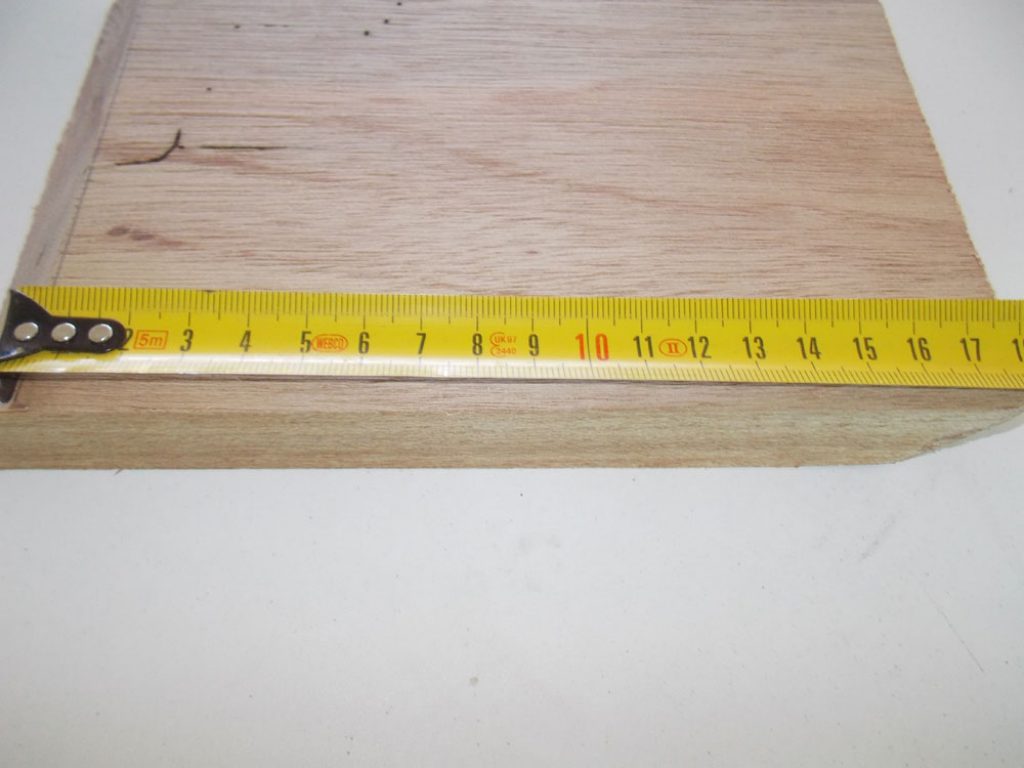
- Each shelf was 180mm long measured from the top of each bevelled end.
- This gives an idea of the spacing for the holes for the bottle necks.

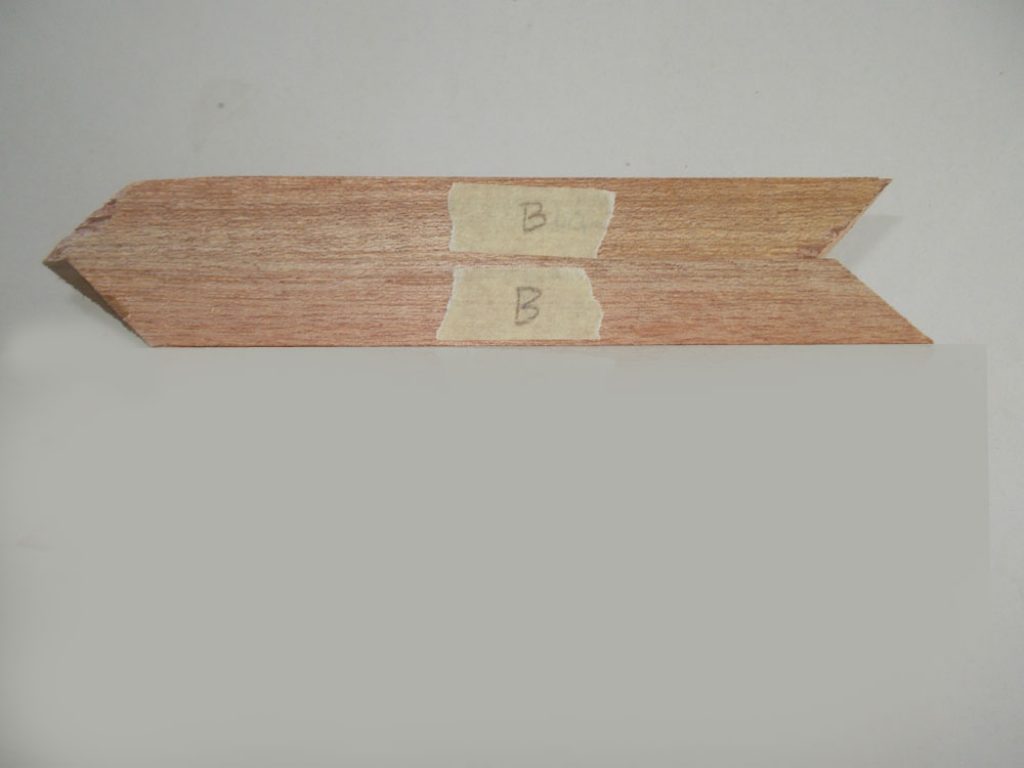
- Two of the shelves – note how the ends of each are parallel bevels of 45°. We also selected the best sides for the front and used masking tape to indicate the back surfaces.
- This was cutting the original base at 45°.

- This is how the original design looked… the base making it look quite ‘blocky’.
- We also changed the positions of the bottle neck holes on two of the shelves… originally they were made at an angle, as shown here. Subsequently we changed them to across the axis of the shelf at 90° so that the necks of the bottles would pass safely between the two bottles on the self below.
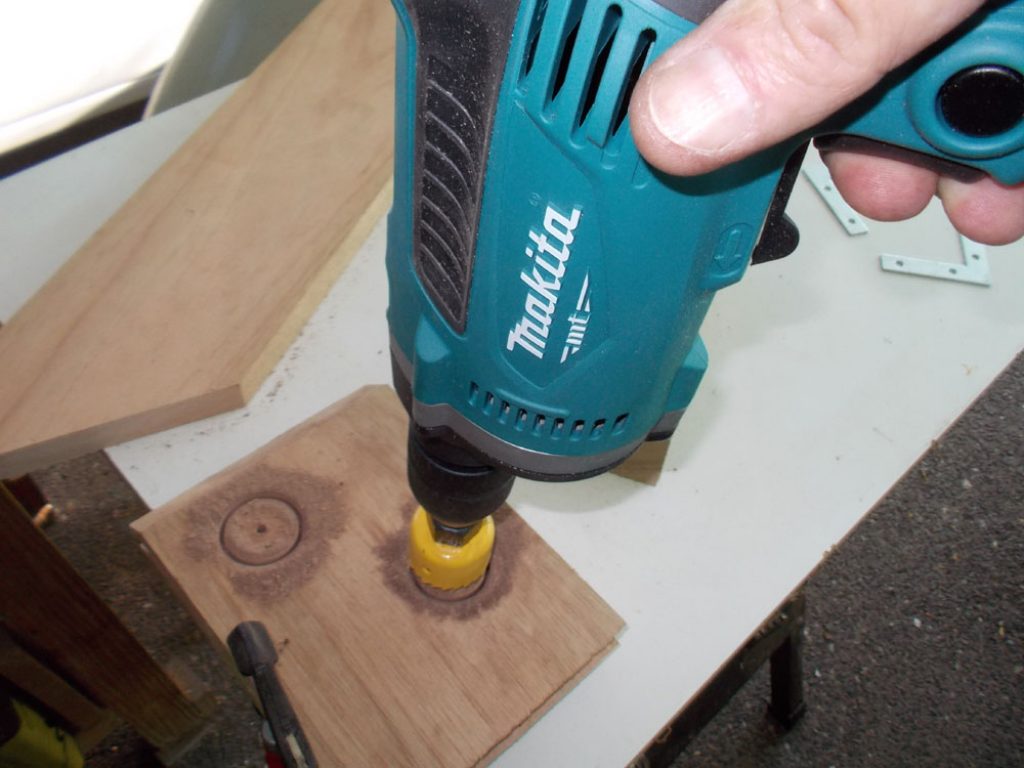
- When using a hole saw, it is best to cut through just over halfway, and then flip the workpiece over and complete the holes from the other side… this ensures a clean cut on both surfaces and also makes removing the wood plug from the hole saw without too much effort… if the whole of the plug is lodged in the hole saw cup it can be difficult to remove. (Drilling through completely from one side only can result is a jagged, chipped cut on the lower surface – unless the workpiece is firmly clamped to a piece of scrap, in which case the saw cuts slightly into that as well.) However… making the holes from both sides can leave a jagged junction between the two in the middle of the cut. Easily fixed… a roll of sandpaper inserted into the hole and rotated a few times cleans up the hole.
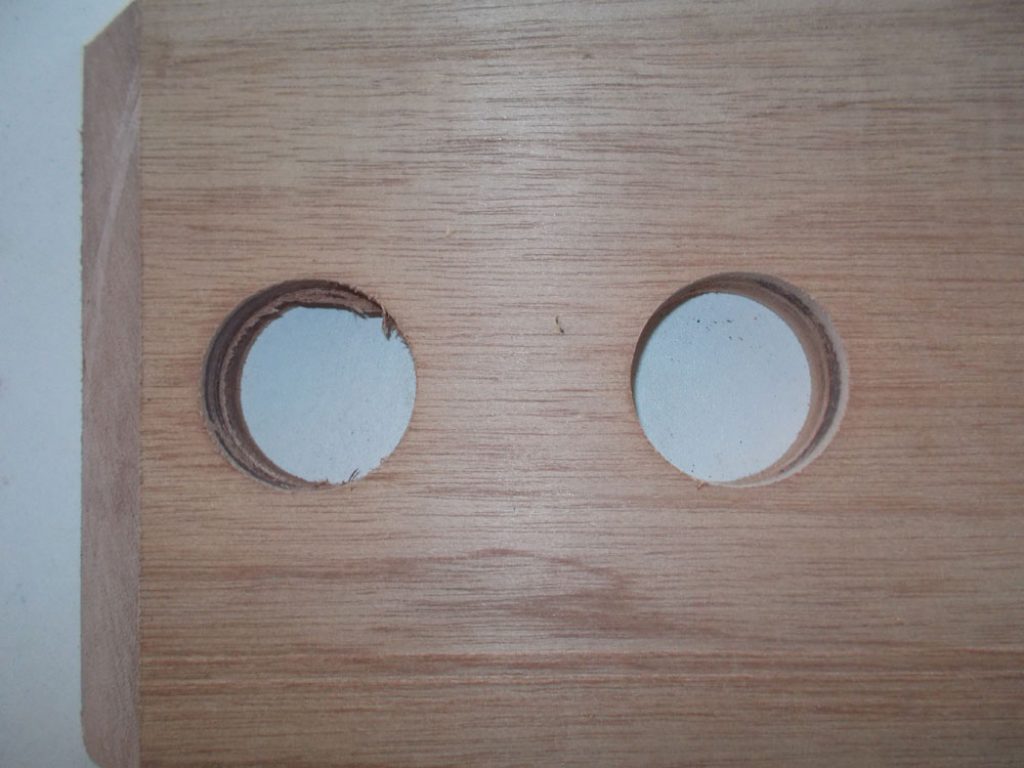
- Here’s the contrast between the two holes… the one on the left still to be cleaned up, the one on the right already cleaned.
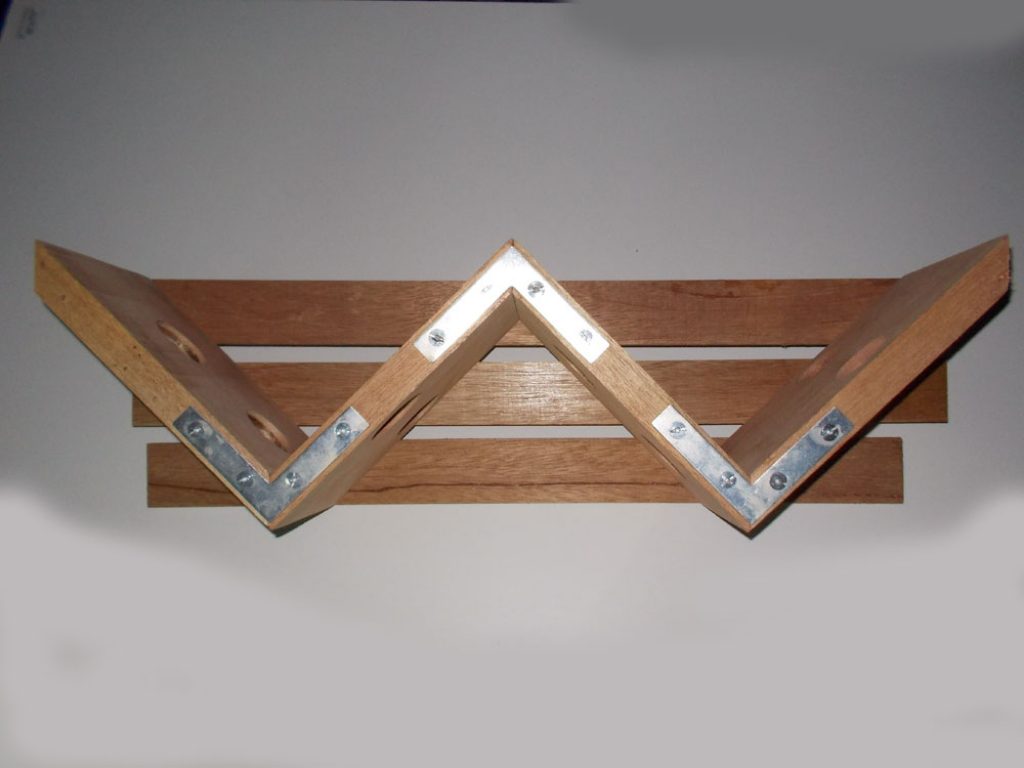
- With two sides clamped firmly together, we attached the 75mm galvanised bracket, using 30mmØ mirror screws to join them. Take care to centre the brackets on the shelves as accurately as possible.
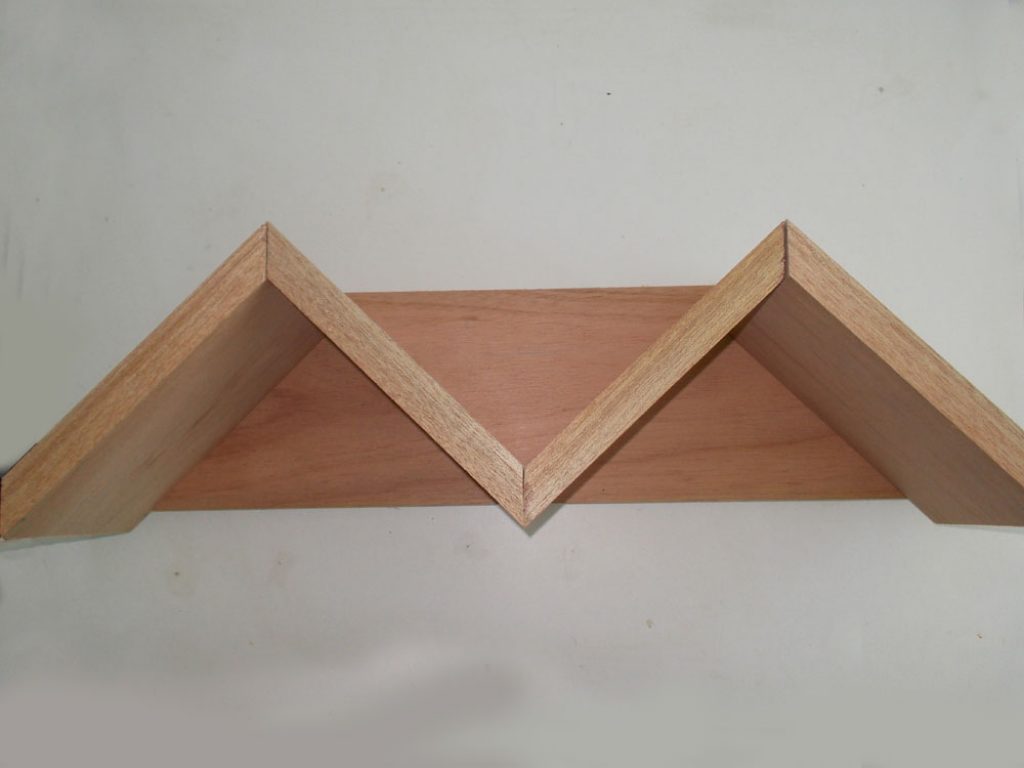
- The completed shelves.

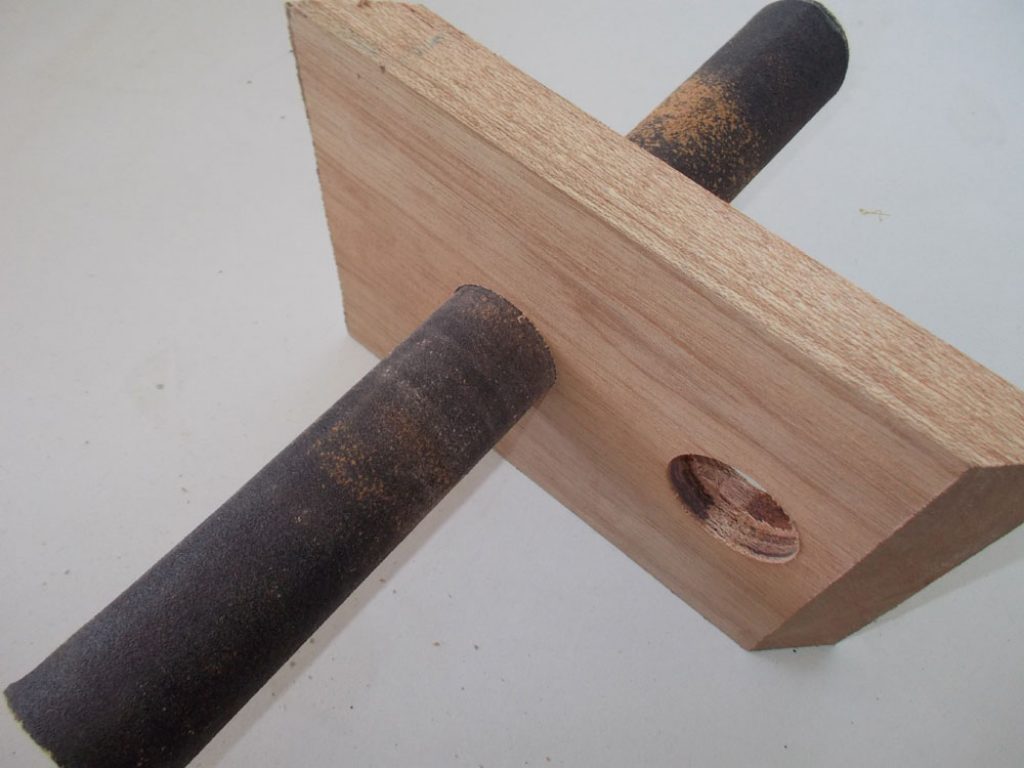
- With the revised bottle positions note how the two holes in each adjacent shelf allow the bottle to rest in position without impinging on each other.

- Now for the changed base… we attached the first 520mm length of cover strip as shown here, with the side of each meeting the shelf joins, and using the wood screws to secure the batten and also reinforce the join between the shelves.
- With the first attached, use a square to align its opposite number on the other side and repeat the attachment procedure.

- We then added the middle 560mm batten, in exactly the same fashion… the rack’s dimensions allow for a gap of about 10mm between the battens, but with the batten biased towards what will be the top of the rack.
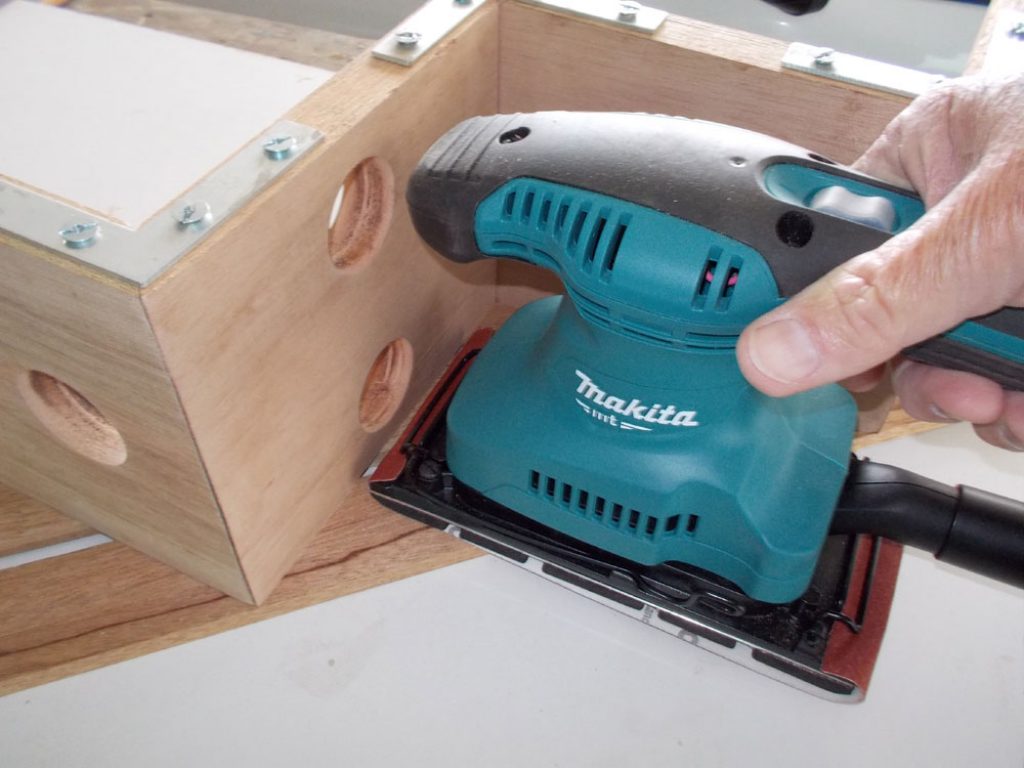
- It is always best to sand each part individually before fixing them in position, and then finishing off with a final sanding. We applied three coats of varnish, sanding lightly after the first and second coats, for a smooth finish.
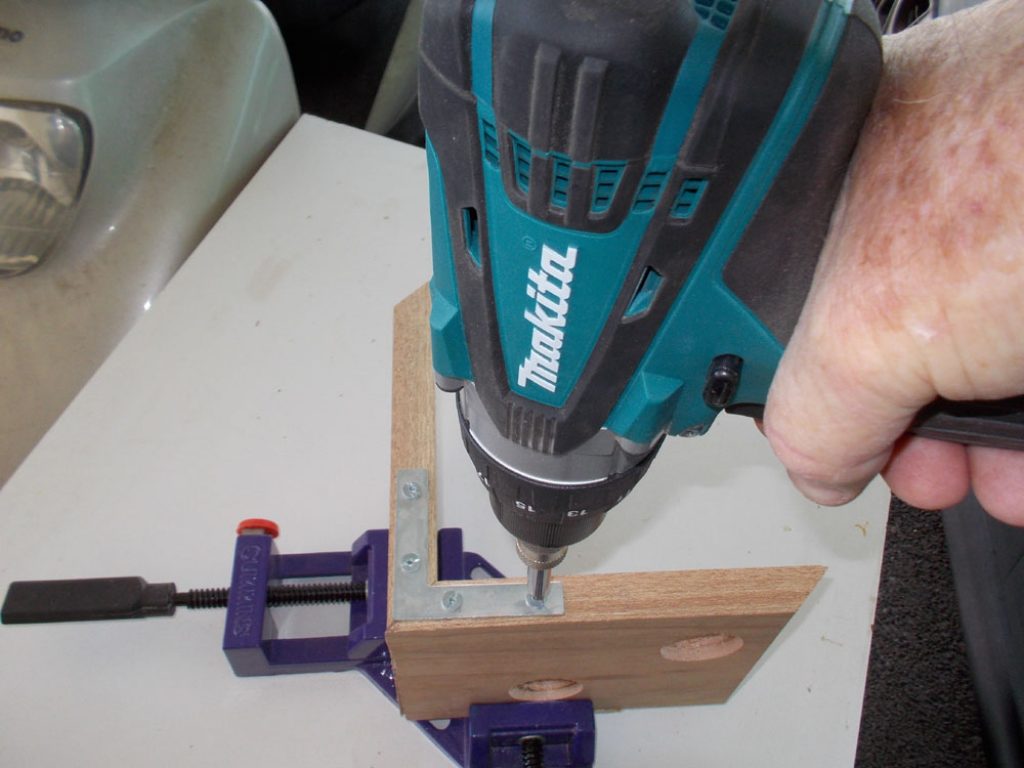
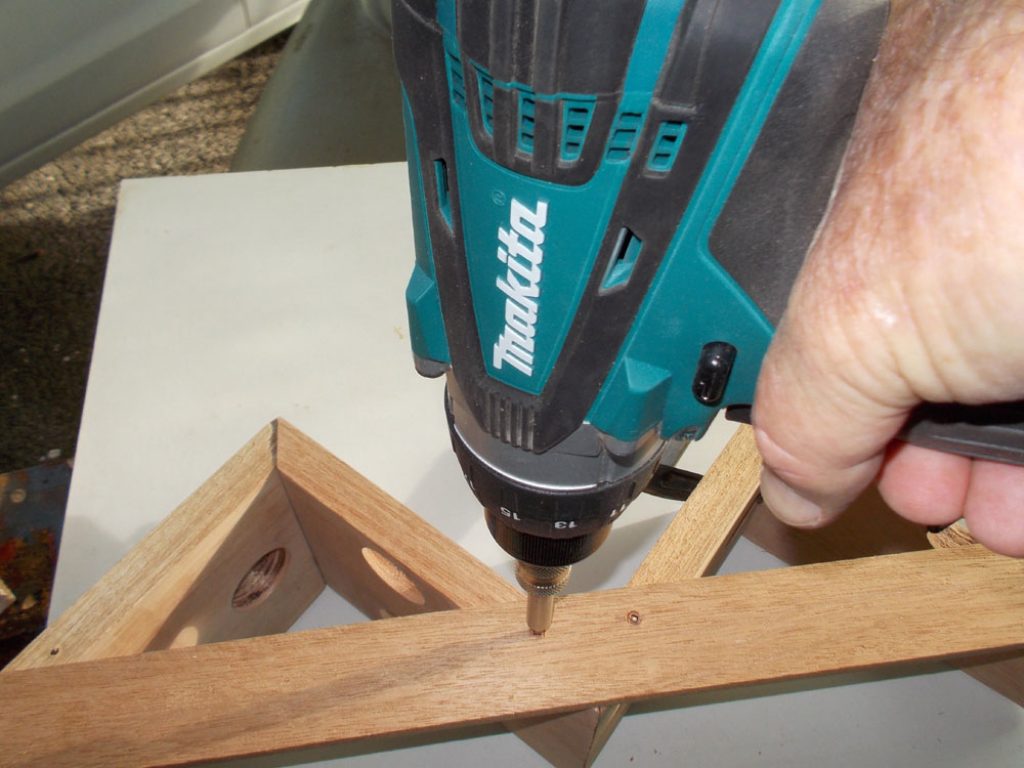
- We drilled two holes in the middle batten… this is the top of the rack…

- This is the bottom of the rack… using two 45mm mirror screws to attach the rack to a wall ensures that it will not swing as bottle are added or removed. The use of the batten, which is only 9mm thick, also ensures that as much as possible of each screw’s length is anchored in the wall.


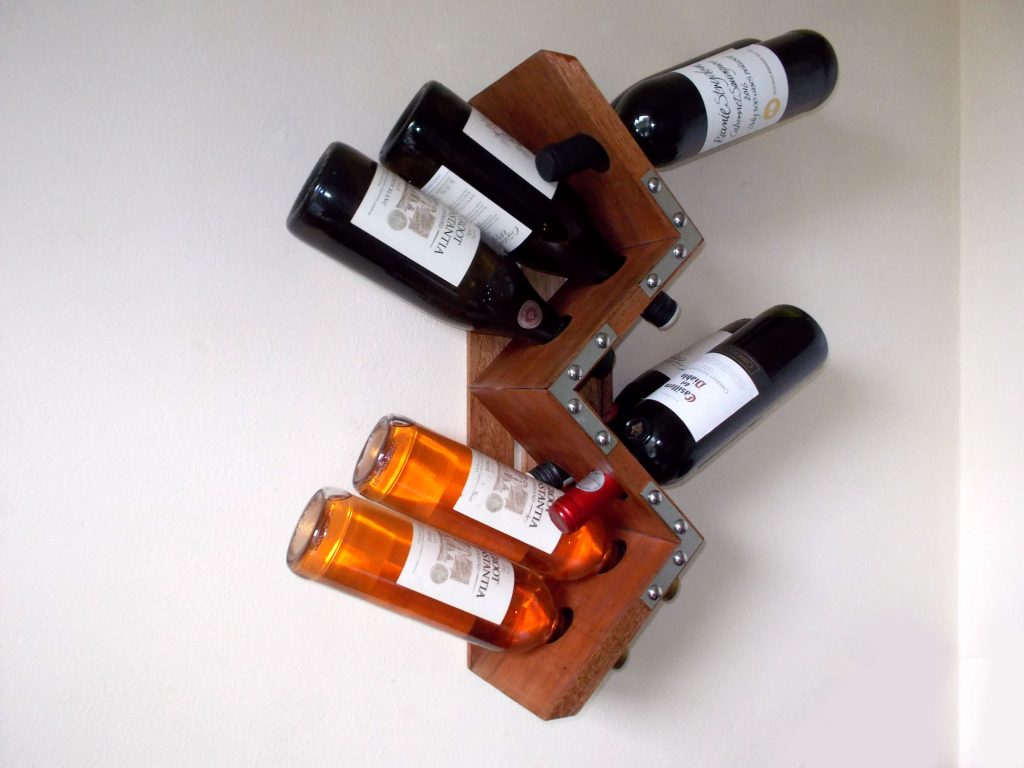
Doing what it is meant to do… keeping those precious bottles of wine safe and ready for that special occasion… of just to enhance dinner this evening.
Panel:
These materials are available at Selected Mica Stores. To find out which is your closest Mica and whether or not they stock the items required, please go to www.mica.co.za, find your store and call them. If your local Mica does not stock exactly what you need they will be able to order it for you or suggest an alternative product or a reputable source.
Project guide
- TIME: 3 days
- COST: R300
- Skill: 4
- Assistant: No
Tools required:
- Jigsaw
- Mitre saw
- Corner clamp
- Craft knife
- 38mmØ Hole saw
- Orbital sander
- Cordless or mains drill/driver.