05 March 2024

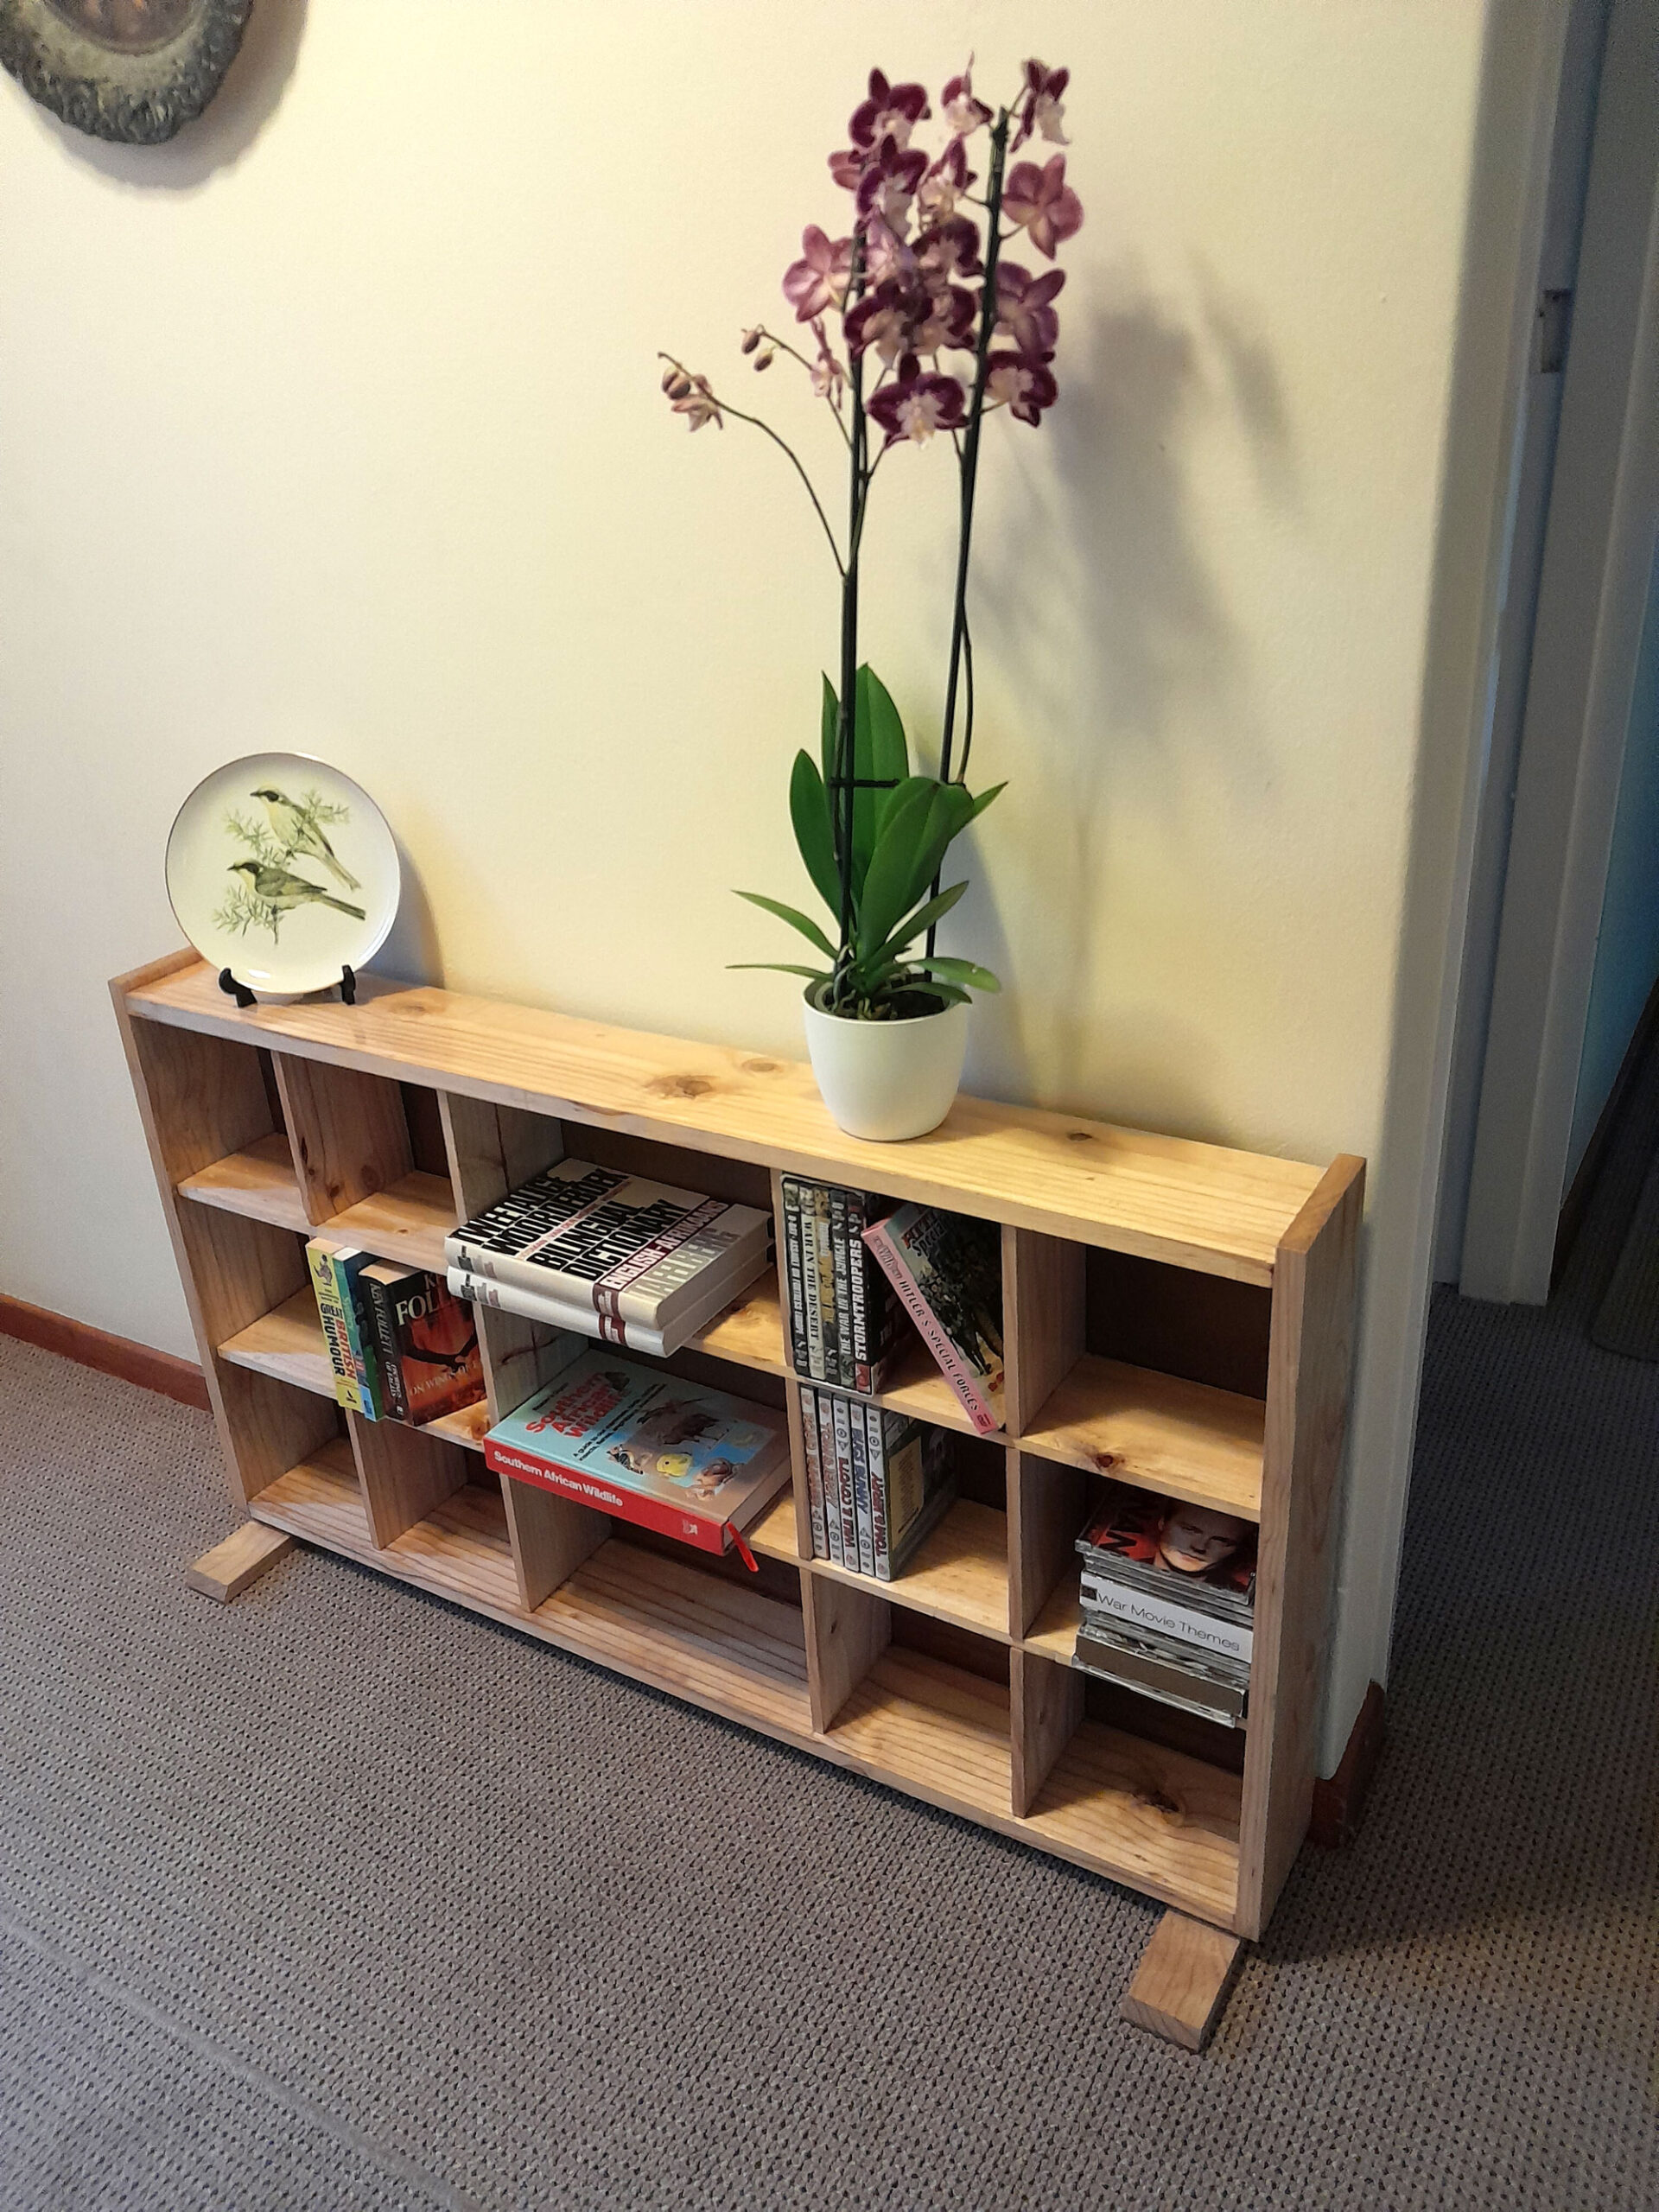
A place for everything
The dimensions of this unit are 700mm high, 150mm deep (250mm if one includes the feet), and approximately 1250mm wide… it was designed to fit behind a sofa. Hence the feet are not centred, but rather biased towards the front, to prevent the unit falling forwards (it cannot fall back, as it will be up against the sofa back). Naturally, as shown in the final image, in this case placed against a wall, the same principle applies.
If necessary or desired, the unit could be designed to stand with a portrait orientation, rather landscape as here. Should that be a better choice for you, then all that happens is that the feet are attached to what is presently one of the sides. But bear in mind that the taller the unit is, the less stable it might be, in which case attaching it to the wall behind it would be advisable… a tall unit falling on a small child could be extremely serious, possibly even fatal. So… safety first!
Whatever you decide you wish to use the unit to store, you can adapt the dimensions to suit your requirements. Just ensure that you allow a little play – 5-10mm or so in each compartment – so that whatever you store can be inserted and retrieved easily; after all, you do need space to give your fingertips some purchase on whatever you wish to remove from any compartment.
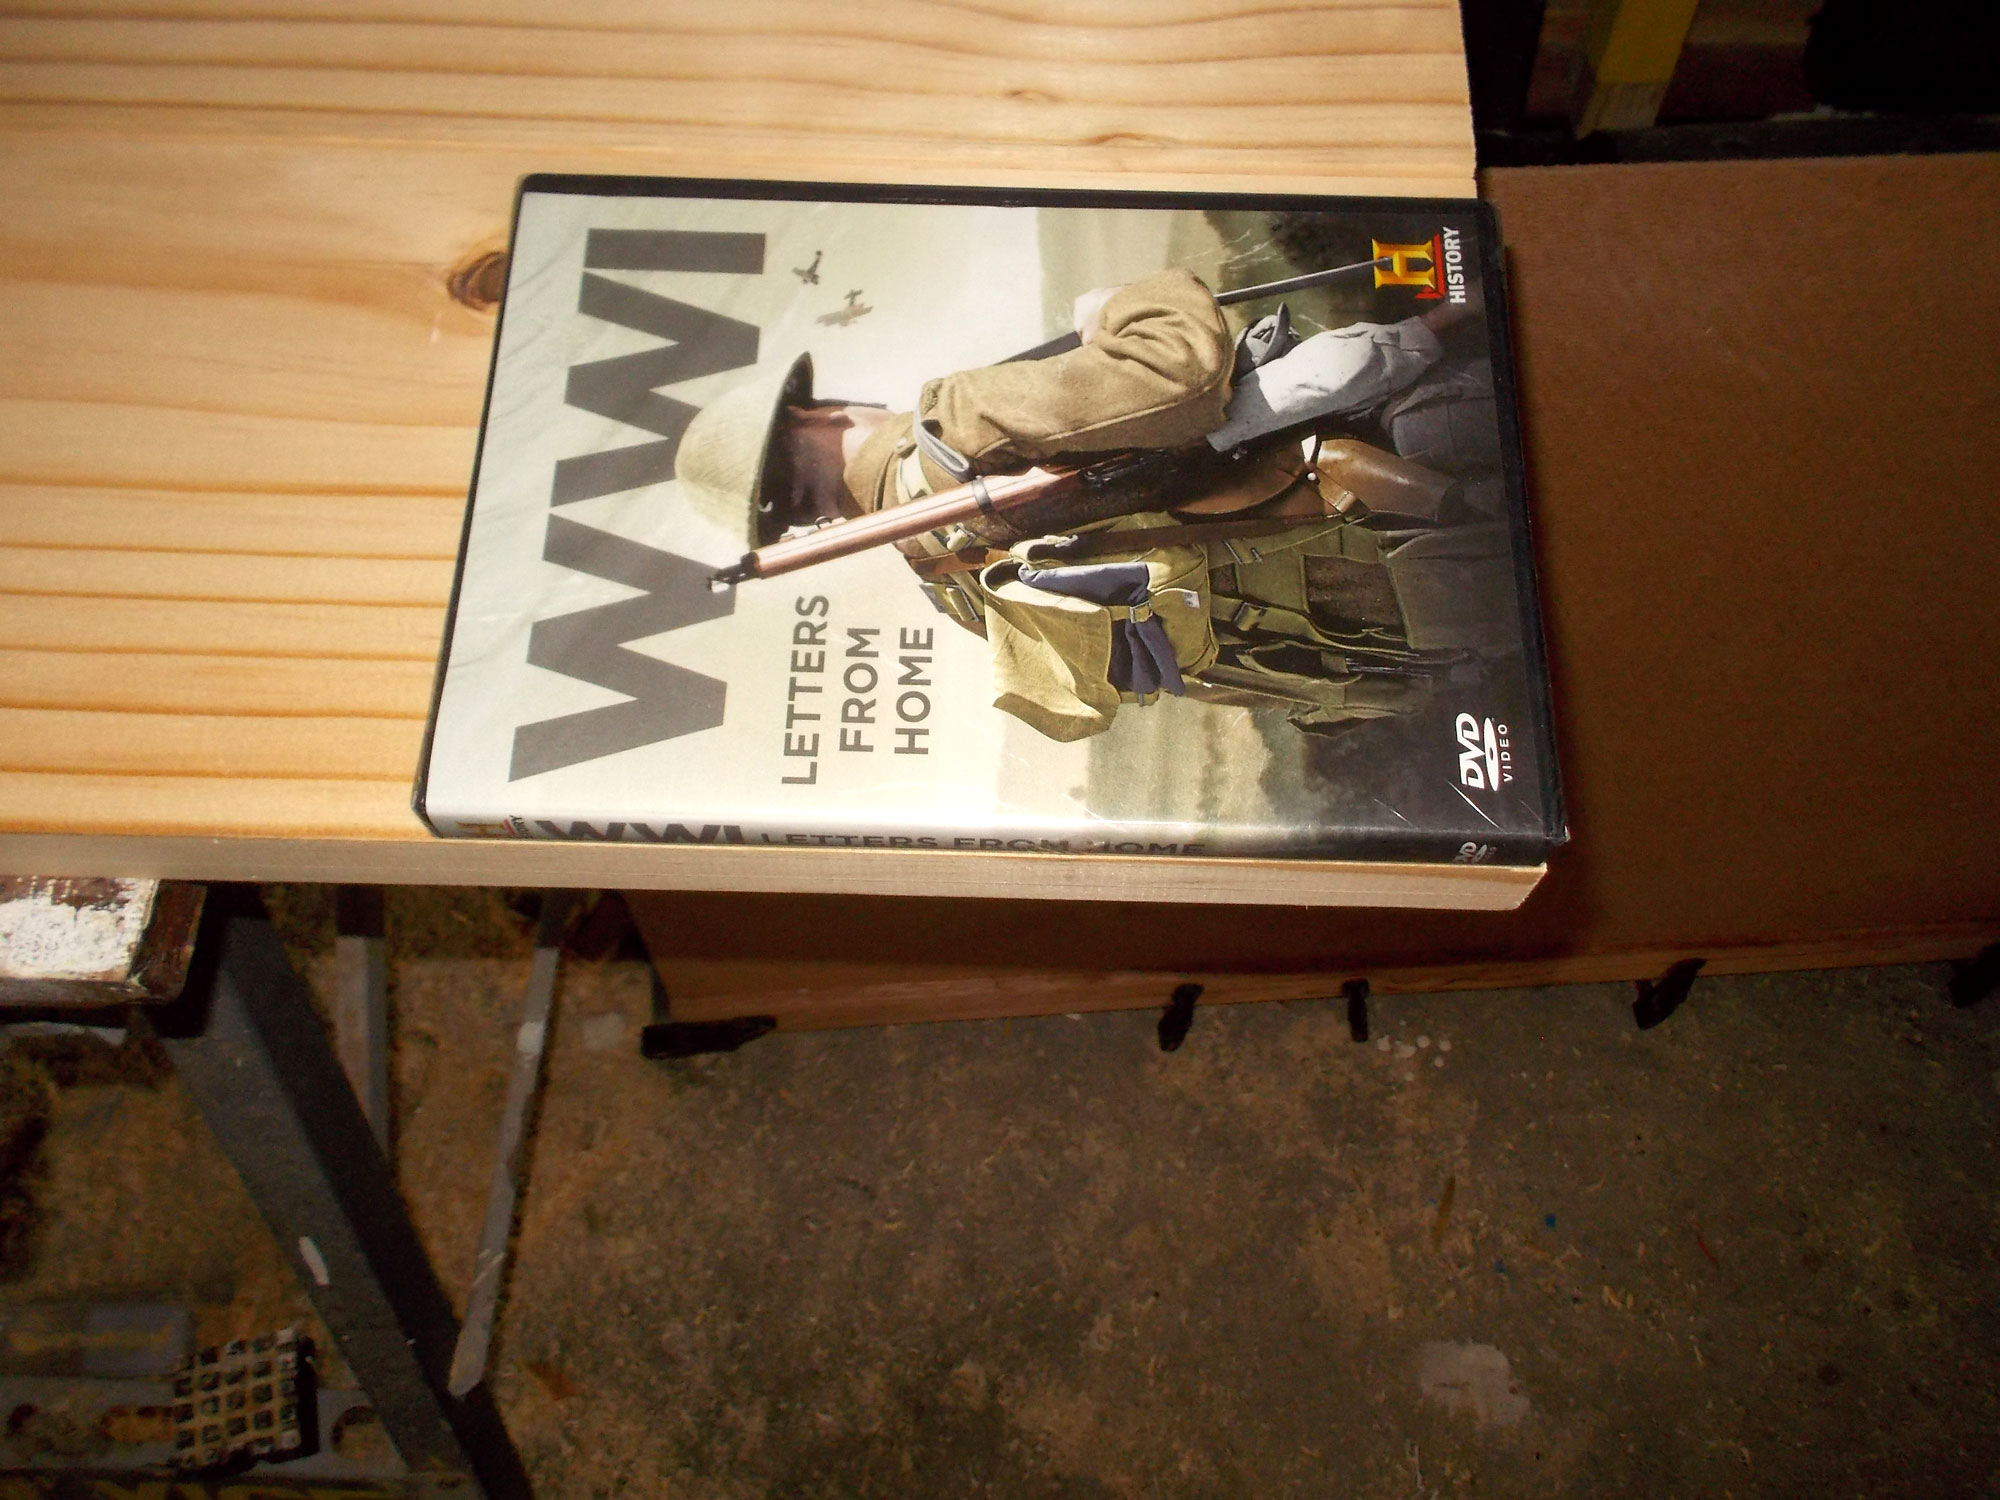
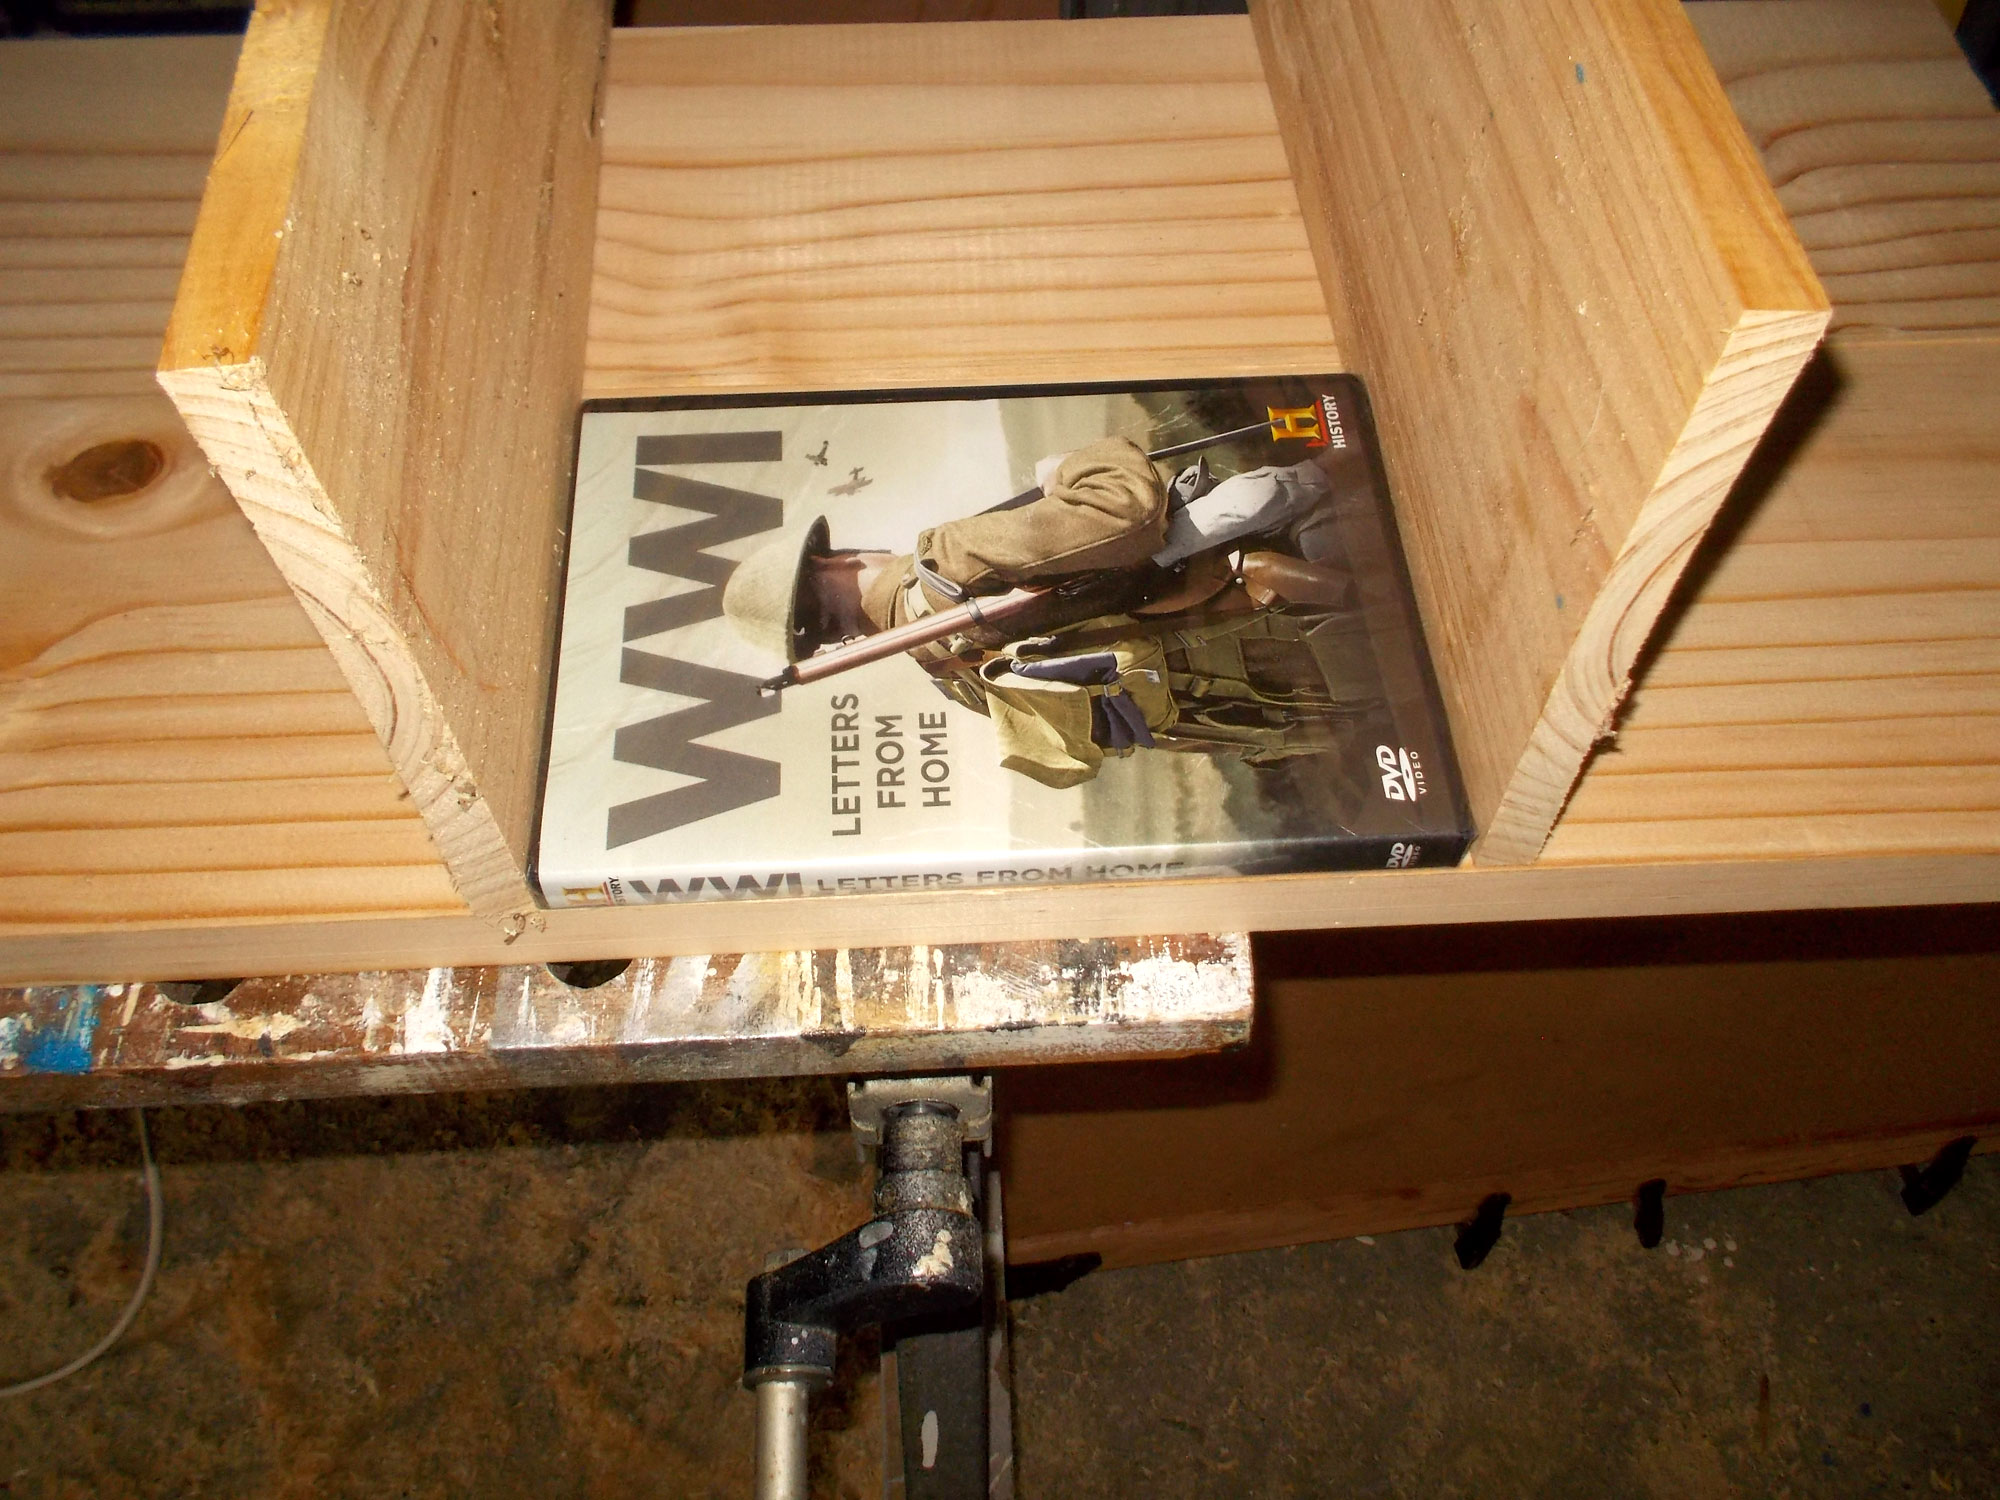
In this case the primary purpose is to store DVDs, which are 135x192mm (give or take a millimetre on either dimension) so the smaller compartments were sized with that in mind to store them either vertically or flat (which makes more sense for those closest to the floor… the spines are easier to read without you having to crank your head sideways).
Secondly, the partitions are made from timber that is 12mm thick, so that must be taken into account.
Materials: (you will need to adapt your dimensions, and hence your materials list, accordingly should you decide to build a bigger or smaller unit, or with more or fewer compartments)
- SA pine
- 22x222mm – one length 3m long and one length 1.8m, both ripped to 150mm wide
- 12x144mm – three lengths 1.8m long
- Hardboard backing – 3mm thick – 610x1220mm
- Cold glue
- Panel pins – two 40mm
- Finish of your choice – I chose gloss solvent-based varnish (this is because it tends to give the SA pine an attractive yellowing and also brings out the grain, knots and so on – and provides a hard-wearing, durable surface)
Method:
- If you plan to store a large number of items of the same size, such as DVDs, then use a sample of what you intend storing to set your compartment inner dimensions.
- Like so…
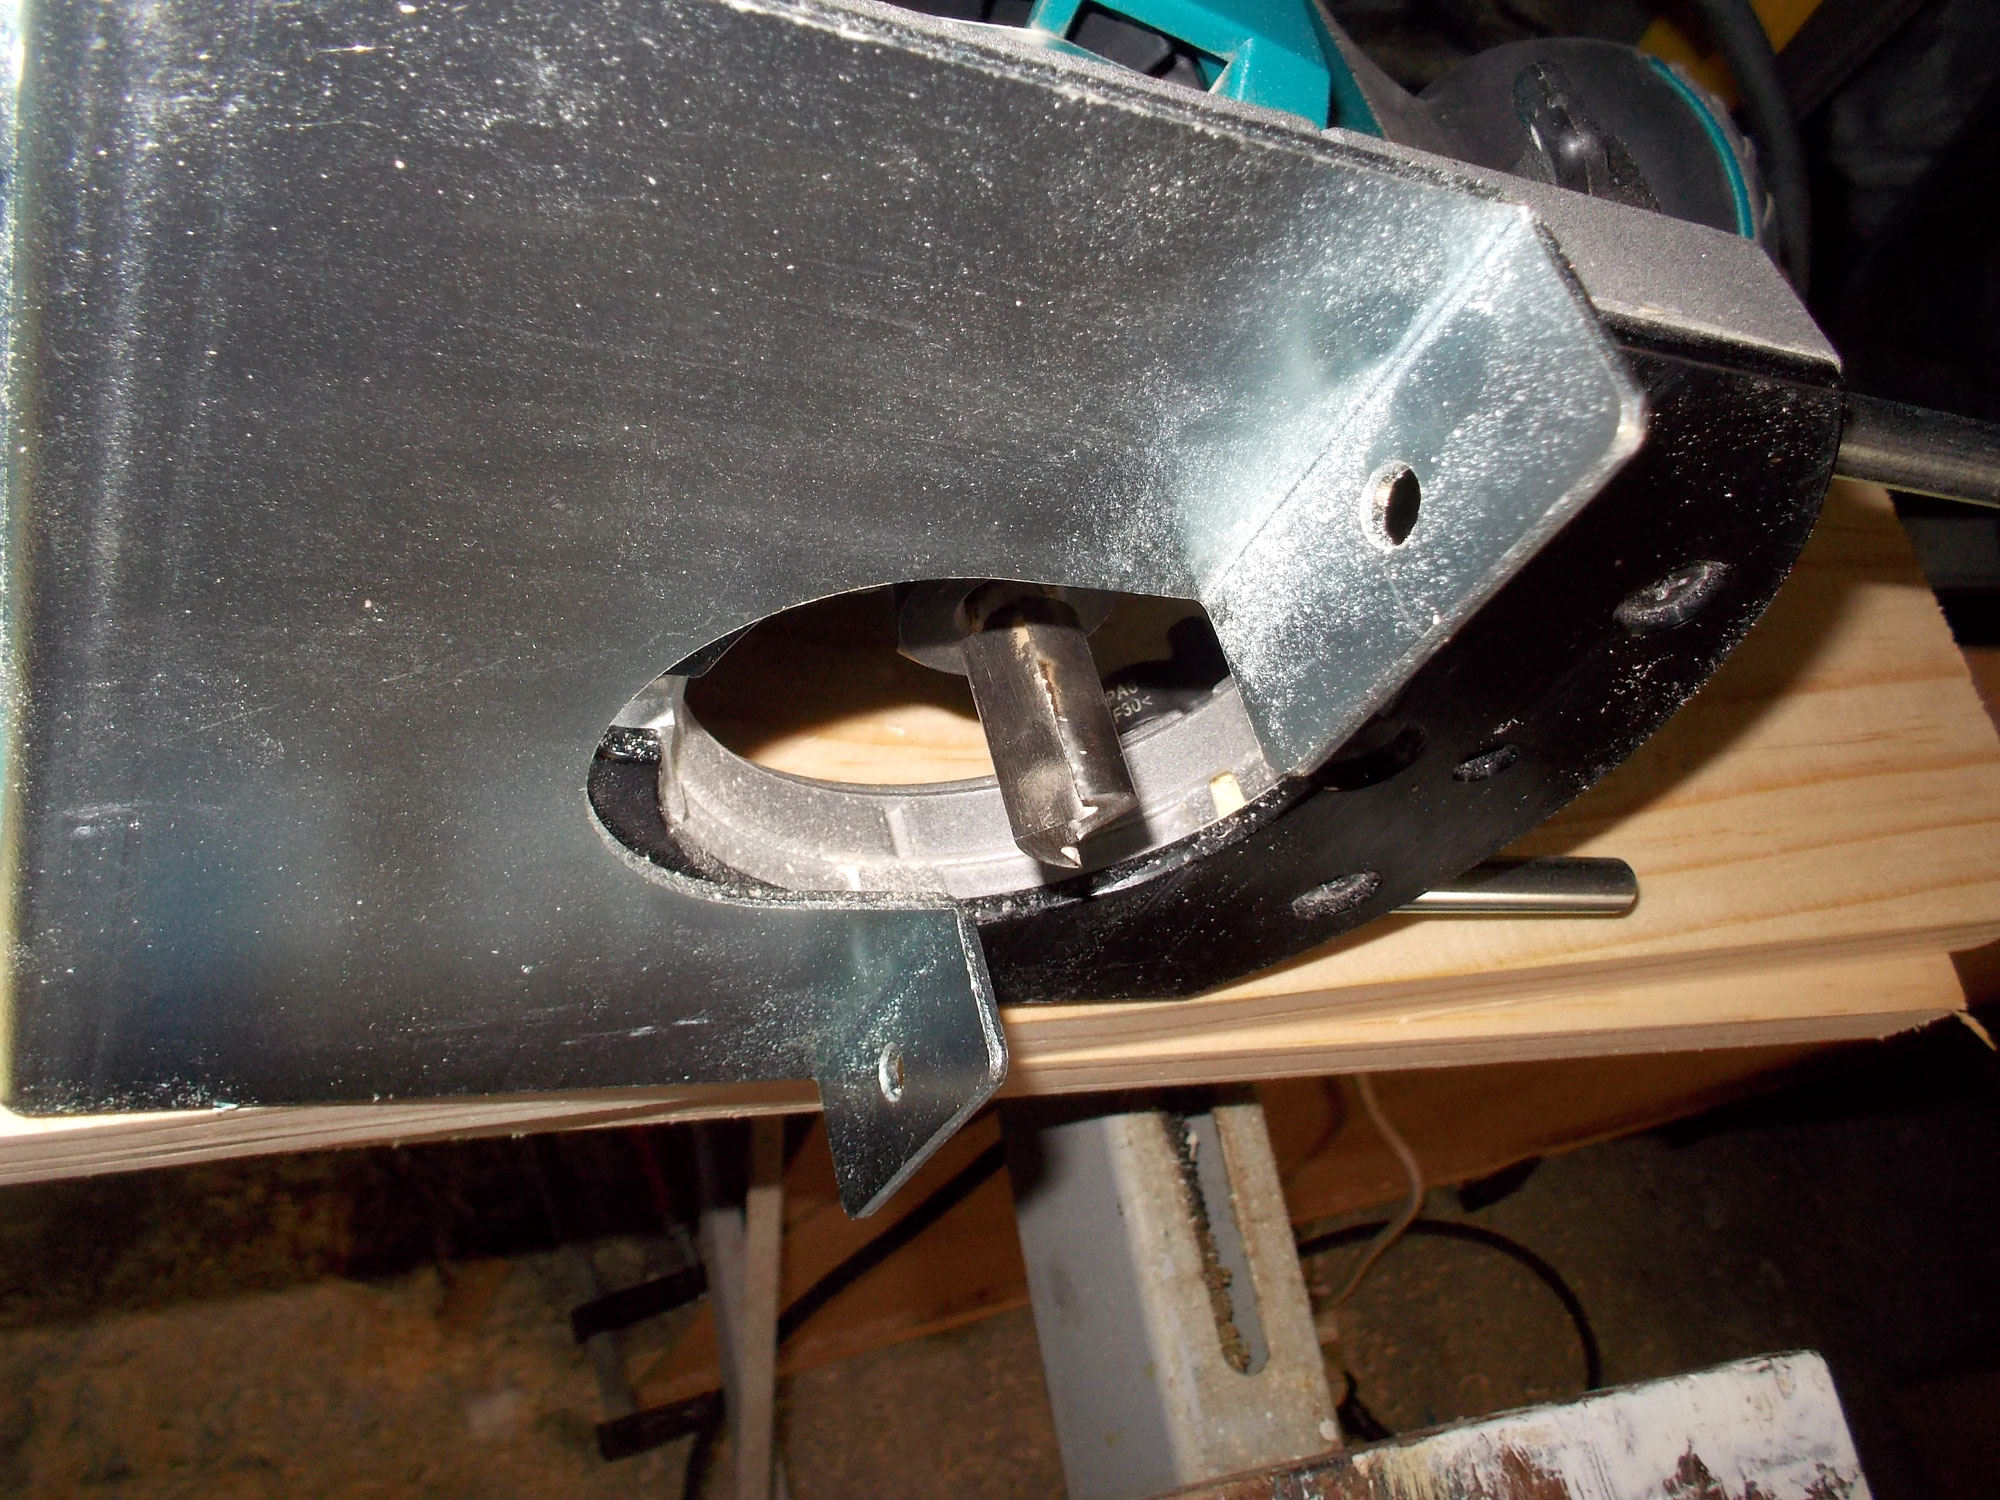
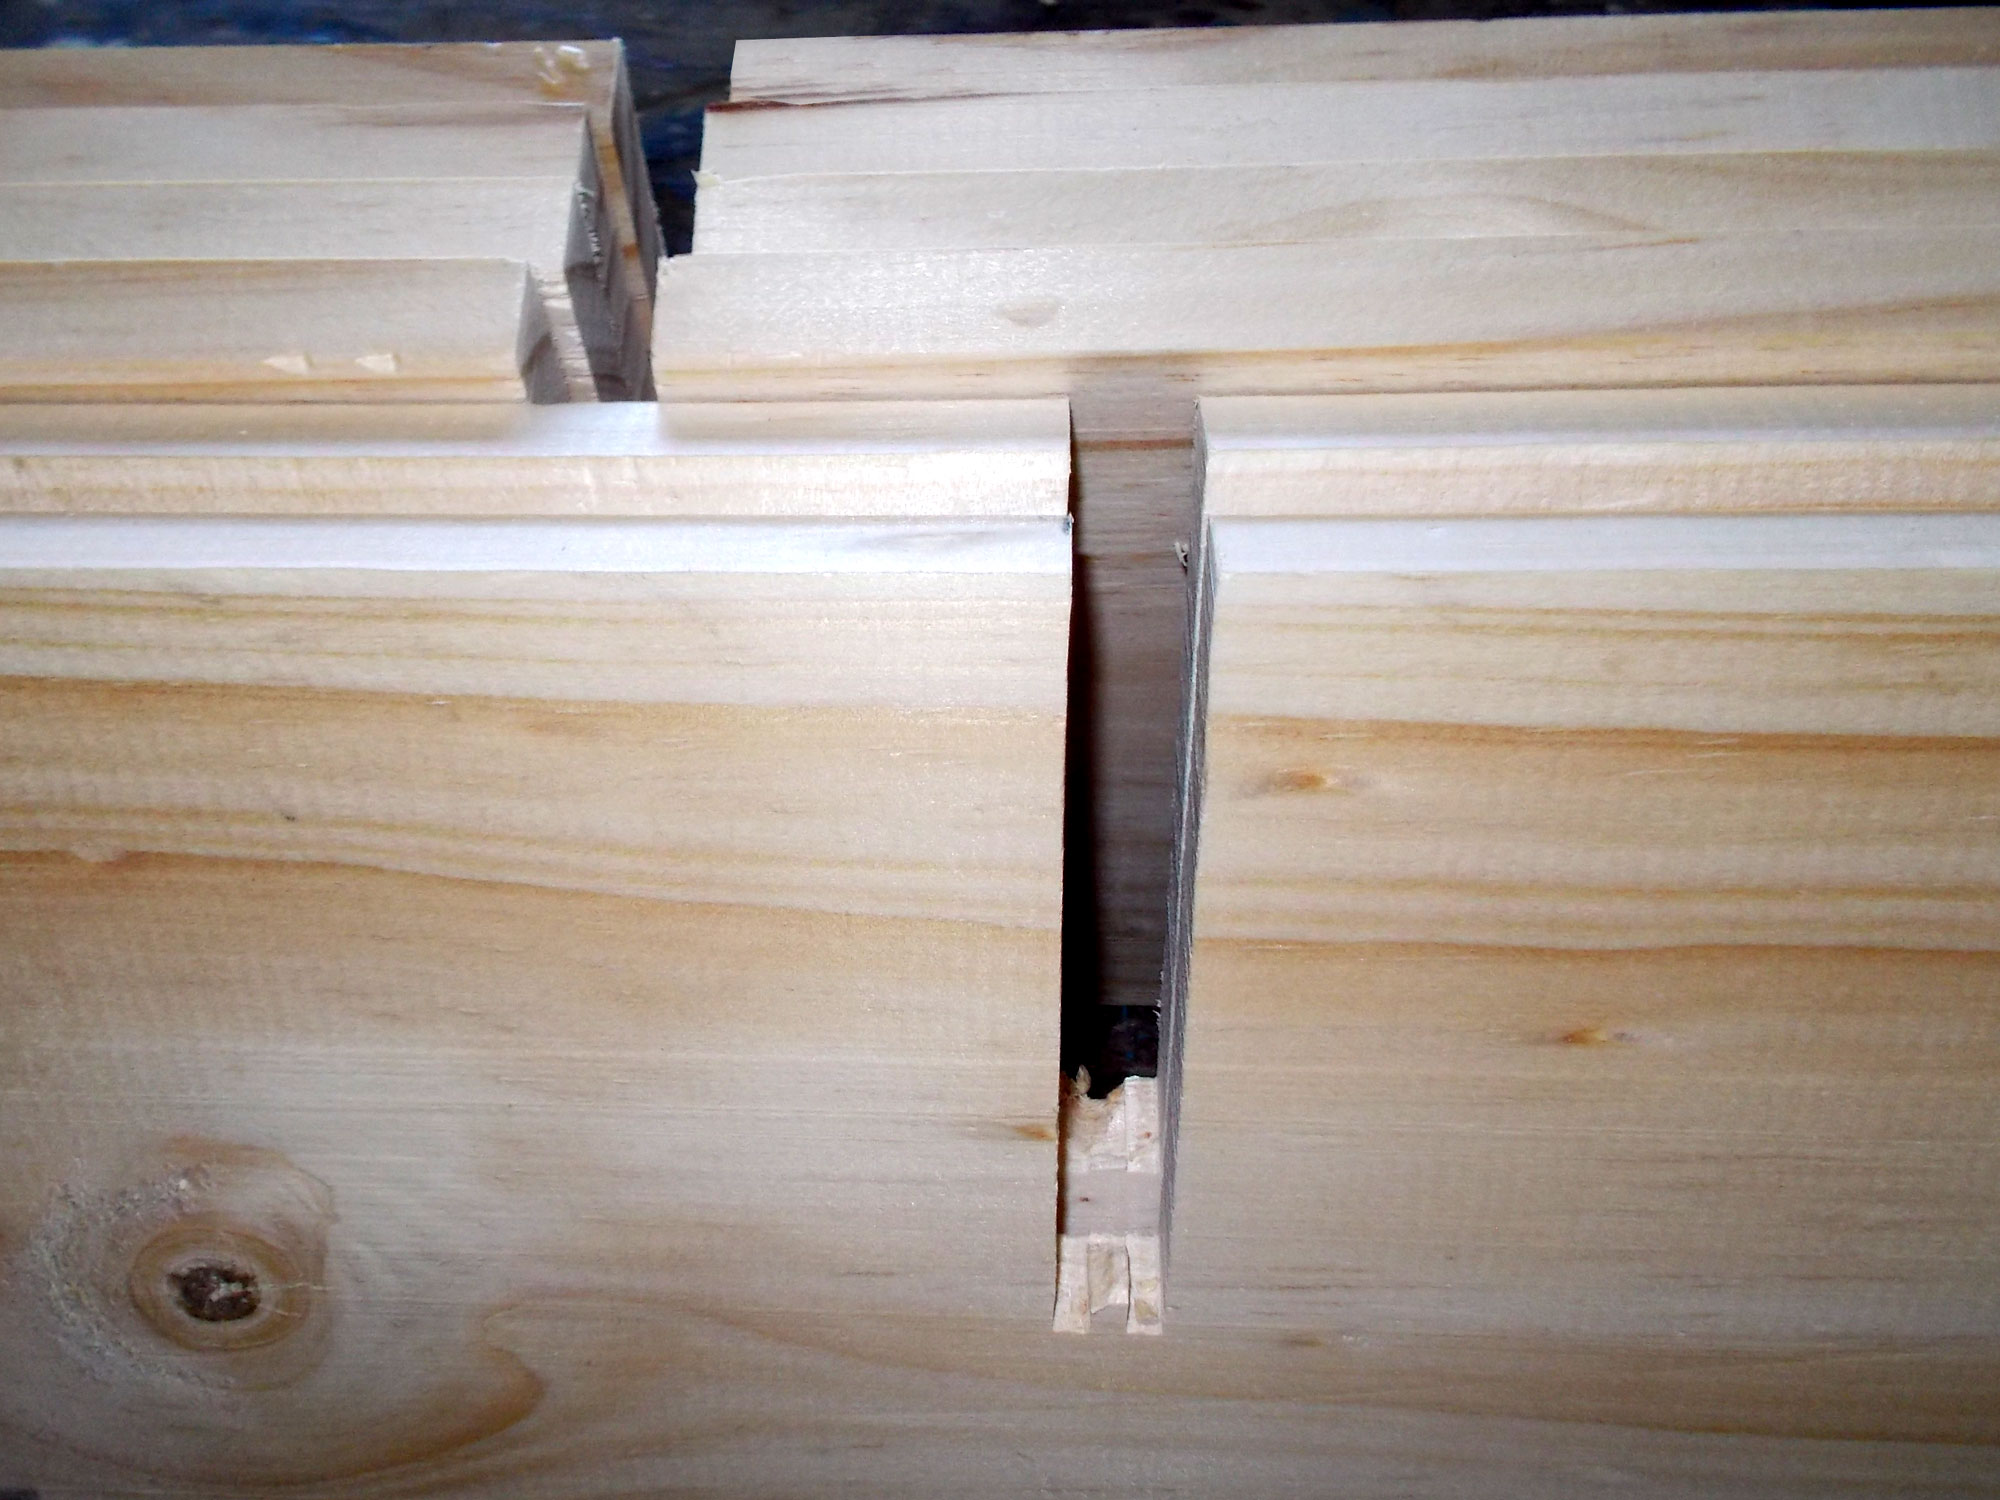
- I find it best when routing – for instance in this case the recess for the edge of the hardboard backing – to rout the whole length of the wood, and then cut it to its individual lengths. To rout the recess, I used a straight cutter.
- The recess is 10mm deep by 3mm wide, so set your router depth and width accordingly. It is also a good idea, once you have set it, to rout a short recess on a piece of scrap wood and check that the hardboard will be fully seated in it. Once that is done and confirmed, you can continue.
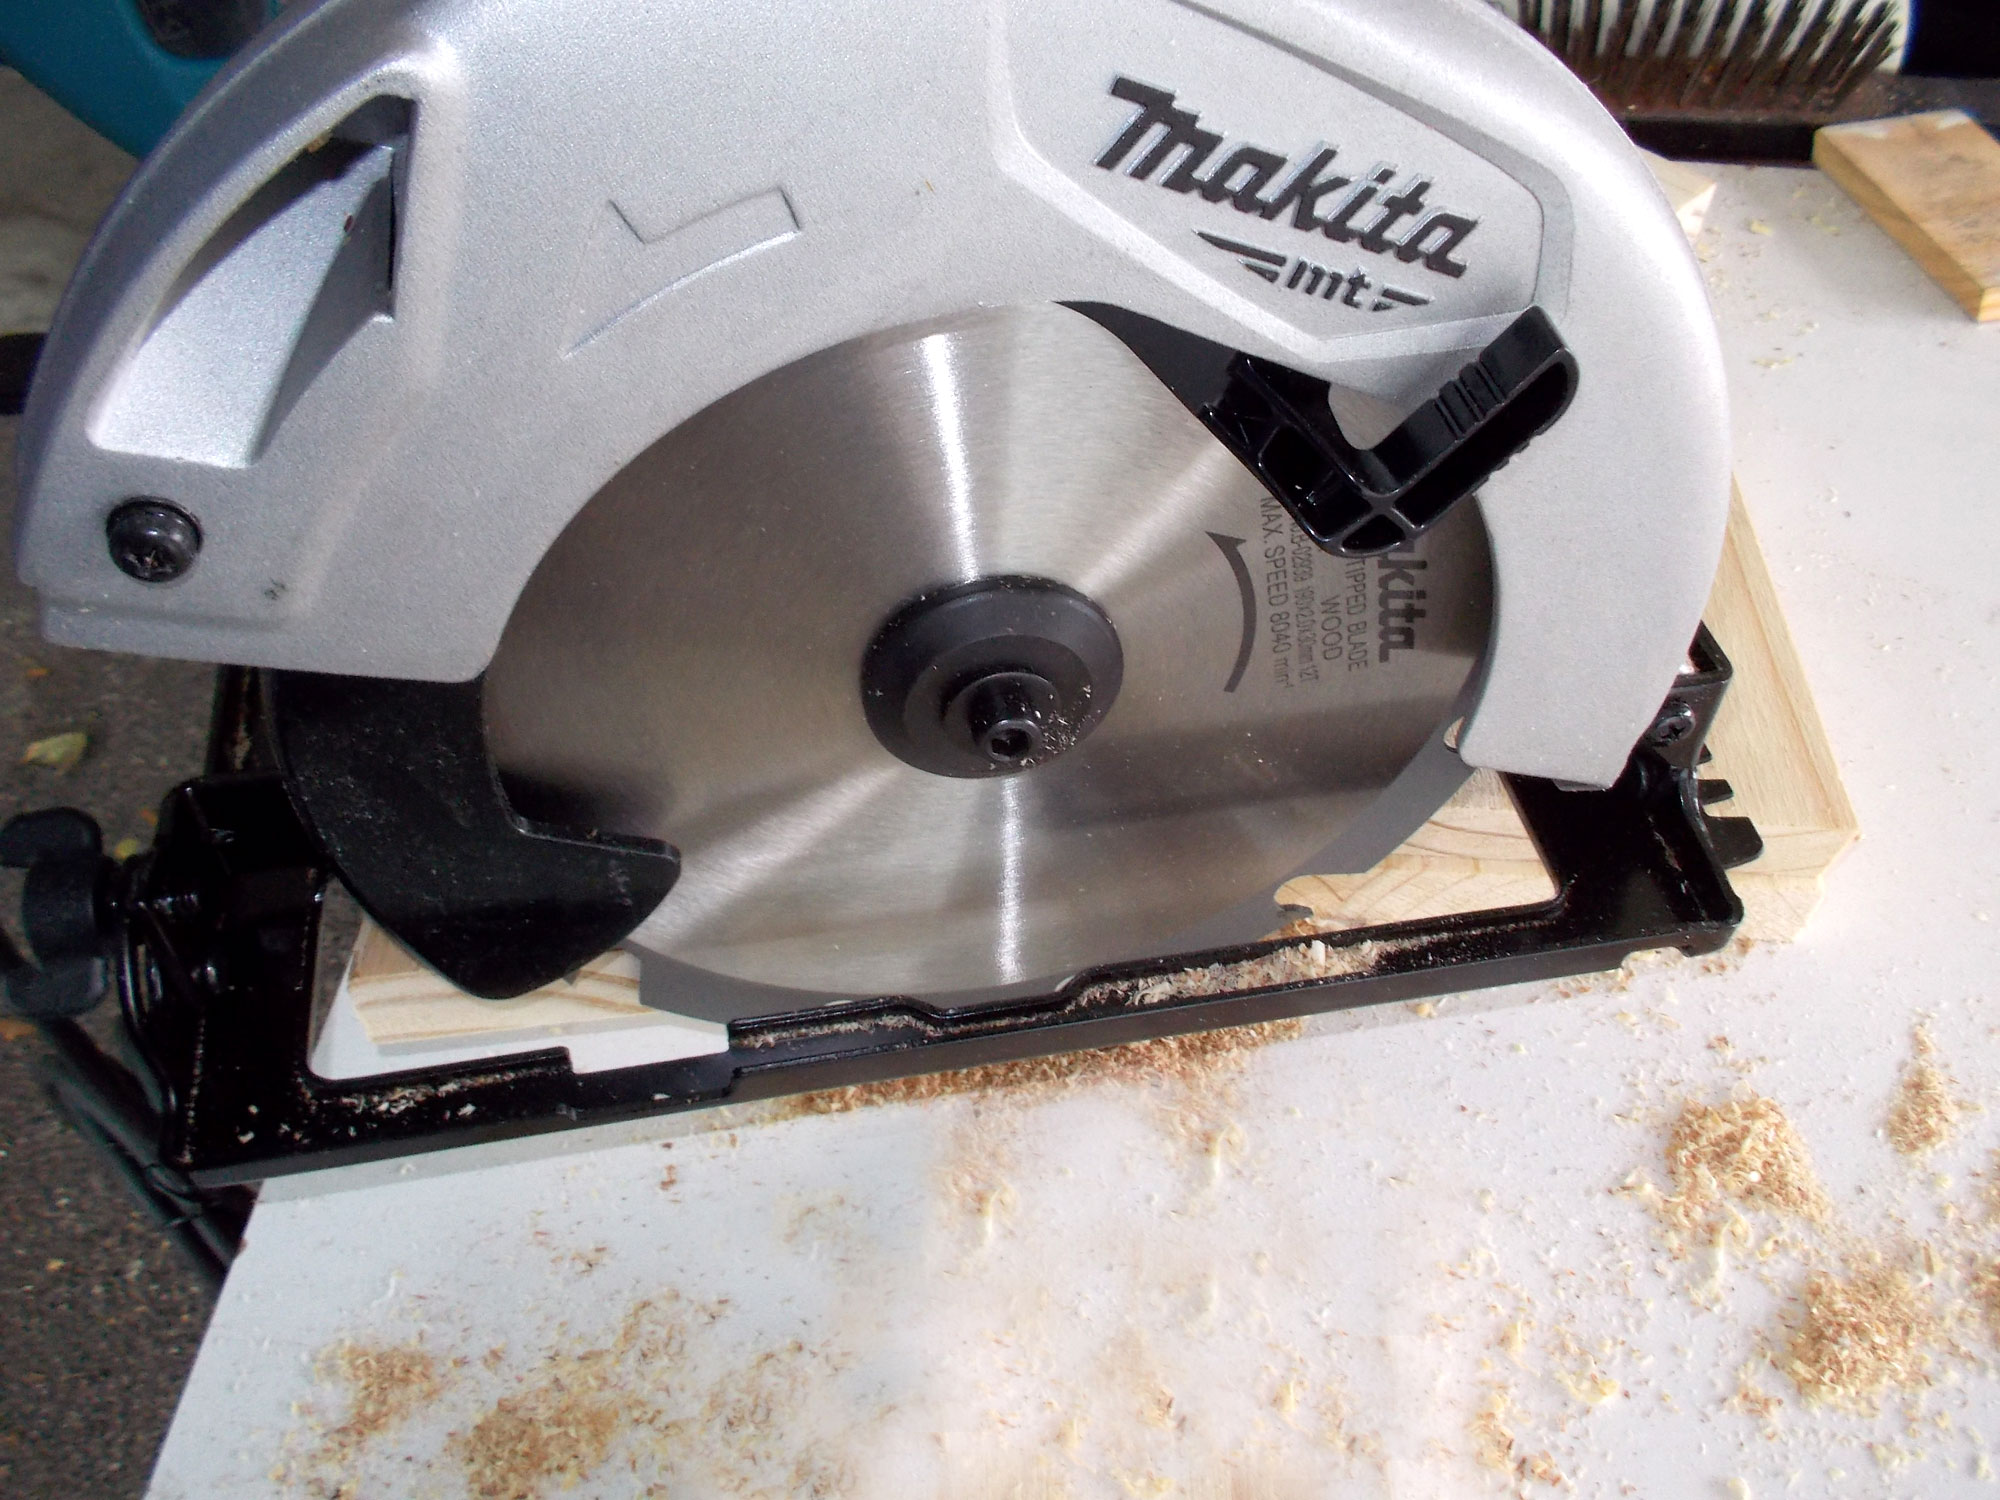
- Now cut your timber to the required lengths, measuring three times before cutting, to confirm what you plan to store will fit comfortably into the various compartments.
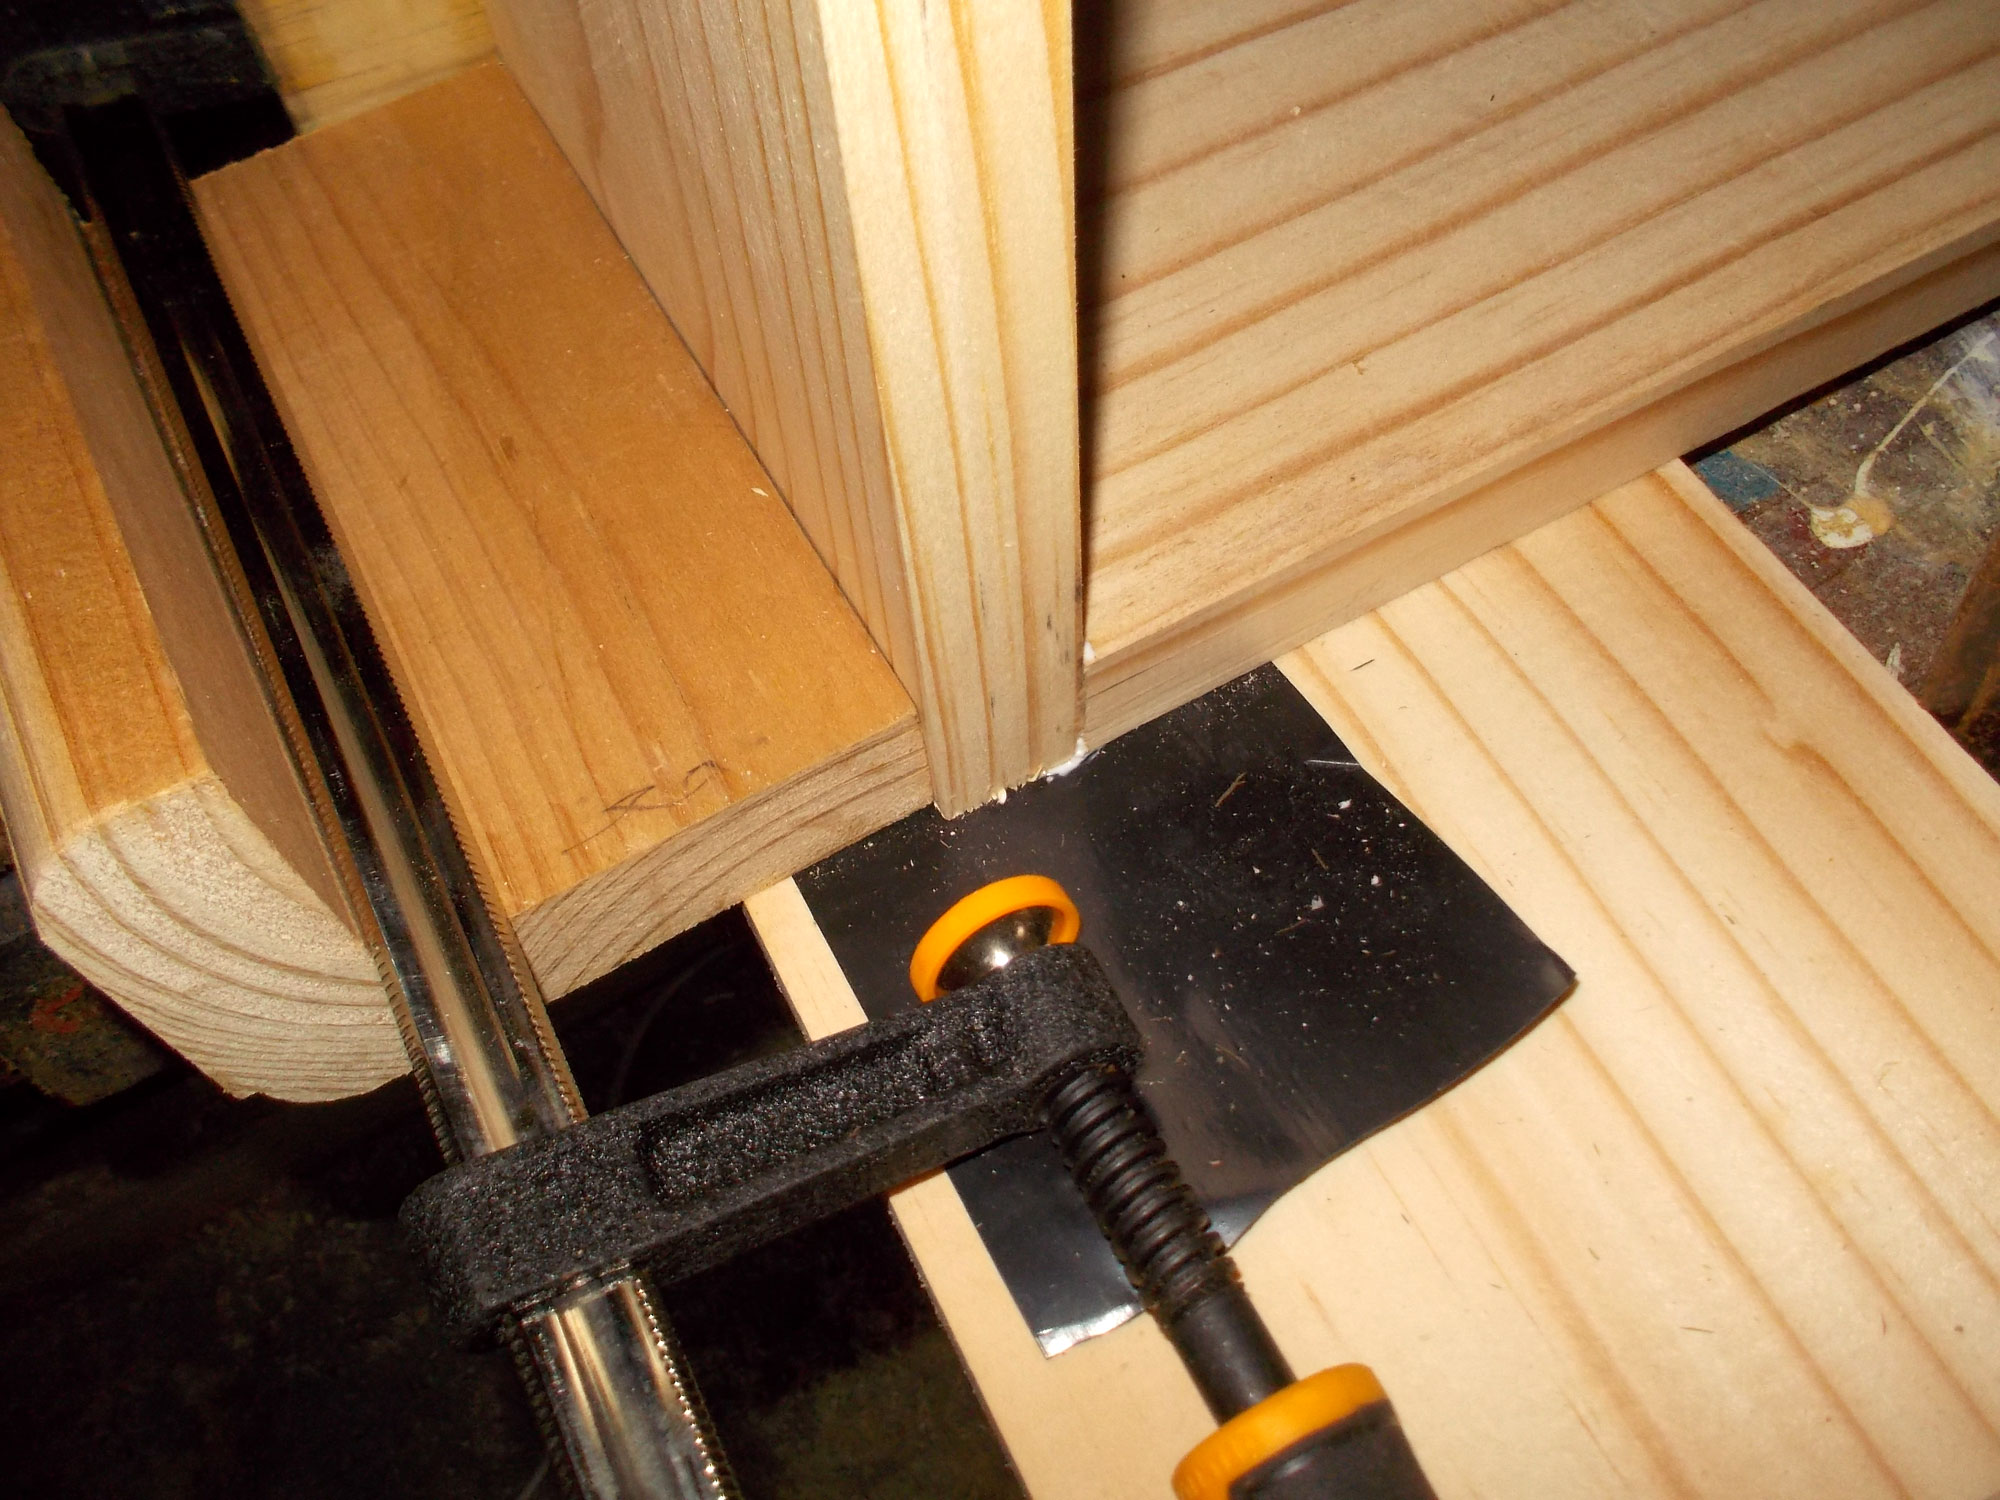
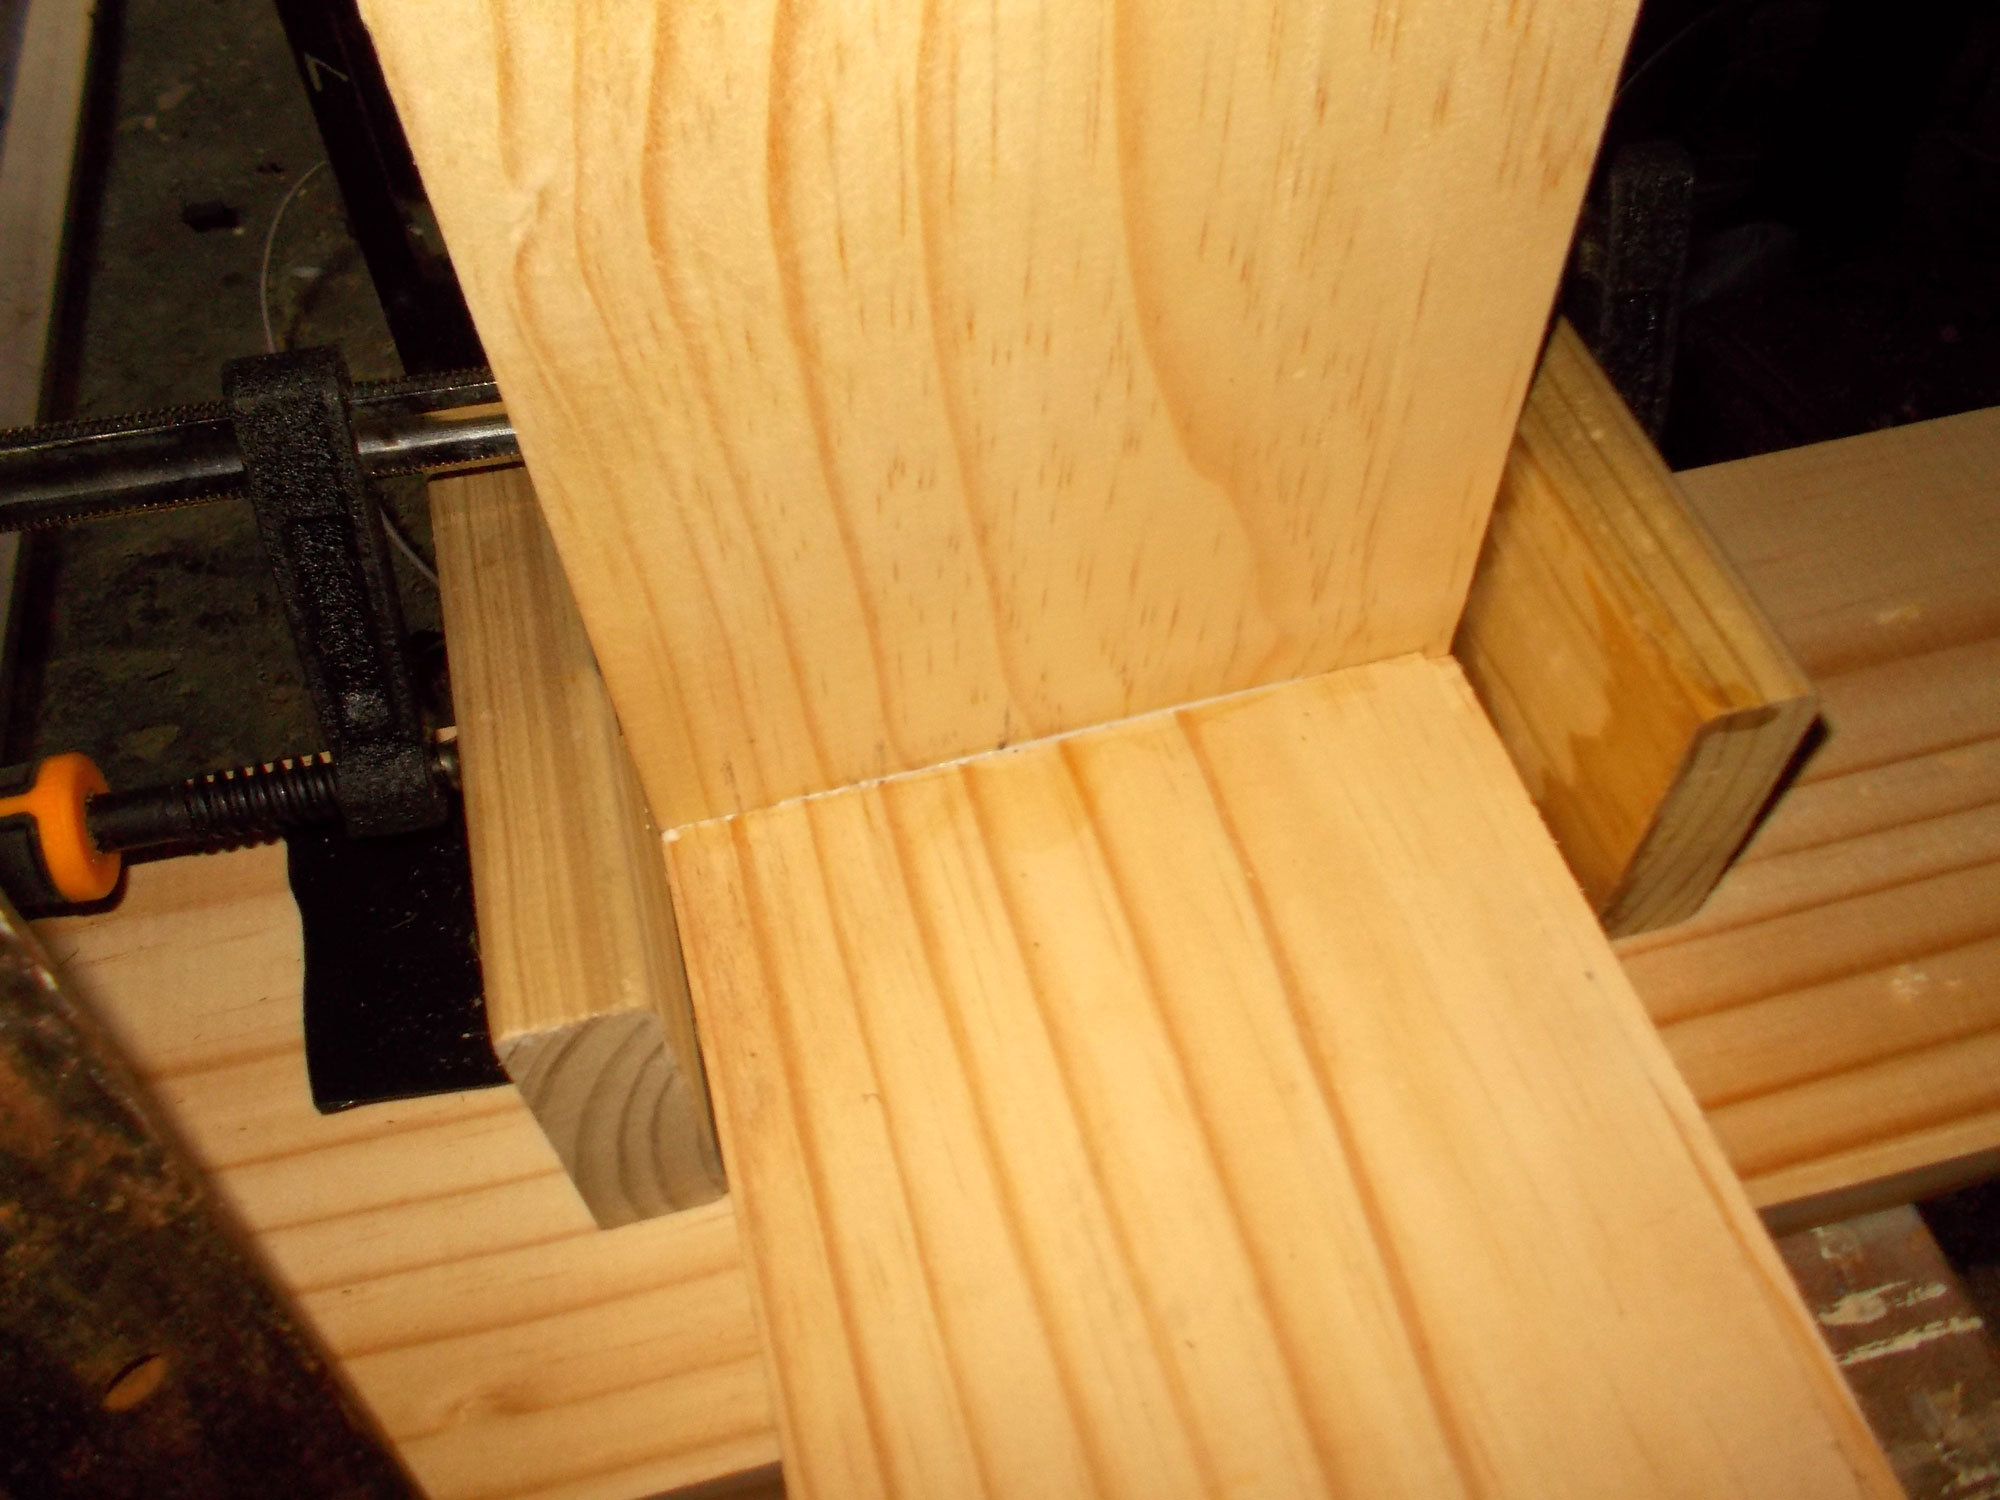
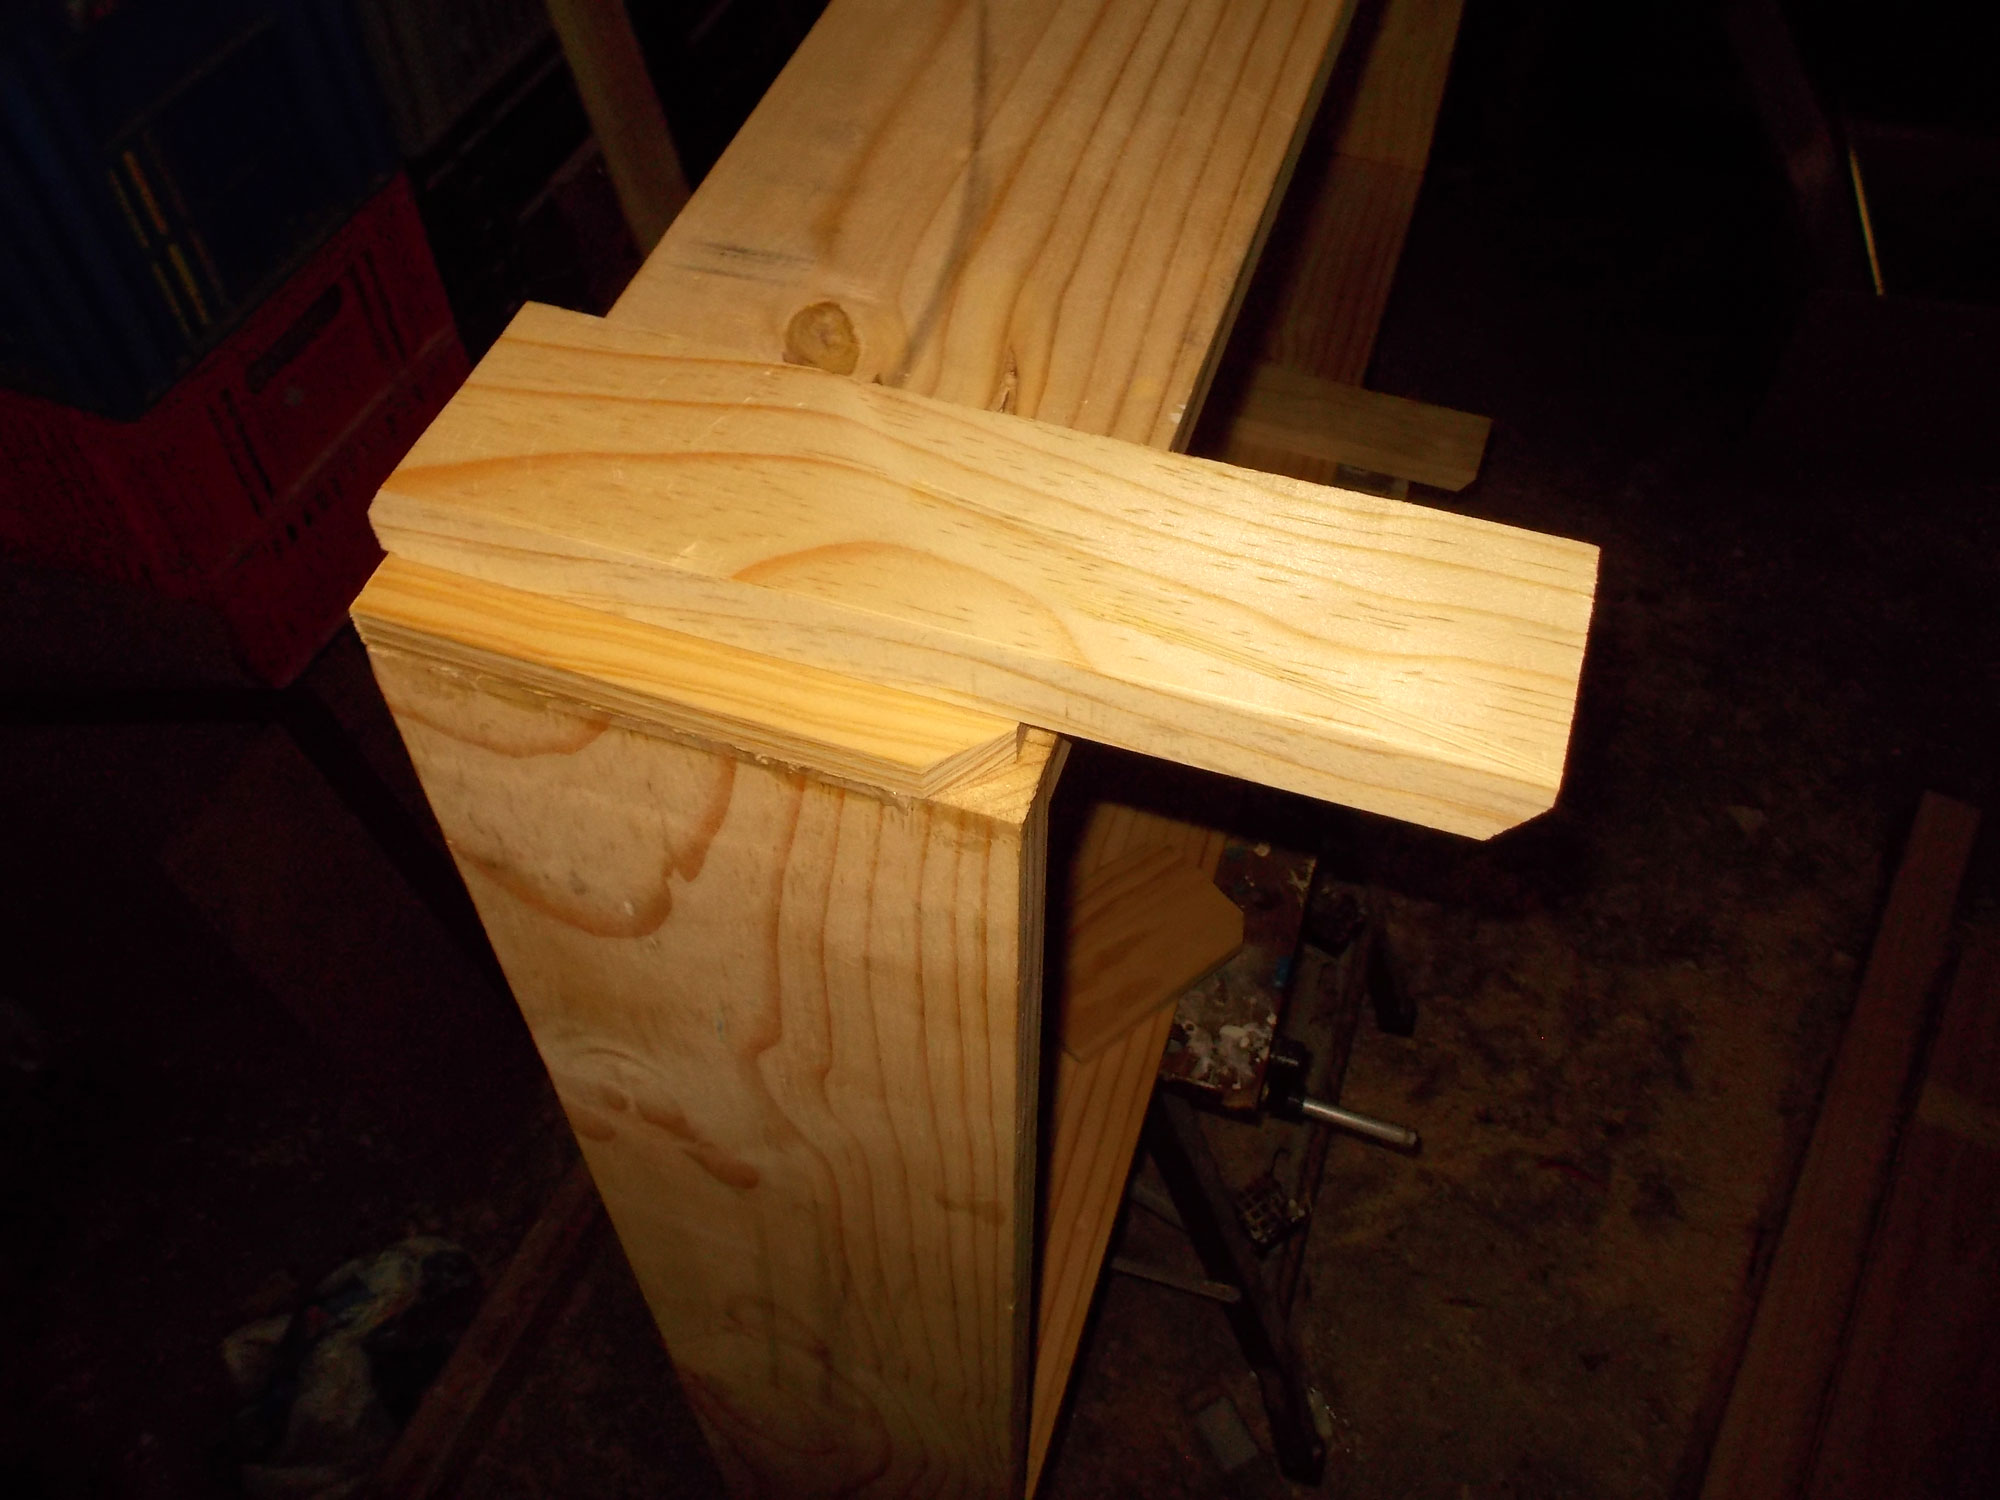
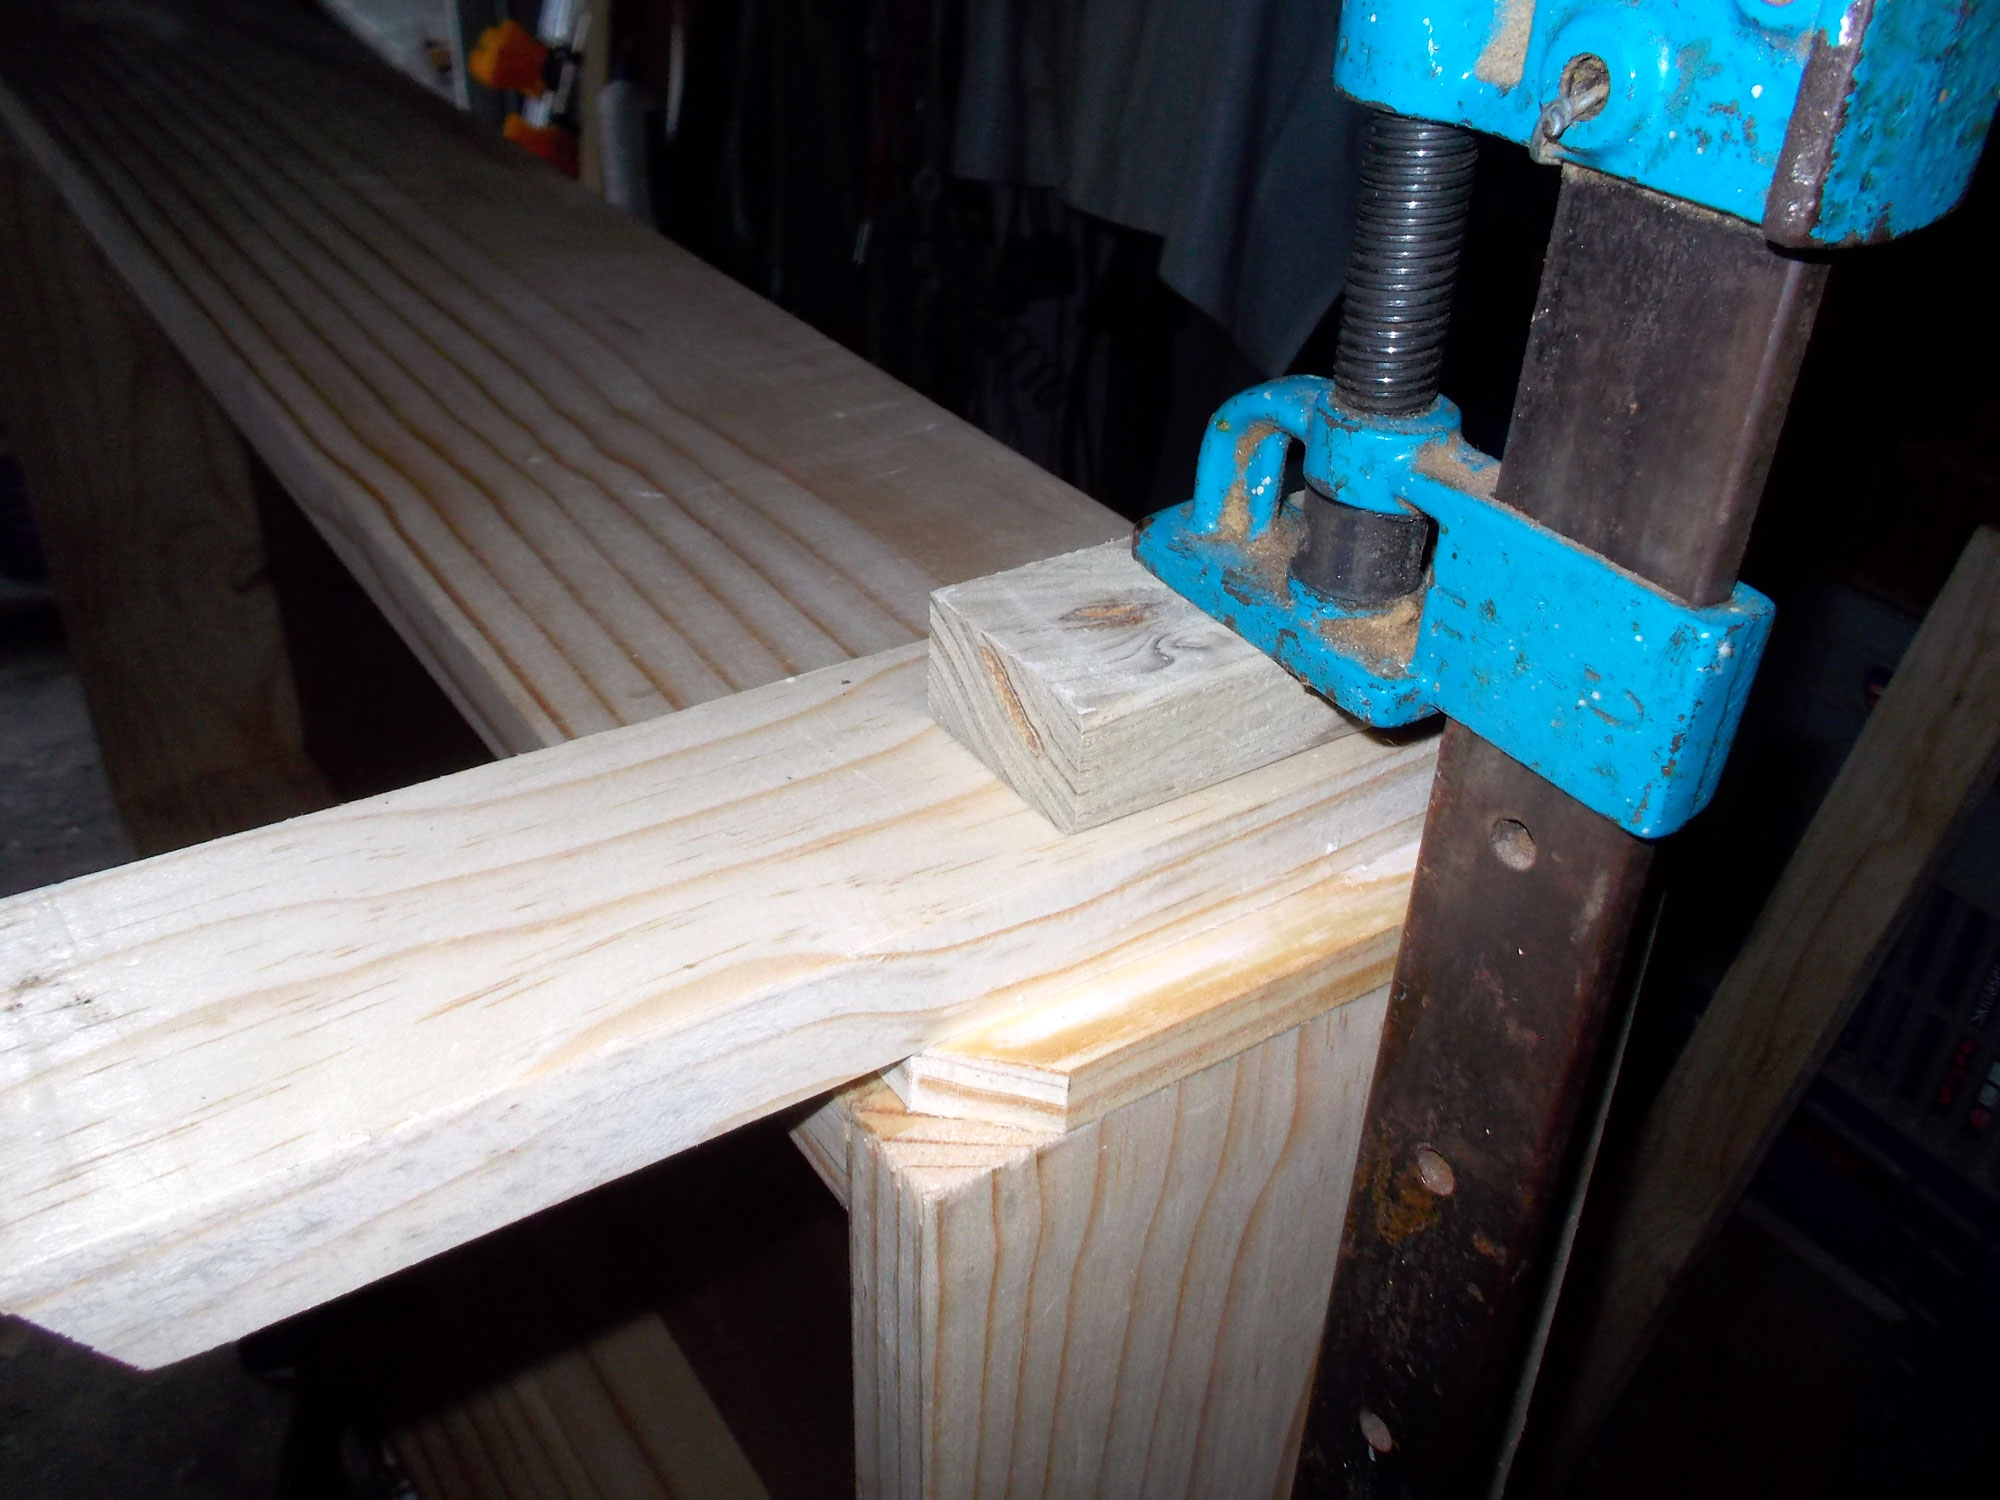
- Then I clamped one side to the base – note thee use of scrap offcuts to prevent the clamp pads from marring the timber though squeezing it and creating depressions – which would depress you too.
- A side view of the join, with one of the offcuts temporarily removed to show you how the size fits against the base, and not on top of it. Also note the use of some 250 micron plastic sheet (available at Mica stores) to ensure that the unit does not stick to the surface on which it is resting.
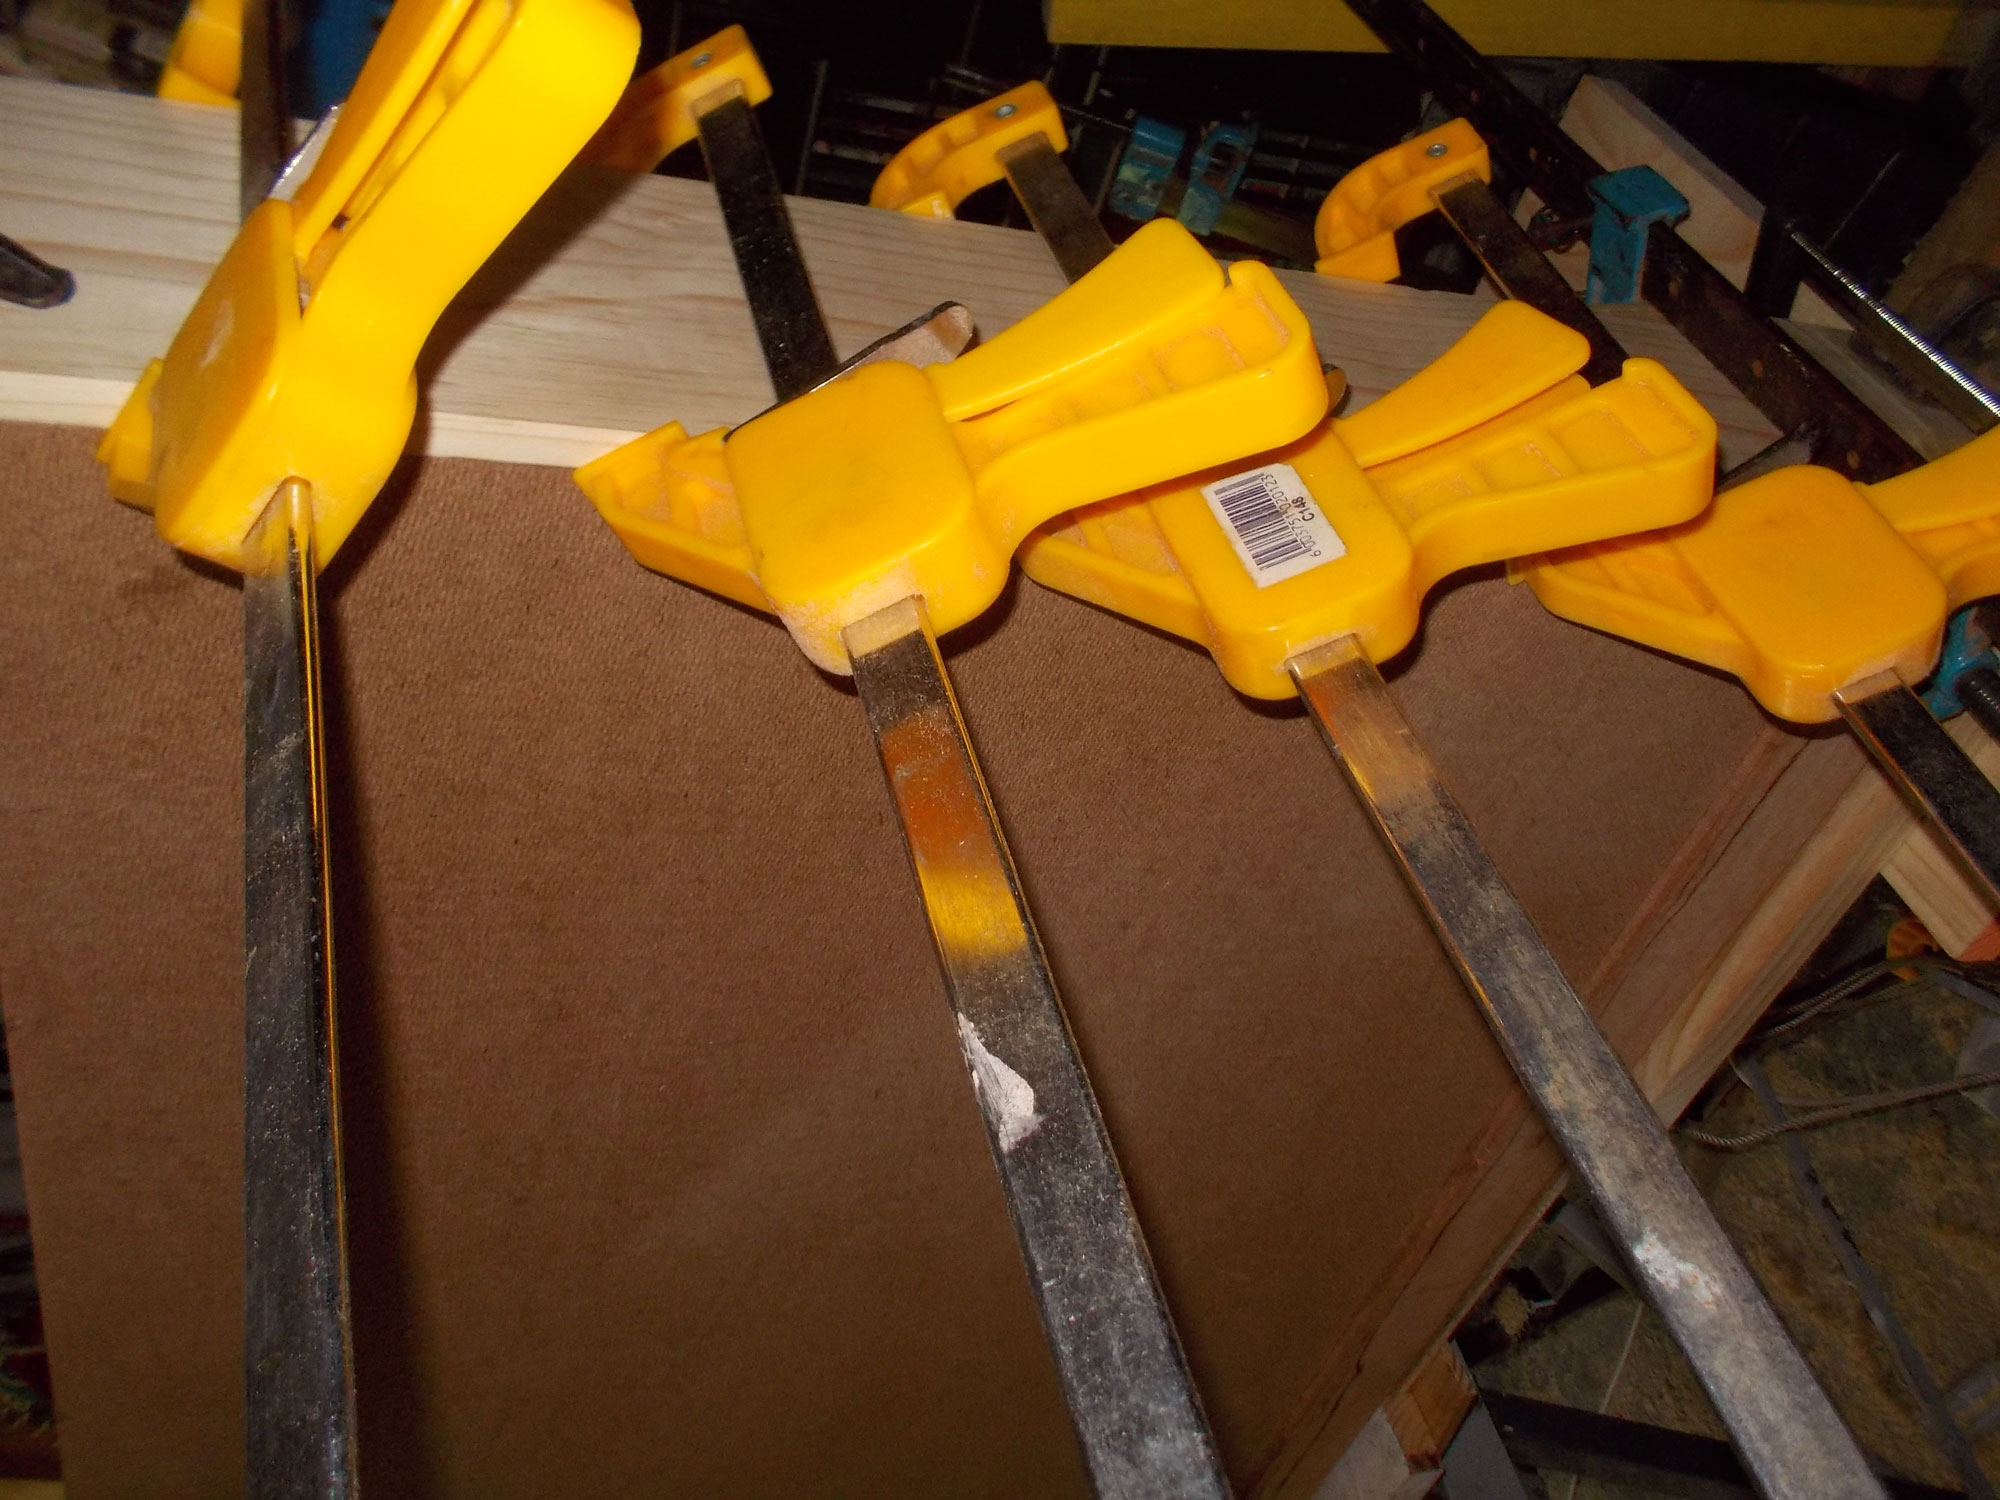
- I applied glue along the recess and fitted the backing, using plenty of clamps to hold it tight.
- This is the view from what will be the front.
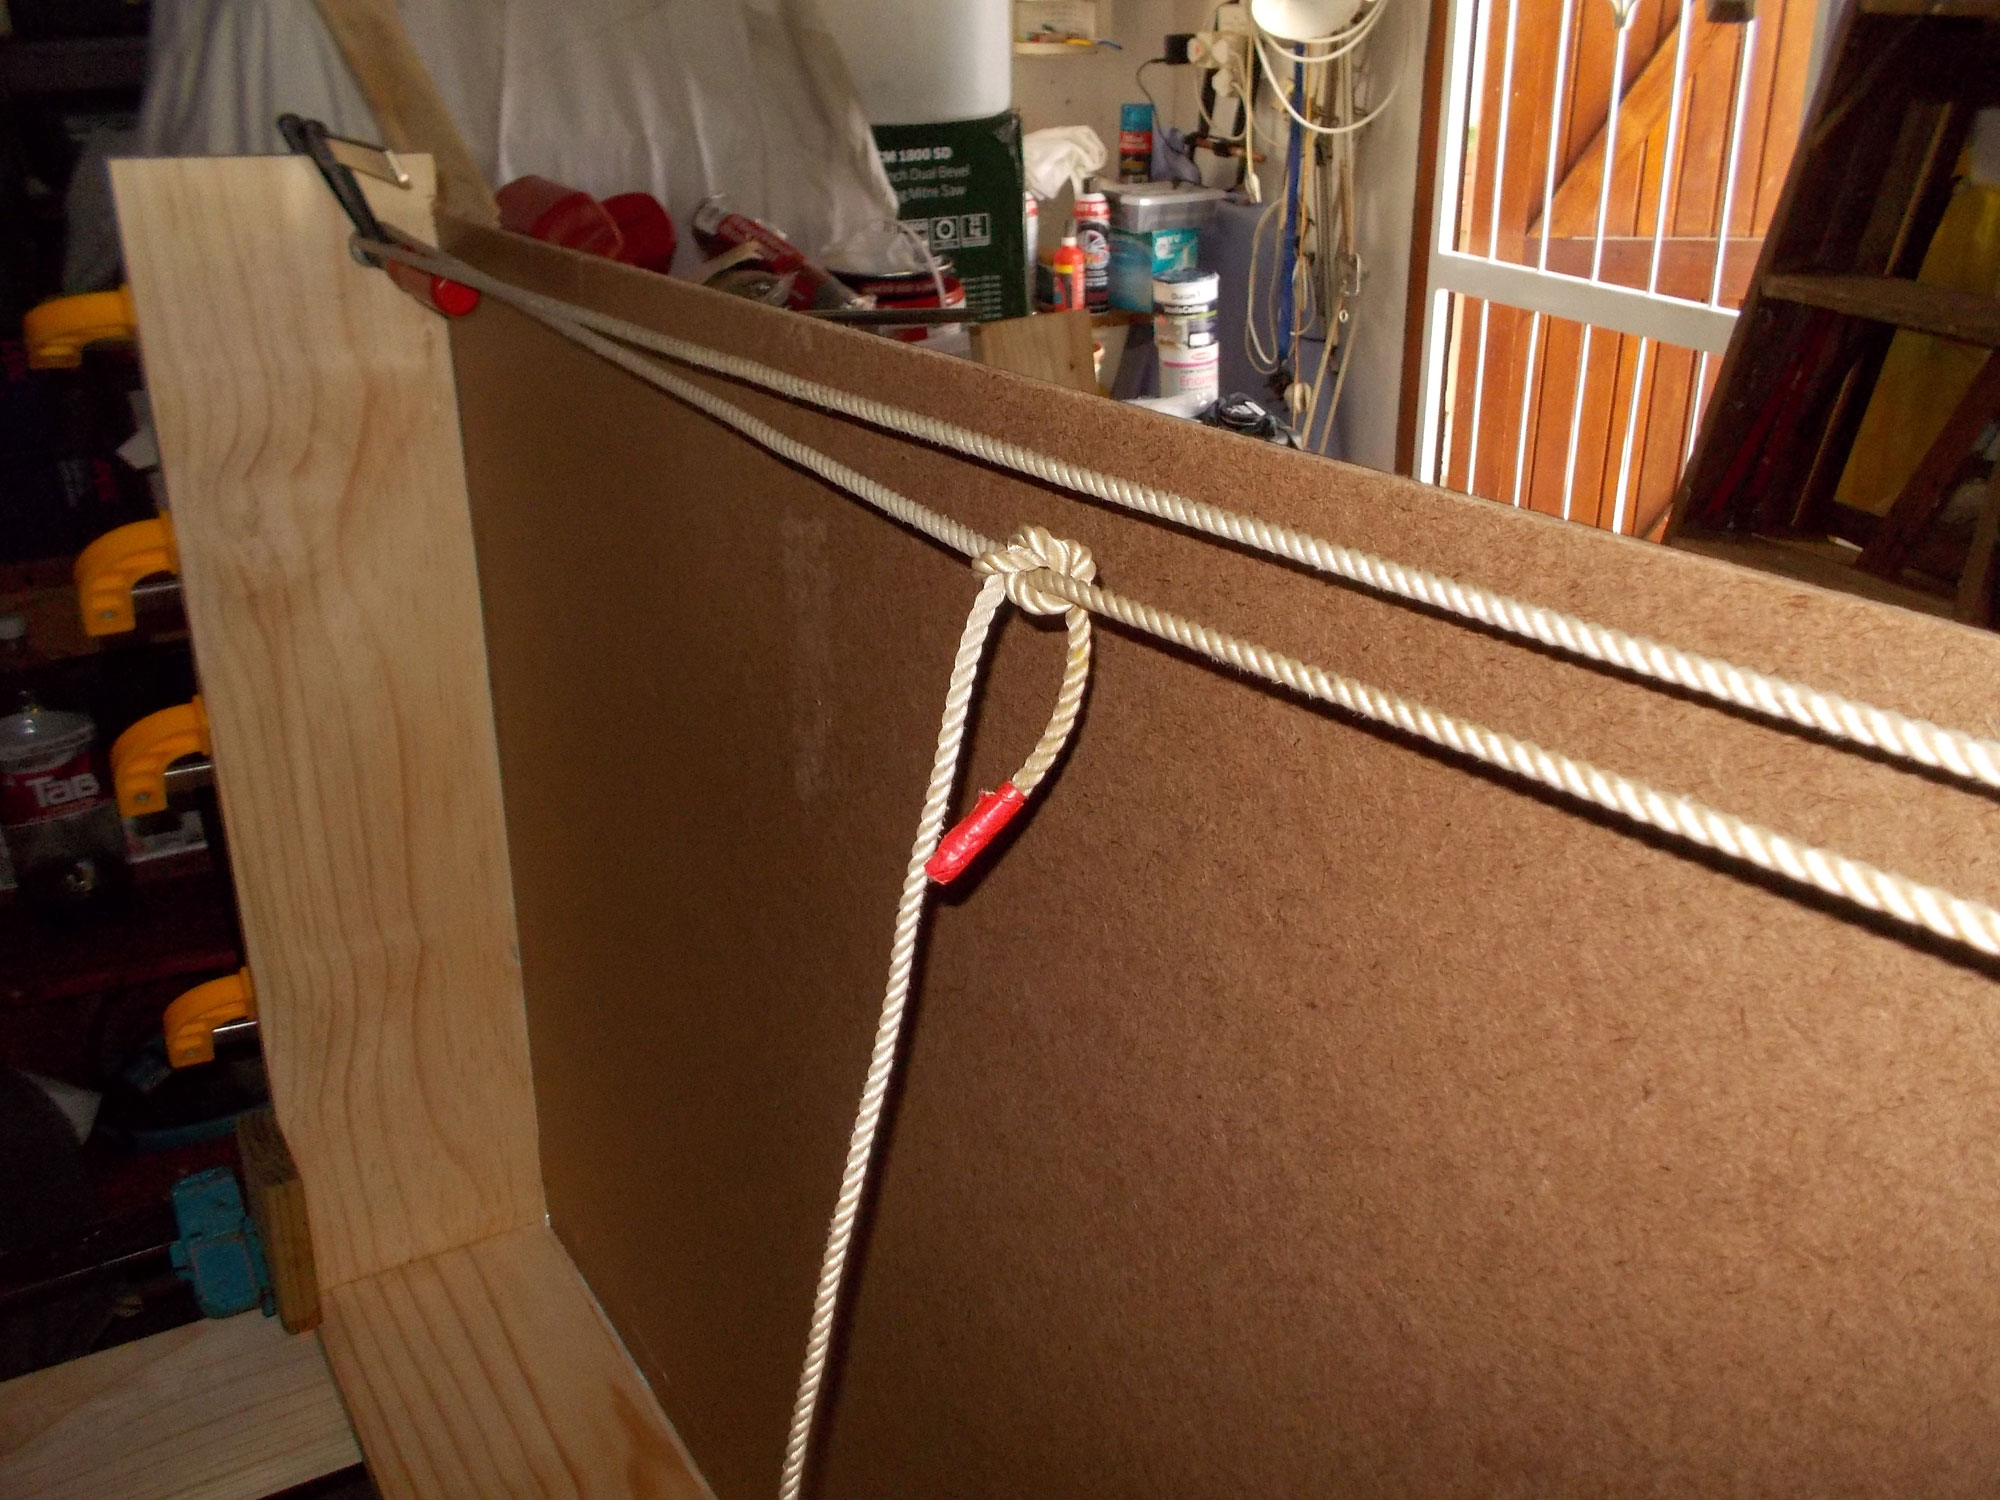
- I used a length of sash cord to also assist in holding everything together. Note, at this stage it was only the base, one side and backing that has been glued.
- While the glue was setting I carried on with the feet… from the offcut of the 1.8m ripped length of 22 x 222mm, I cut two feet, each 250mm long and bevelled the front, to look a bit better, and the rear bottom edge at 45° to enable it to be moved more easily over a carpet without pulling out any threads.
- To make up the height of the unit to the required 700mm, I cut a couple of length of the 12x144mm to create the two spacers shown here – one in place and glued to its foot, the other still to be glued to the other foot.
- By the time that was done, I could complete the main unit, attaching the top and second side to the base and backing board and allowing that glue to cure. Once that glue had cured, I glued the feet to the underside of the base.
- Ensure that are clamped into position while the glue cures, but do not apply so much clamping pressure that the glue is squeezed out. Caution: A word of caution… in wet weather humidity can be so high that it affects the glue’s curing time, so allow double or even triple the time so that the glue can set properly before you release the clamps and/or apply a sealant or finish.
- While the feet were curing, I set about cutting the partitions… making cuts 12mm wide and 72mm deep in the pieces, as shown here.
- I did a dry fit after the first cutting to ensure I had a tight (but not too tight) cut width.
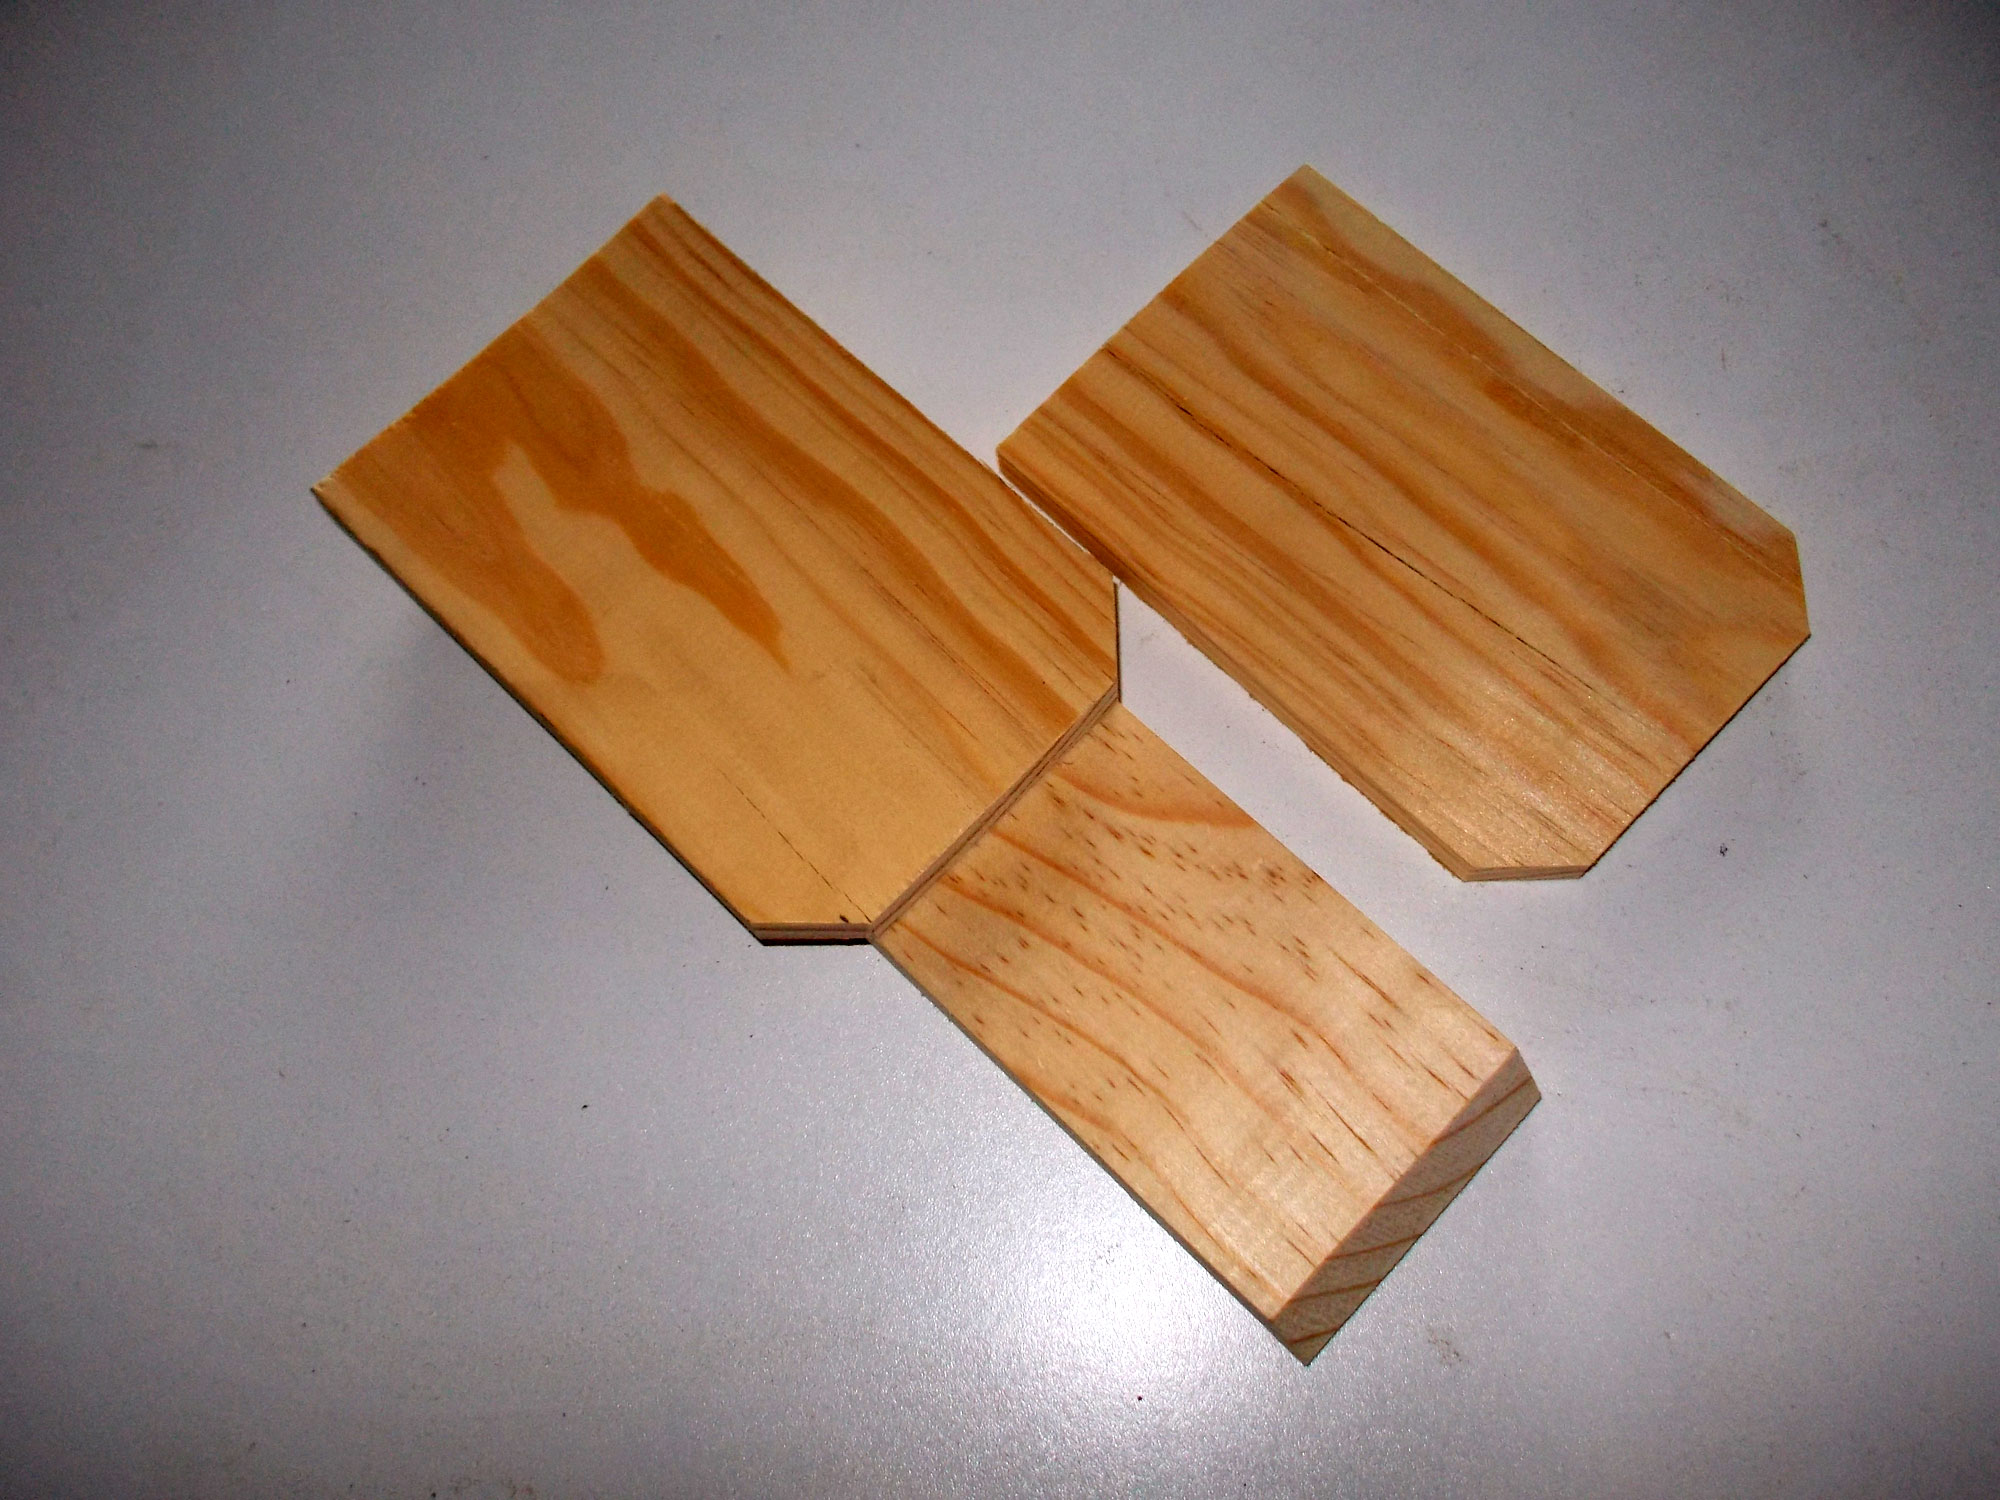
- This is how the partitioning fits together.
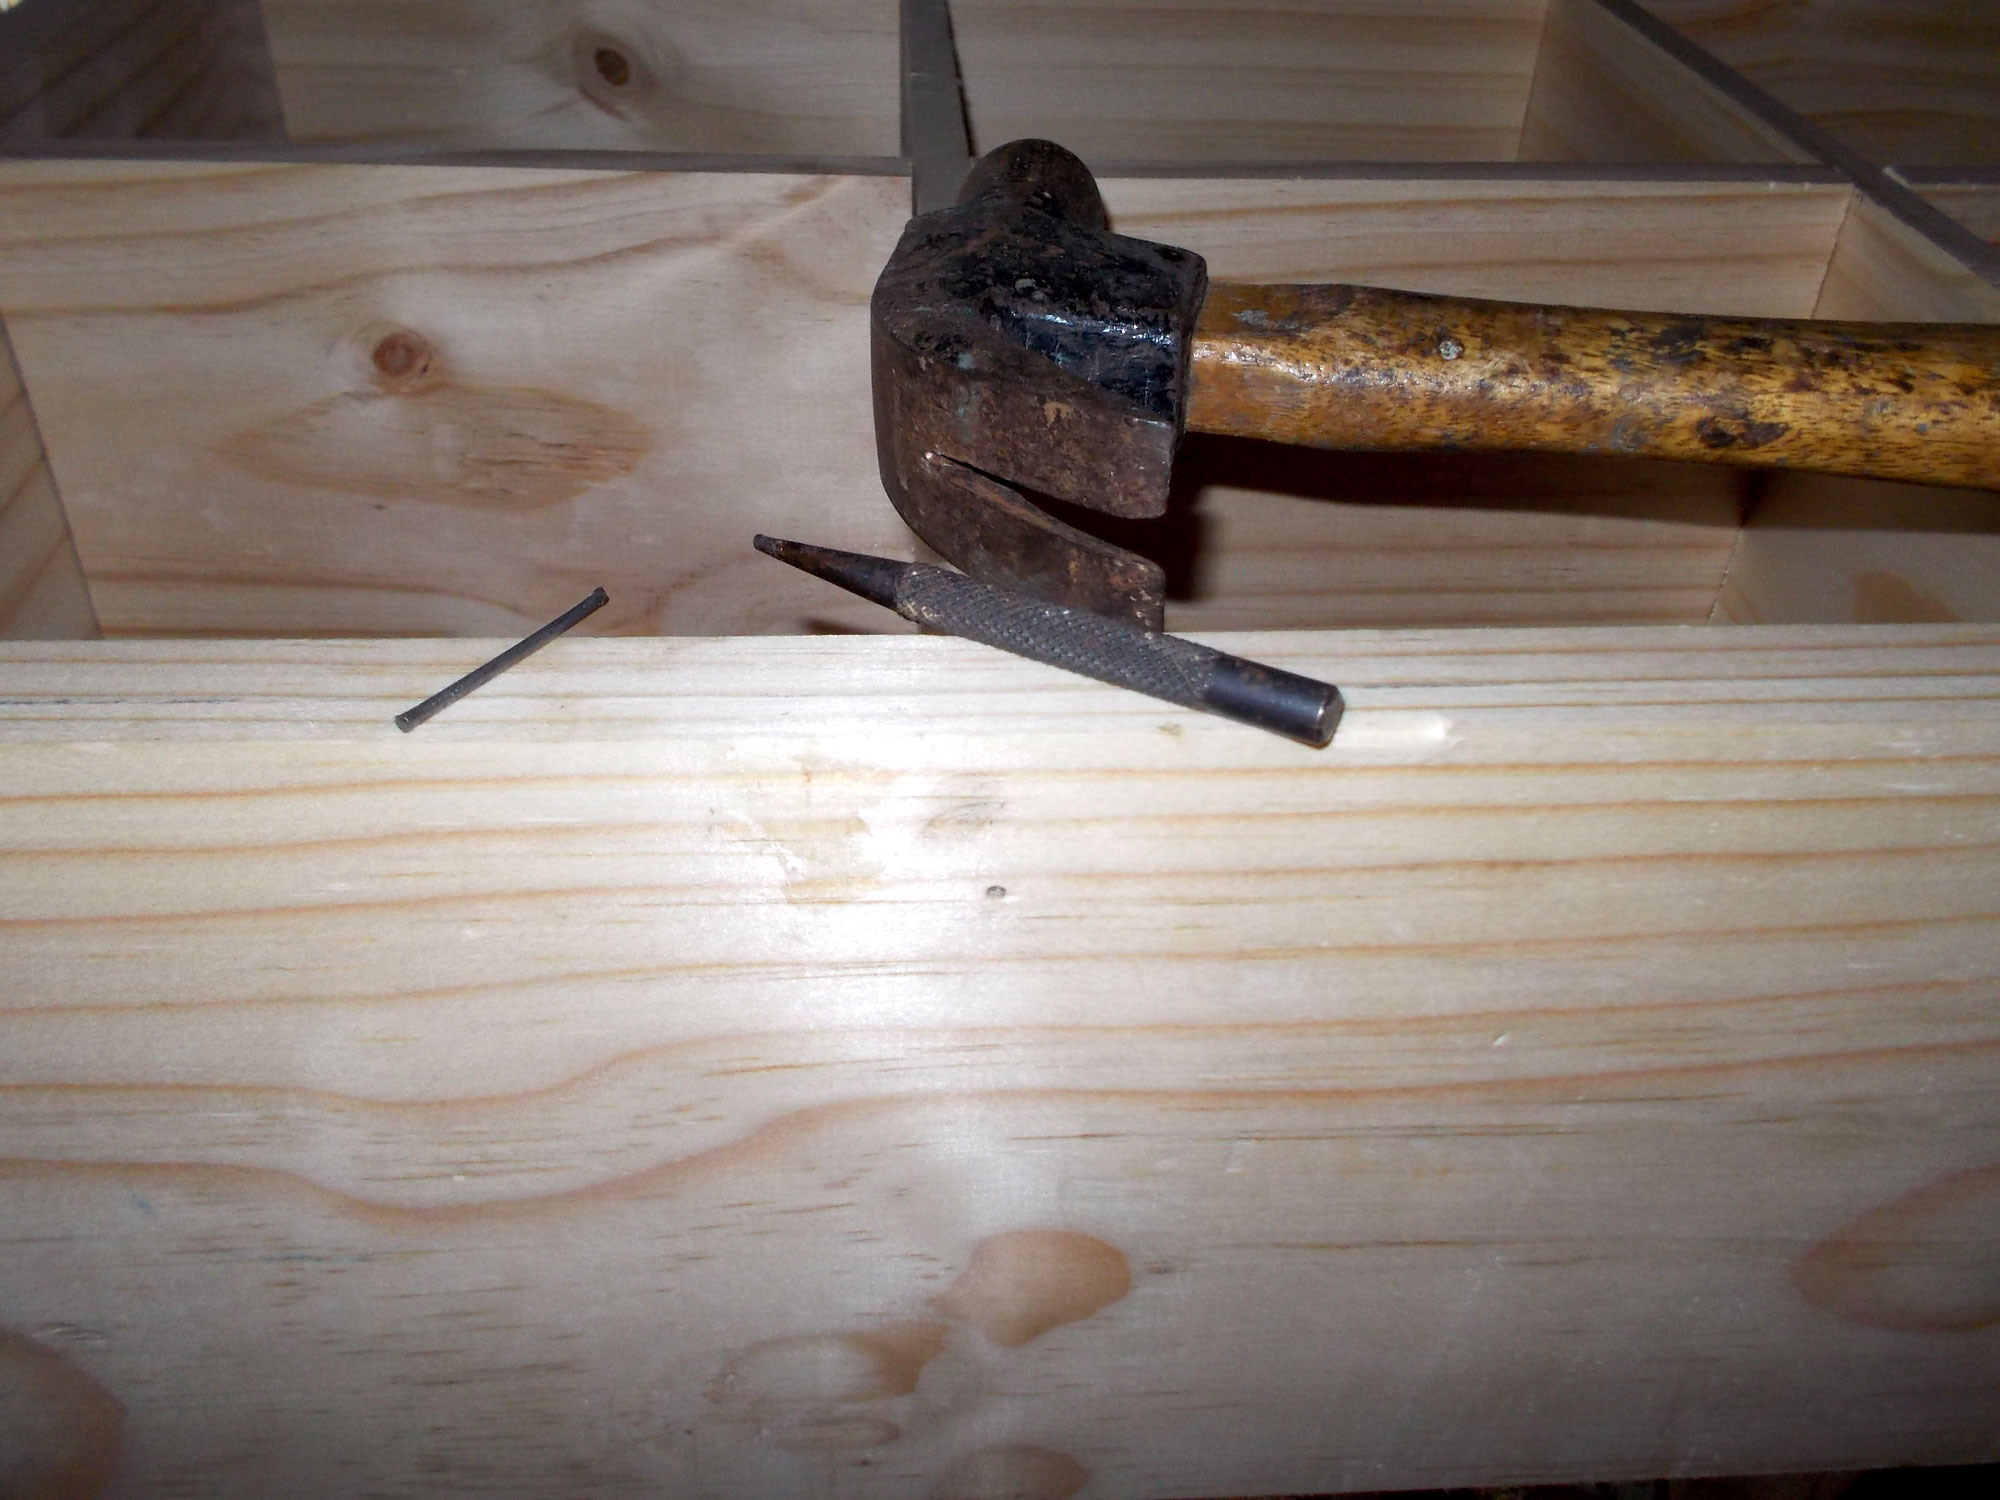
- With the partitioning assembled, I pushed it into place… a very snug and hence neat job… and secured it on each side with just one 40mm panel pin per side. This locks the partitioning securely in place.
- I countersunk the head of the pin about 2mm.
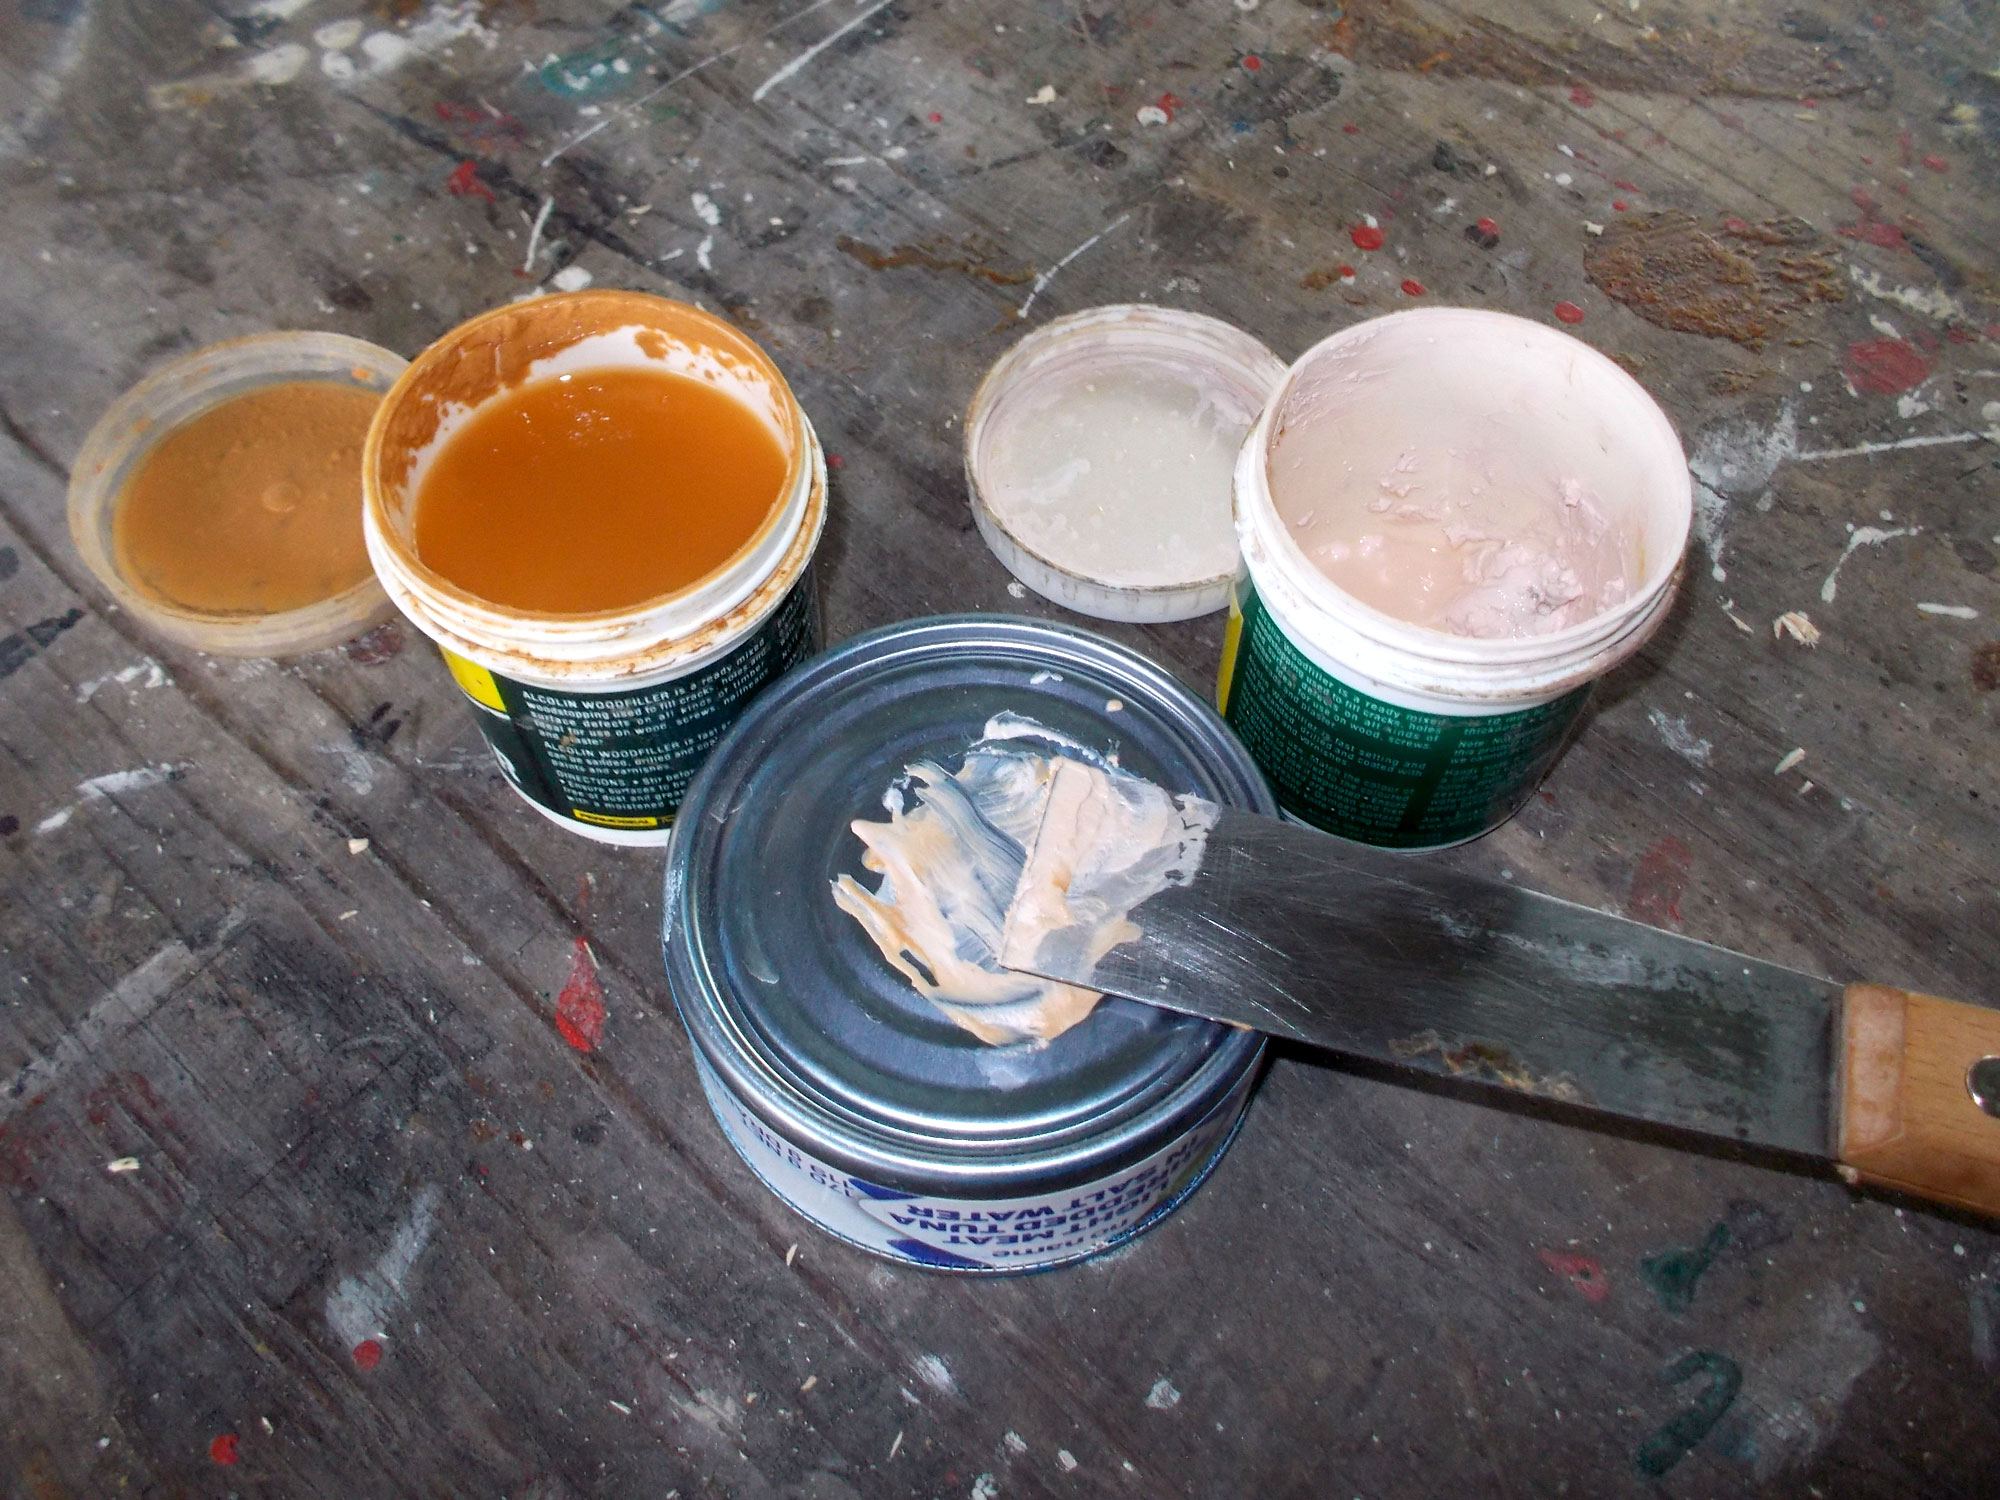
- Then I mixed up a matching filler sample. Note that wood fillers are manufactured to match the various wood colours as closely as possible, but wood is a natural product, so its colour, even within the same tree or length of timber, can vary. So use a couple or more of different colours to make up your matching filler. Another point… if filling a larger area, I do not mix the fillers completely, but leave some a littler darker or lighter, as required. Then when I spread it, I get quite a nice simulation of wood grain. This is far less ‘in your face’ than a patch of uniformly coloured surface on a grainy background. Live and learn!
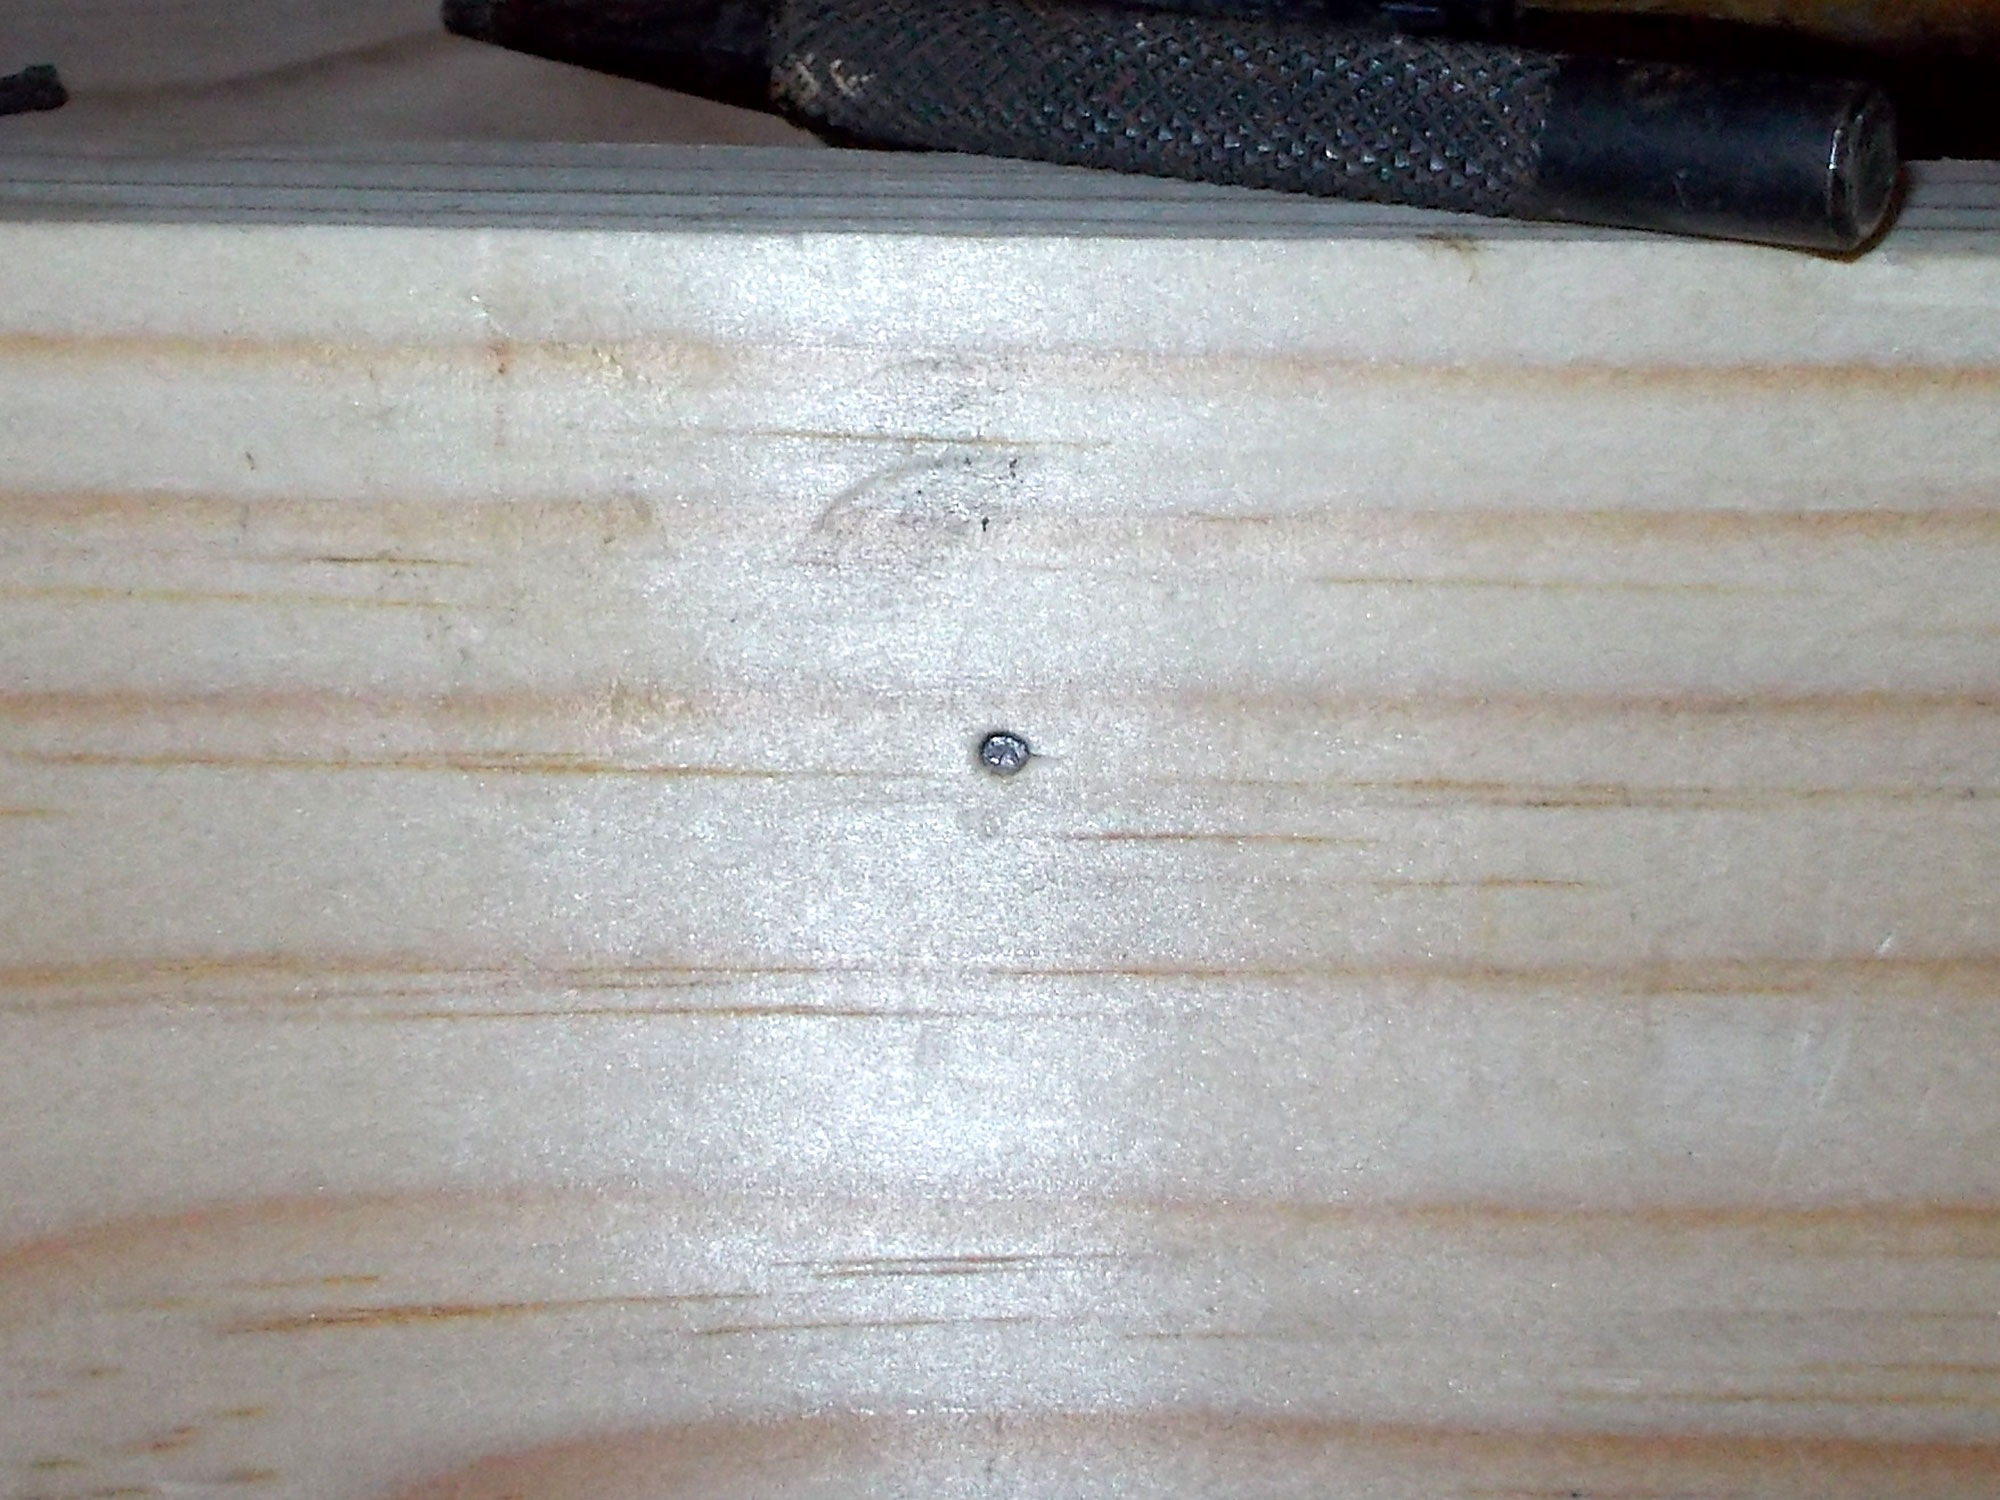
- Keep the amount of filler you apply to an absolute minimum… just enough to fill the indented hole you made when countersinking the panel pin’s head.
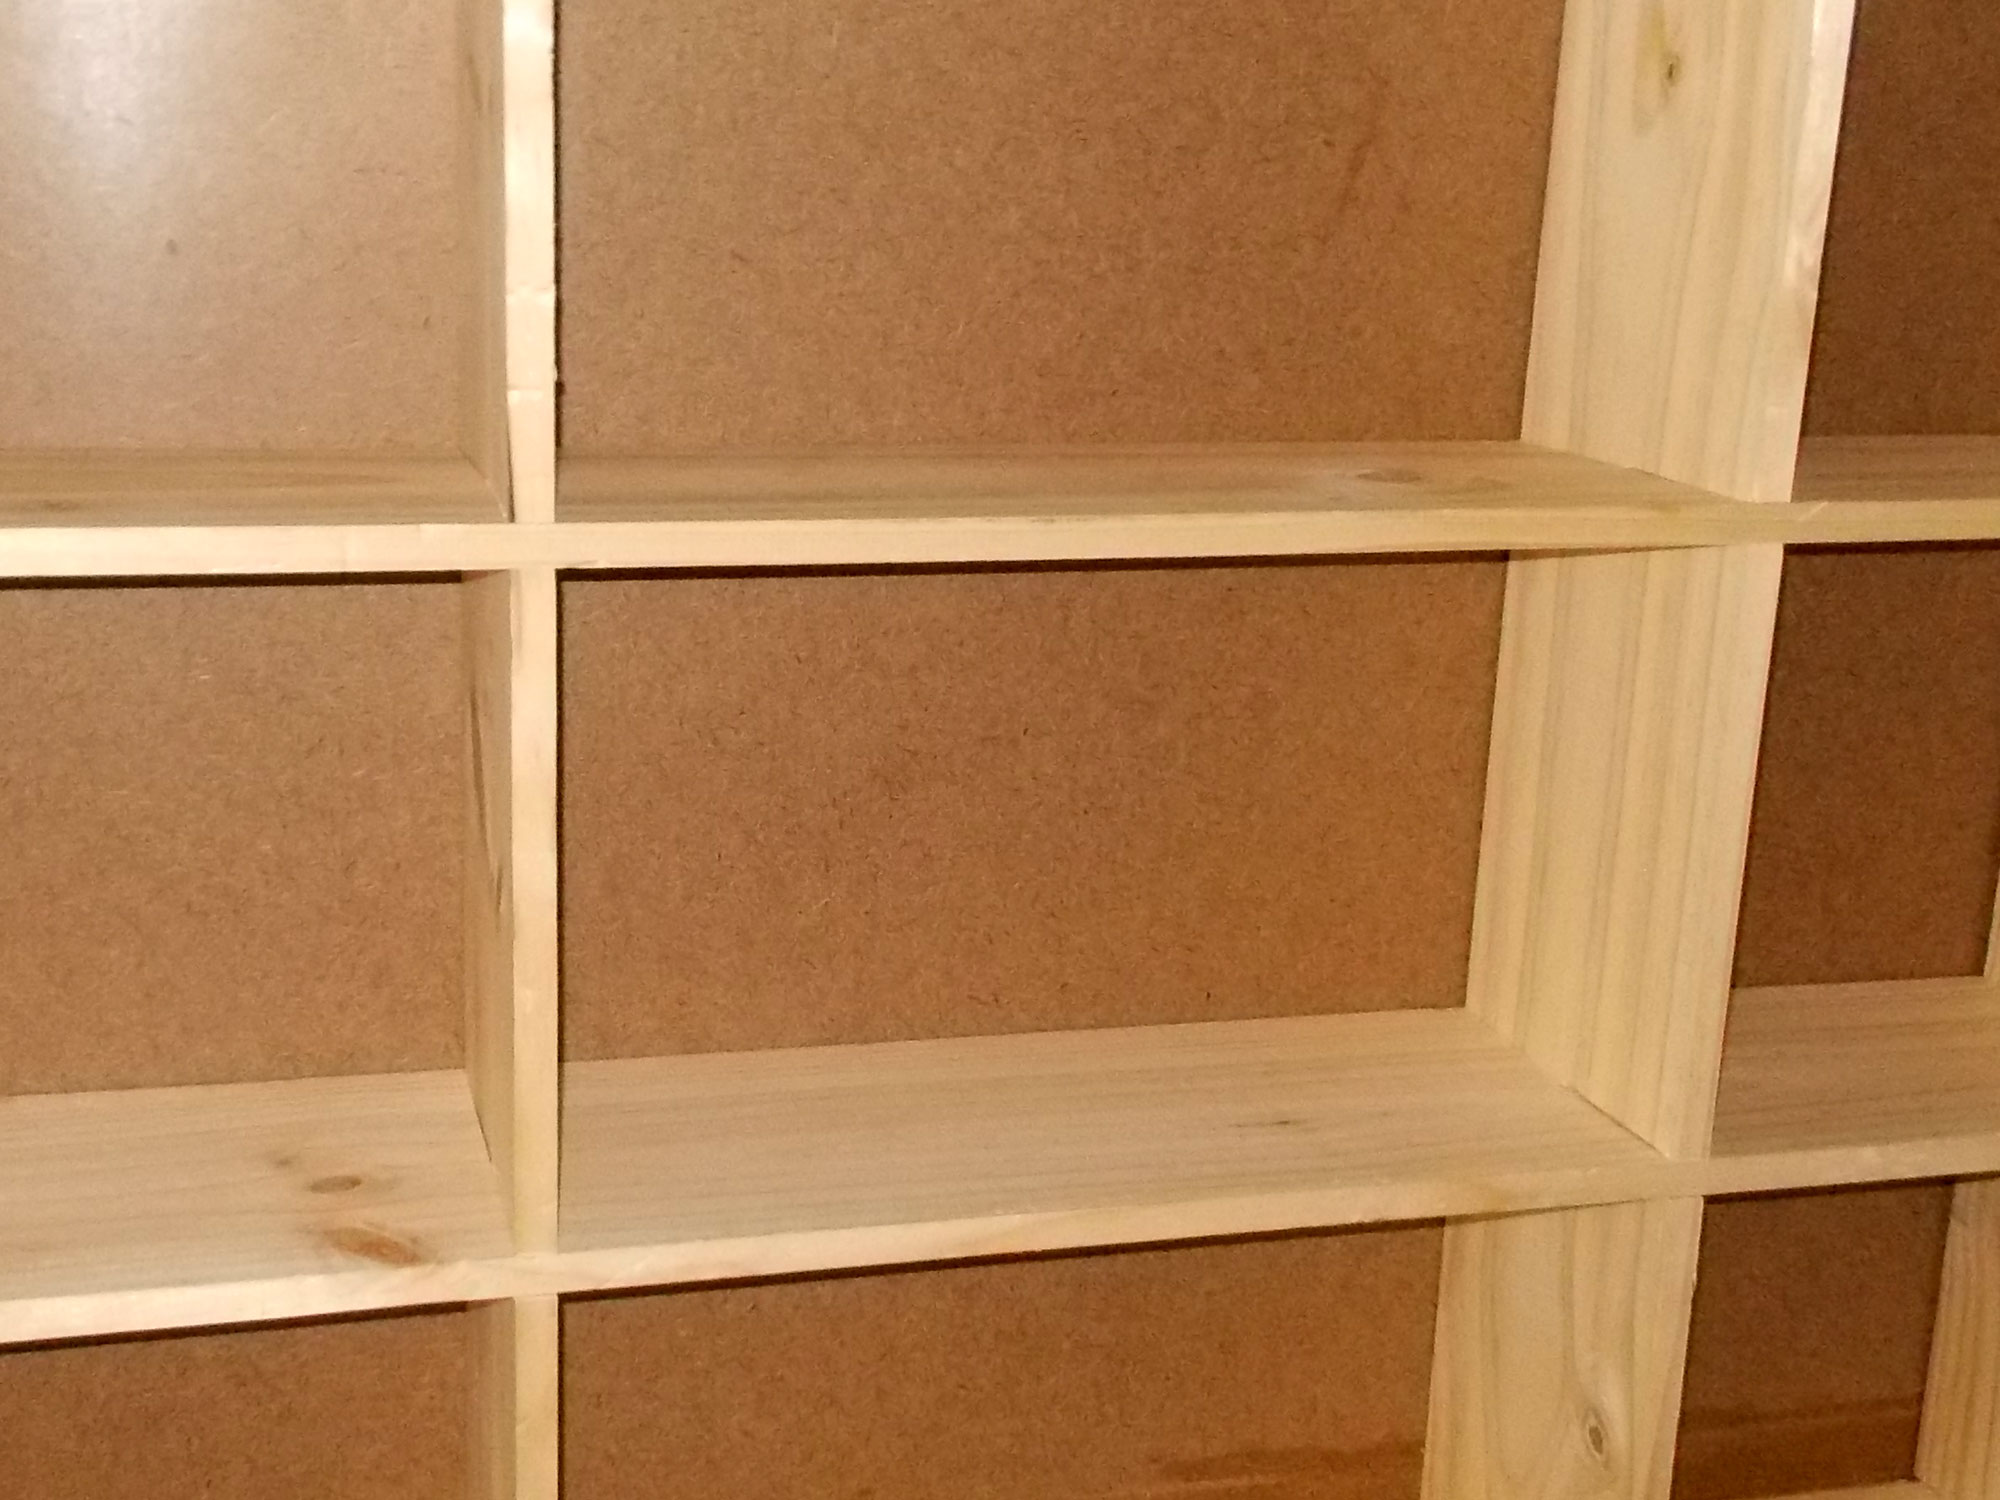
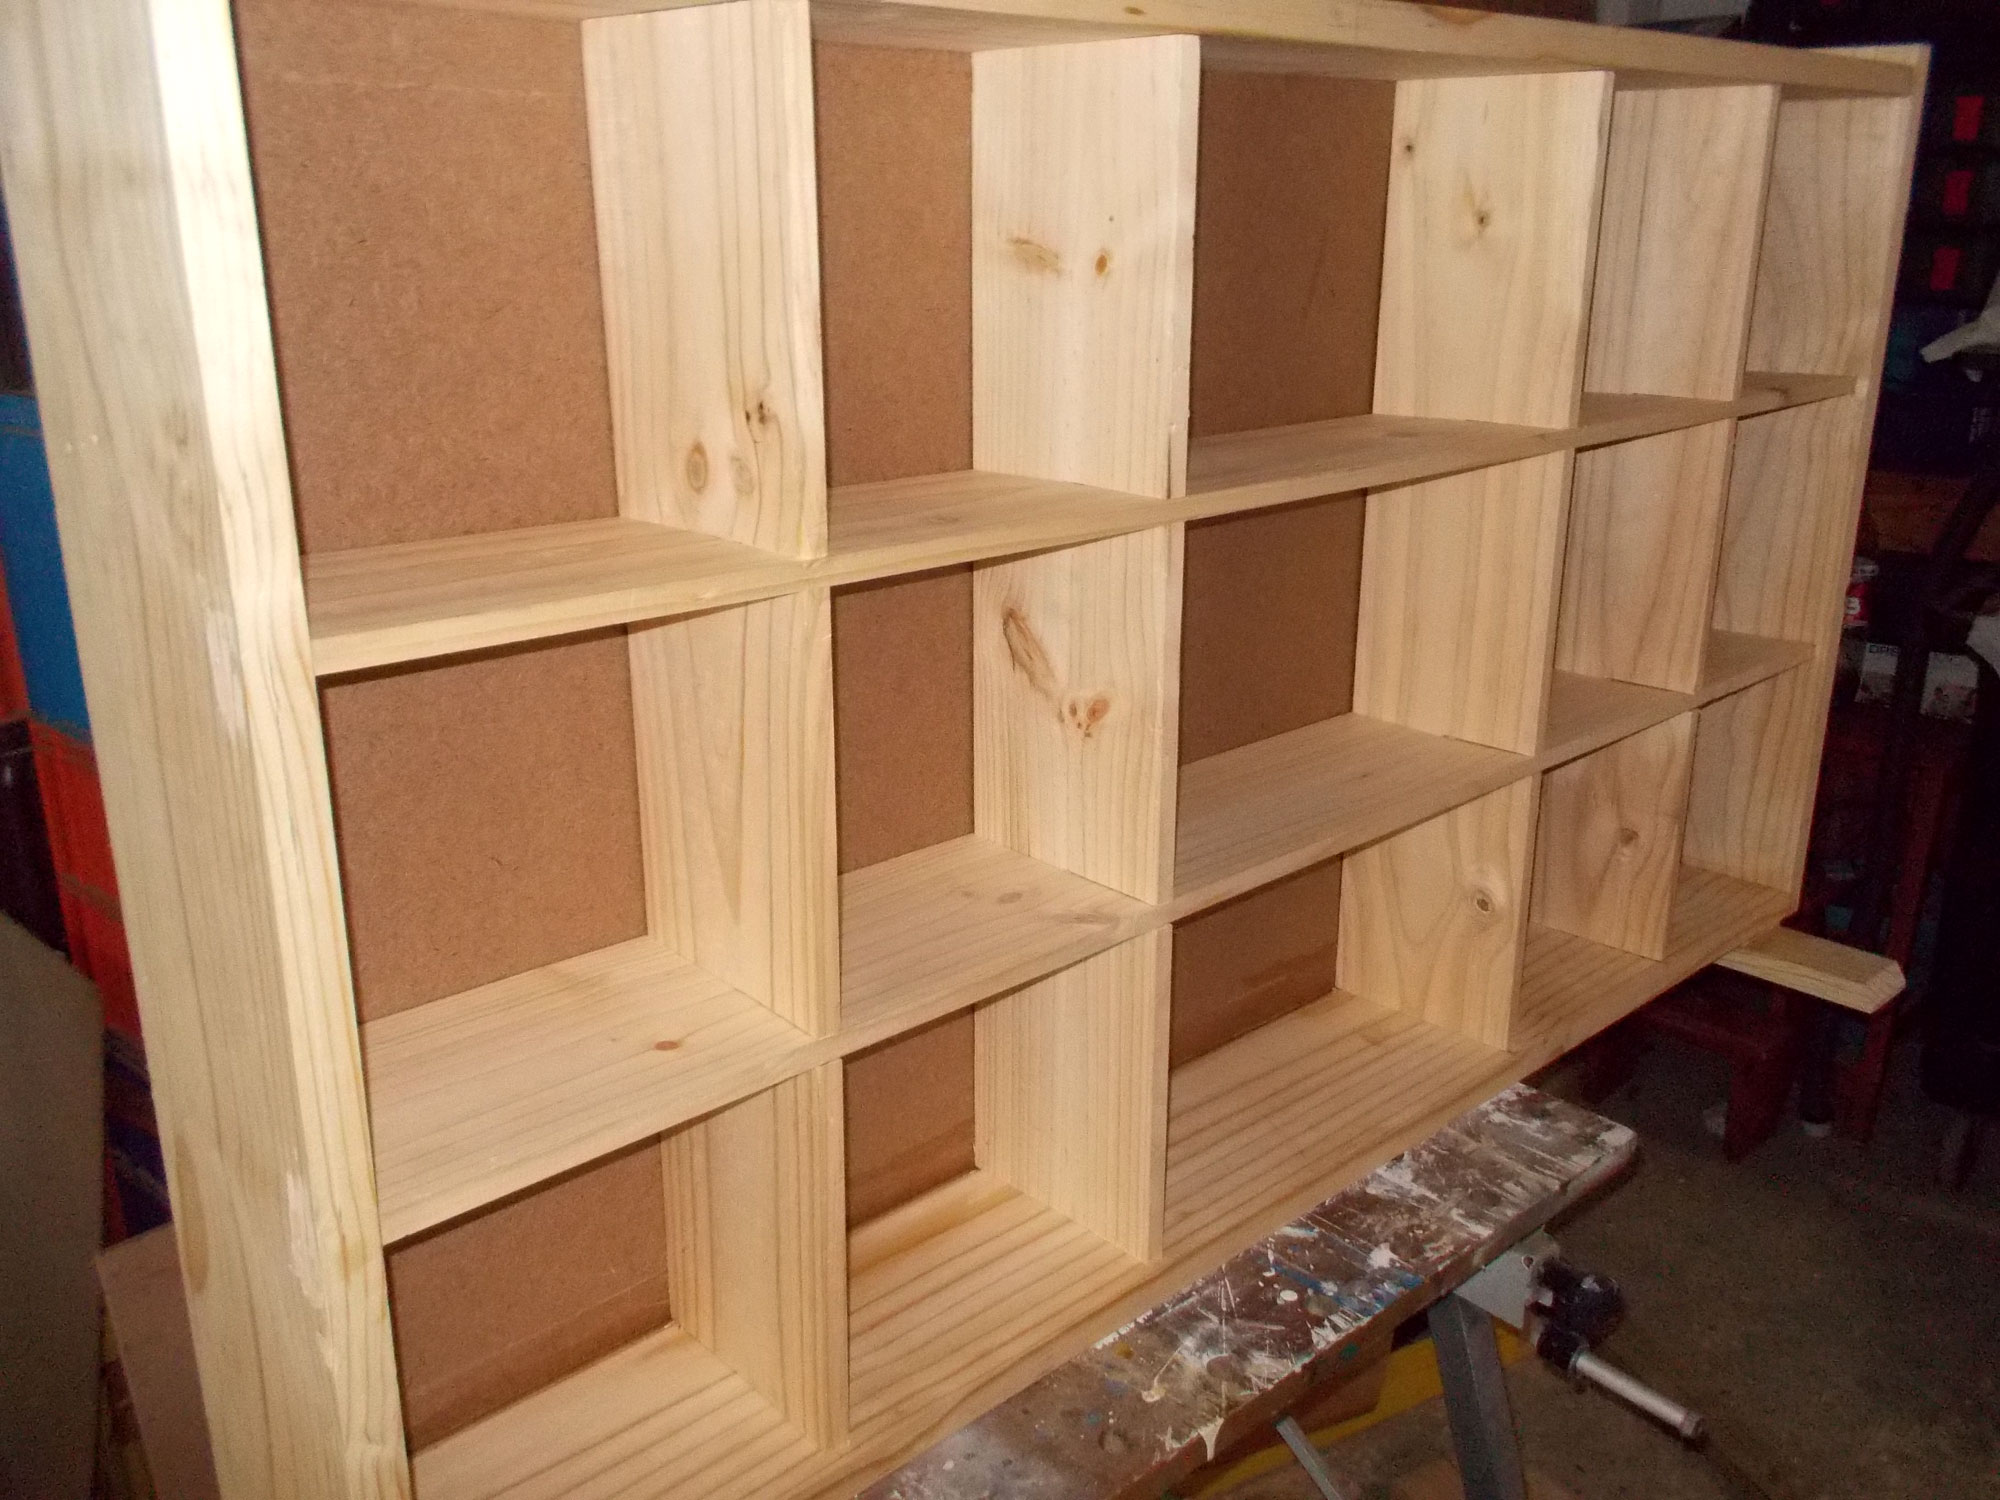
- The completed unit prior to varnishing. The two sets columns of partition on either end of the unit are sized for DVDs and smaller format paperback and other books, which the larger column of wider compartments in the middle are for much larger books or items. This makes the unit a little more versatile.
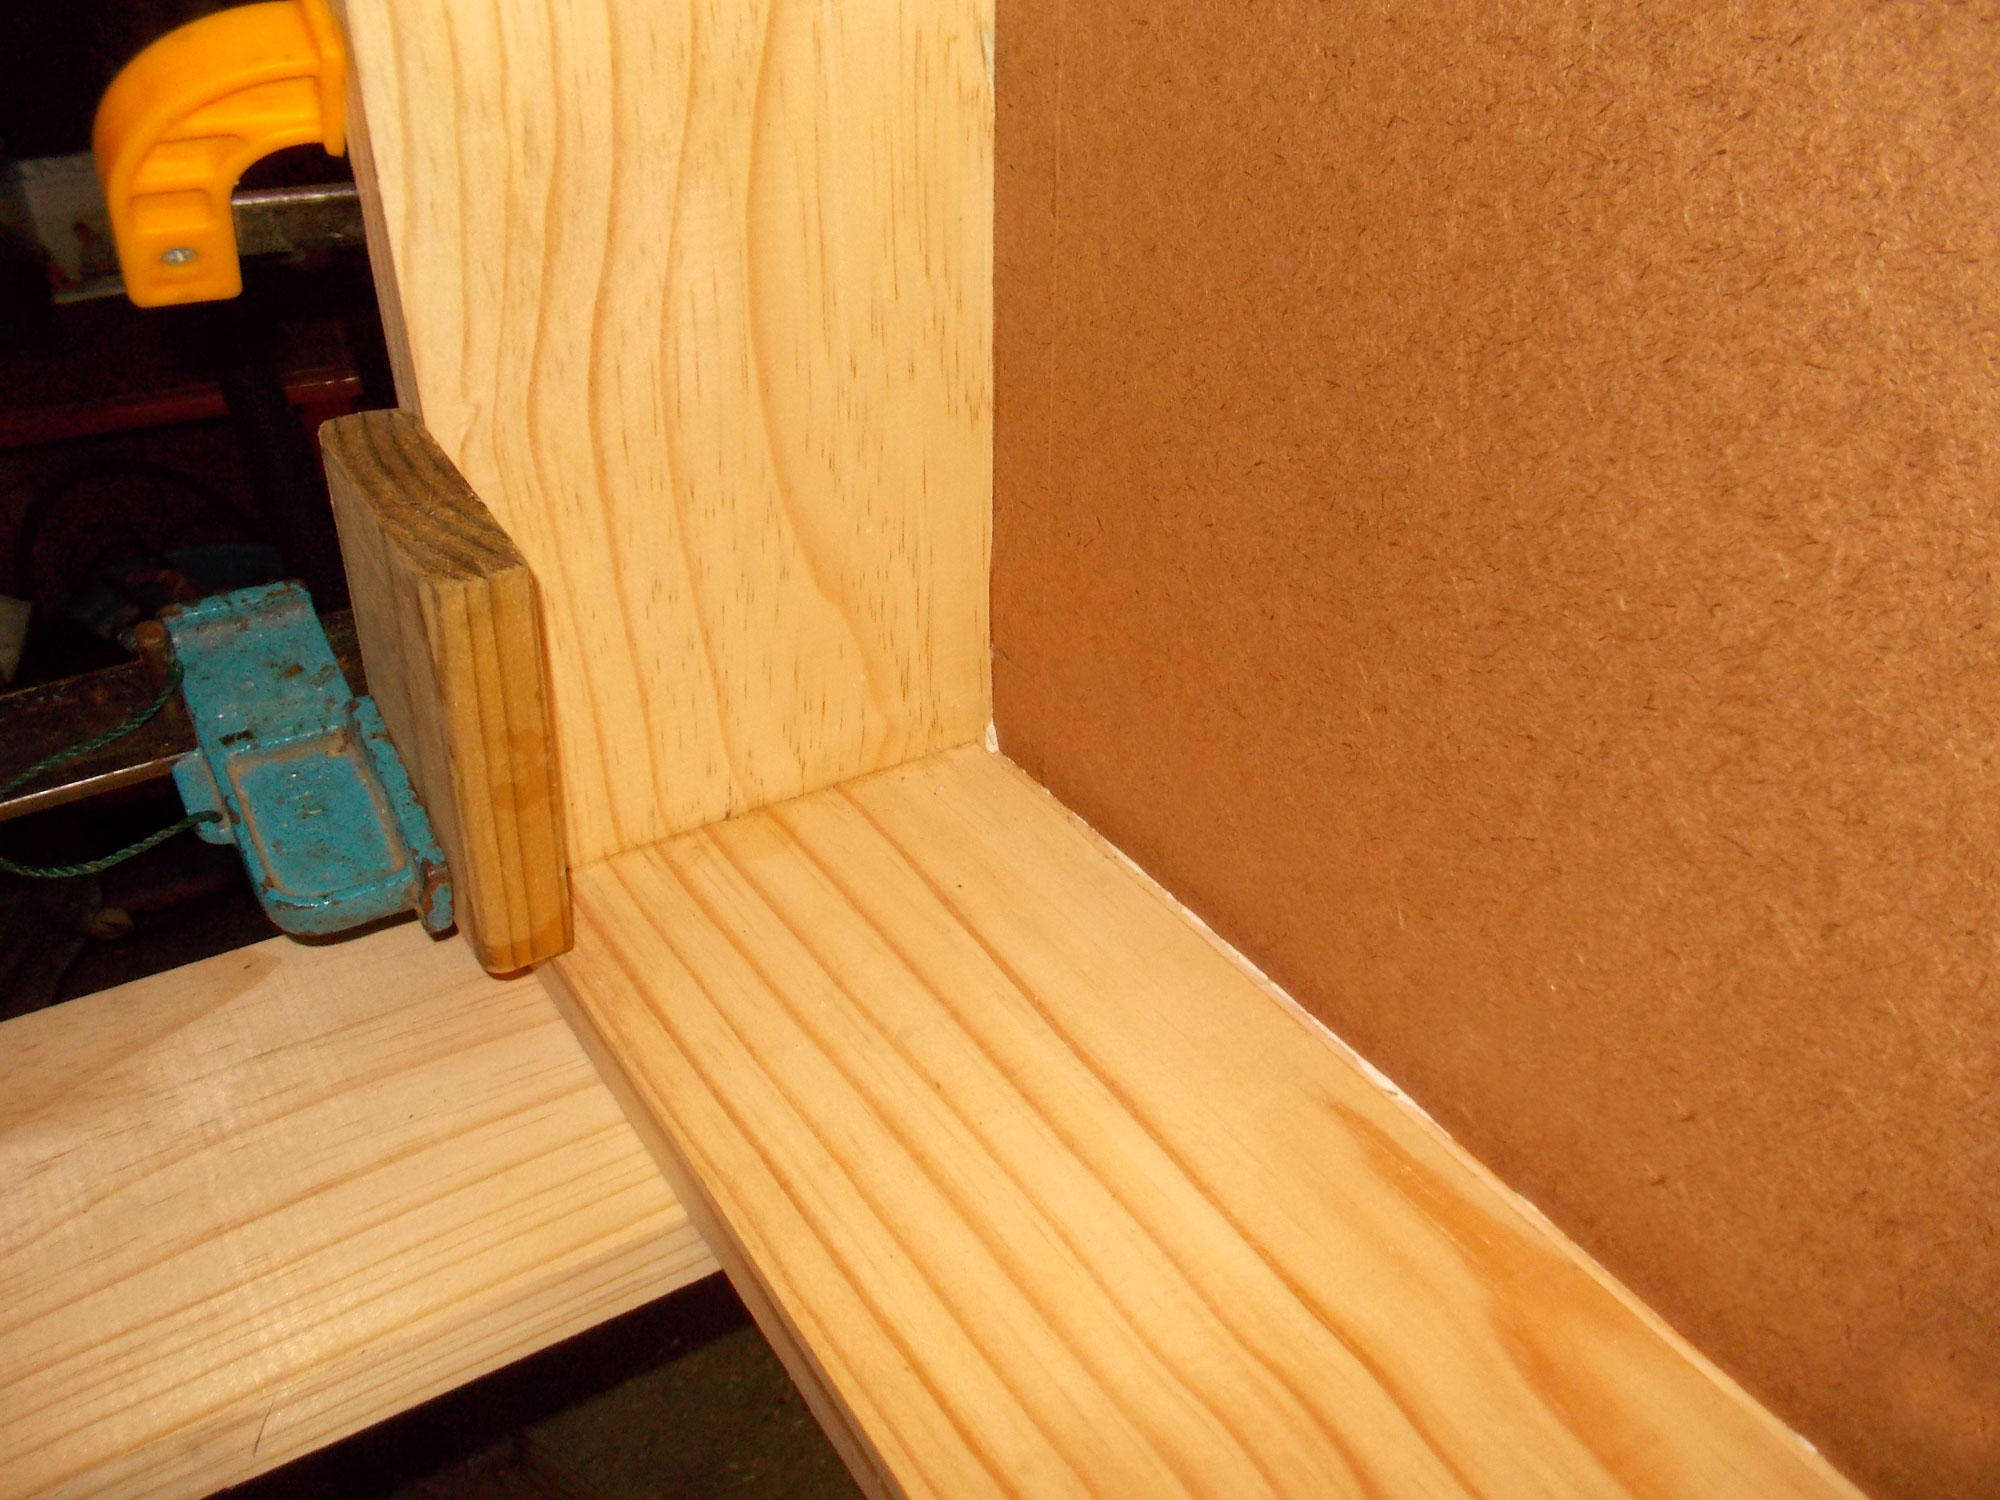
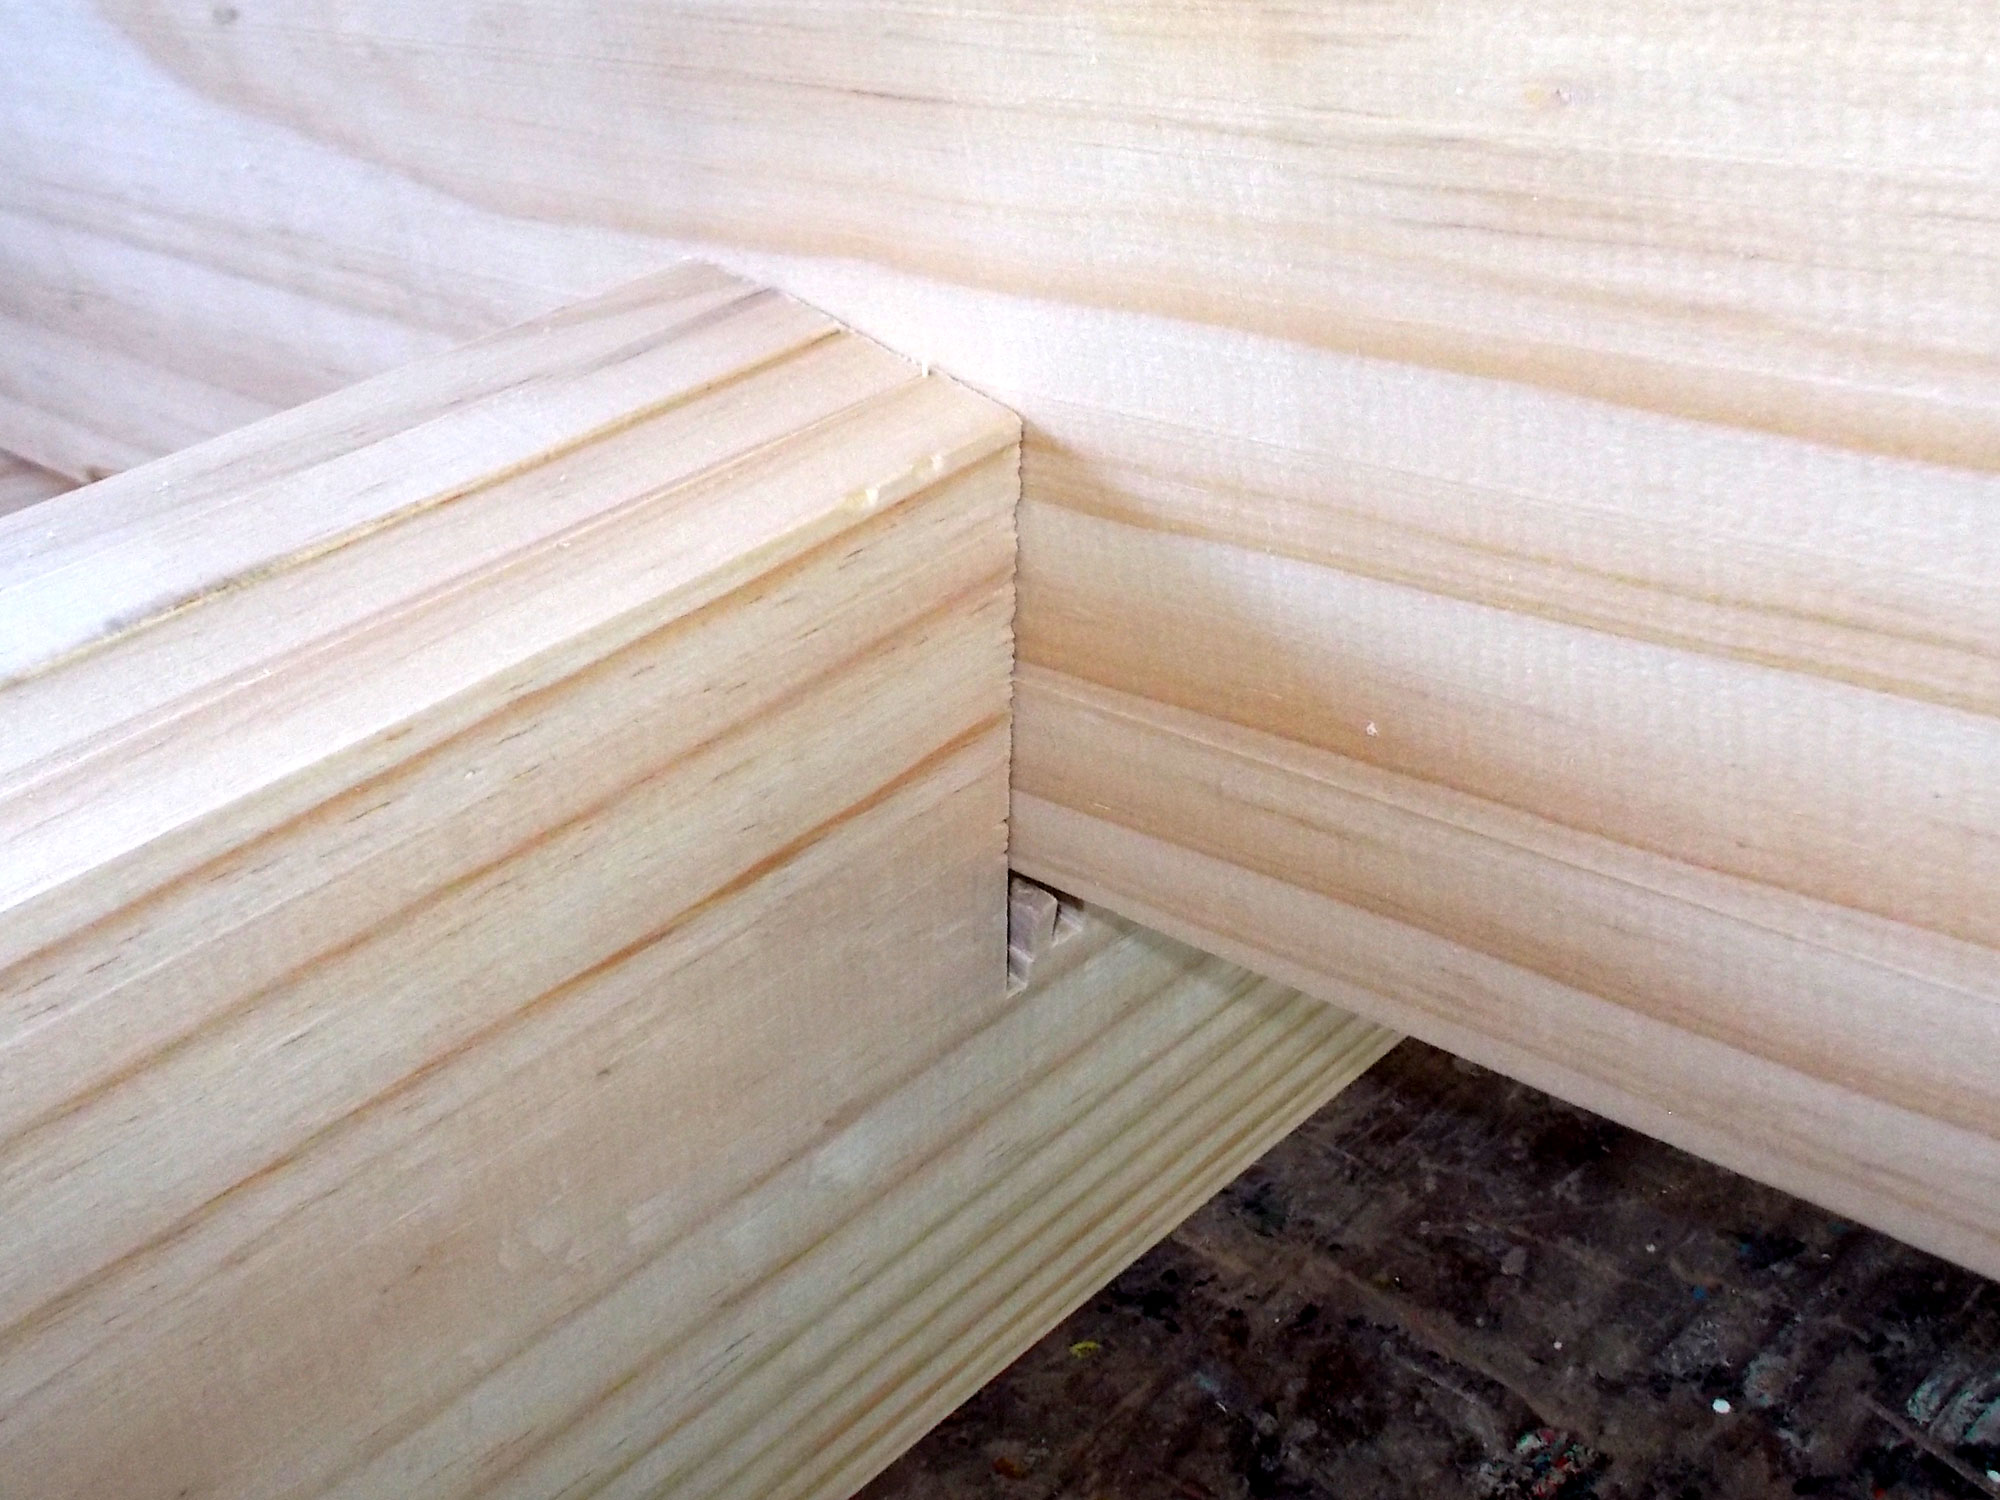
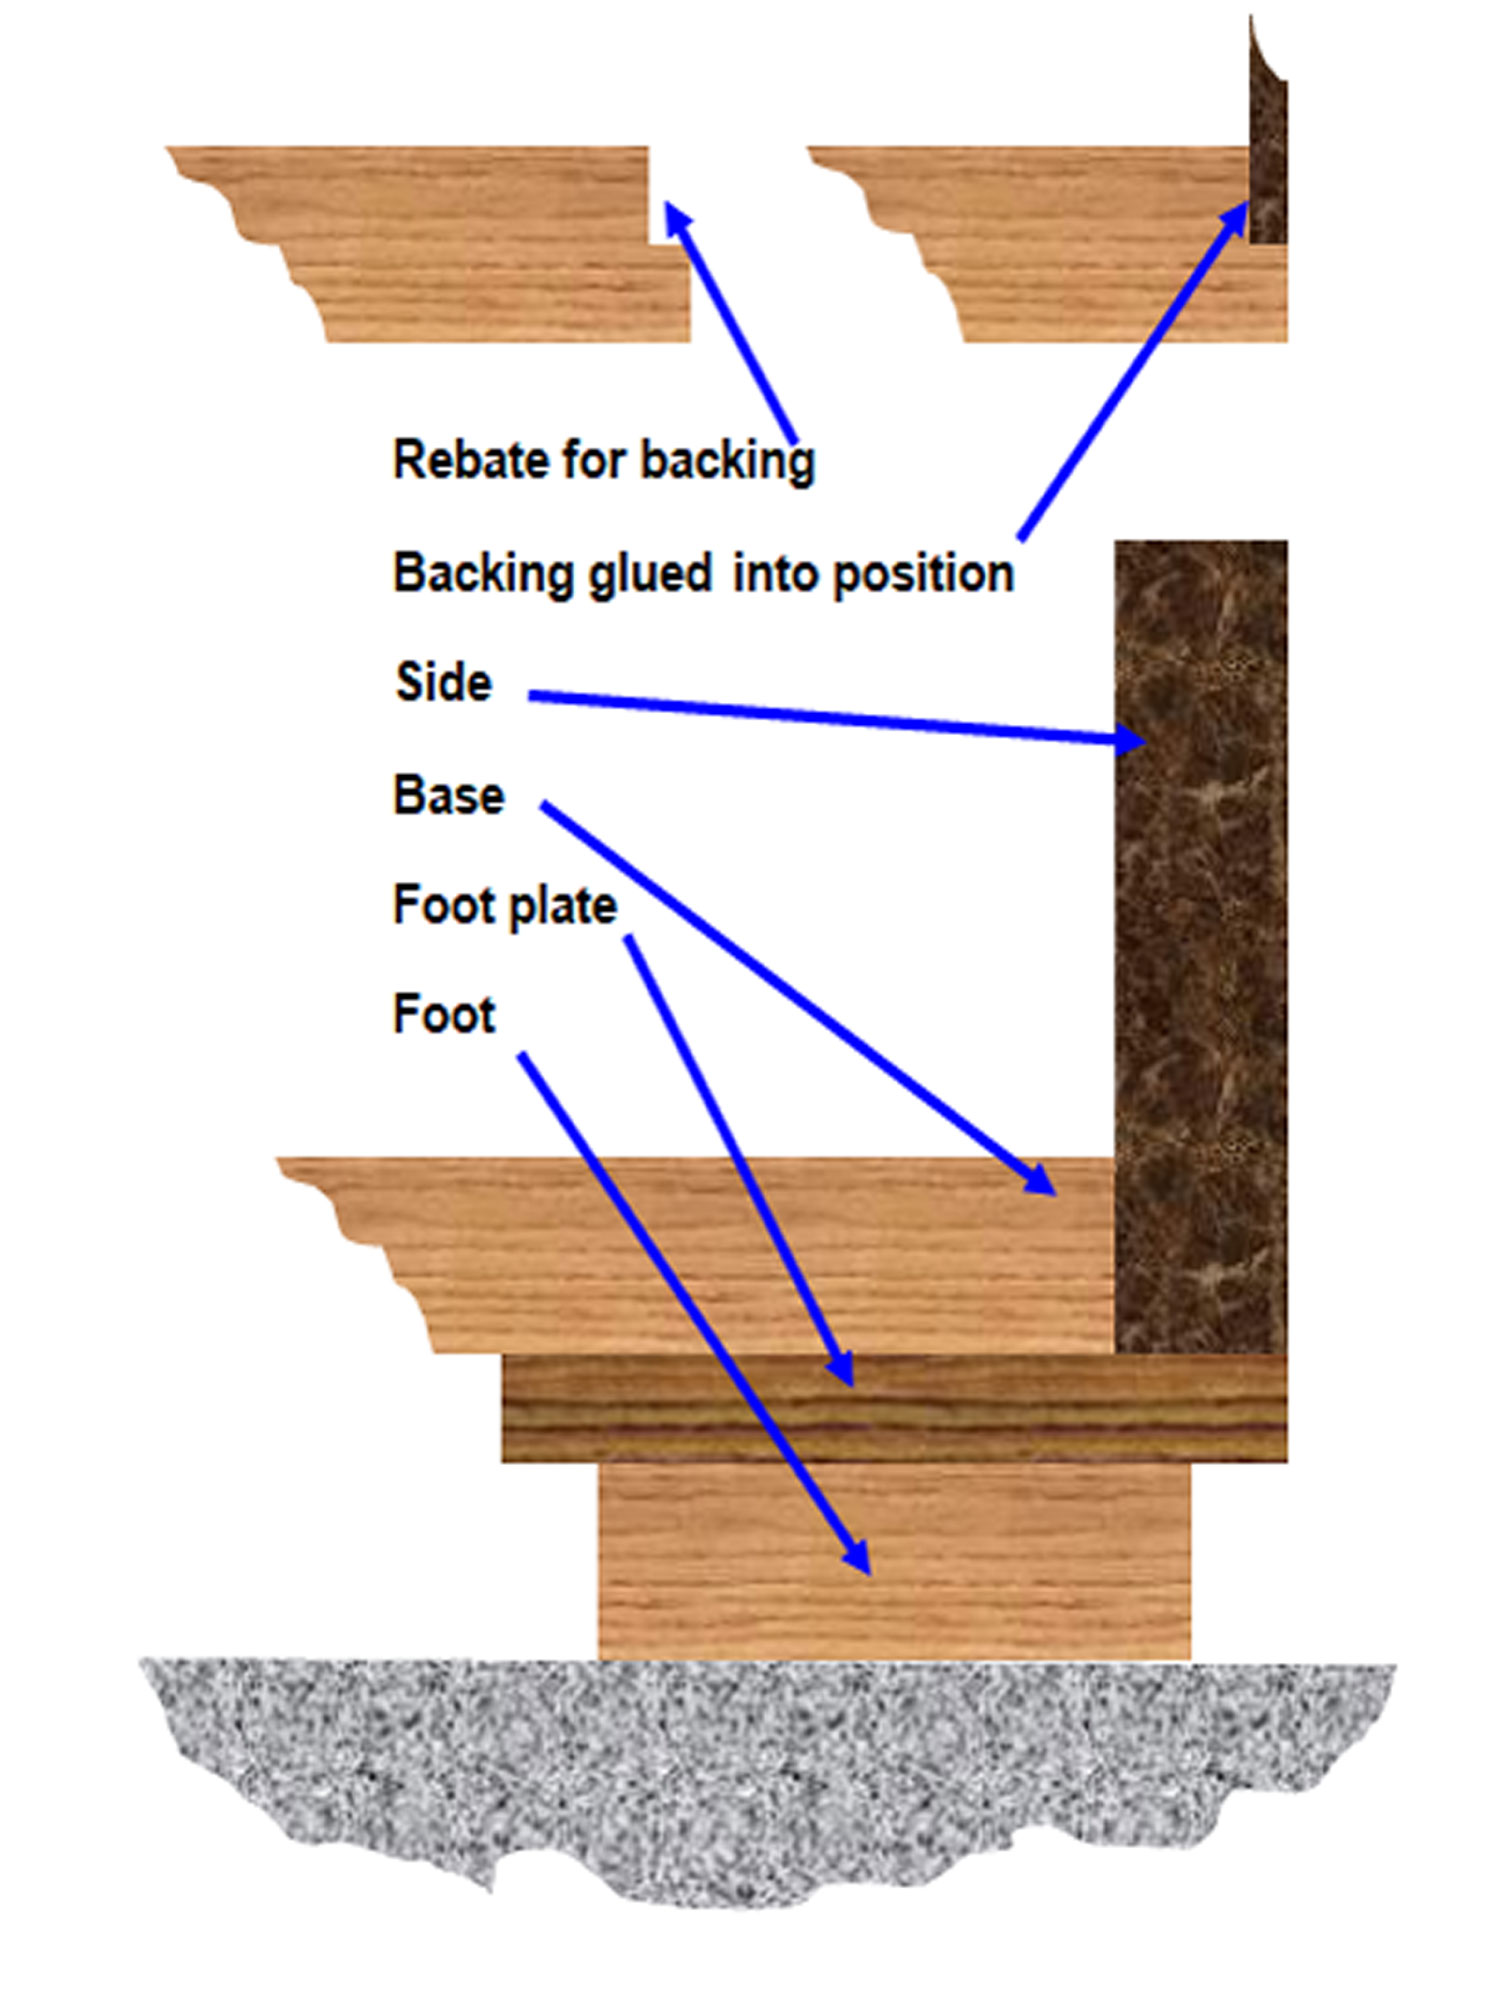
- An illustration showing the way the back board fits into its 3x10mm recess (top detail) and (lower detail), a front view of the joinery between the base, side and foot on each side.
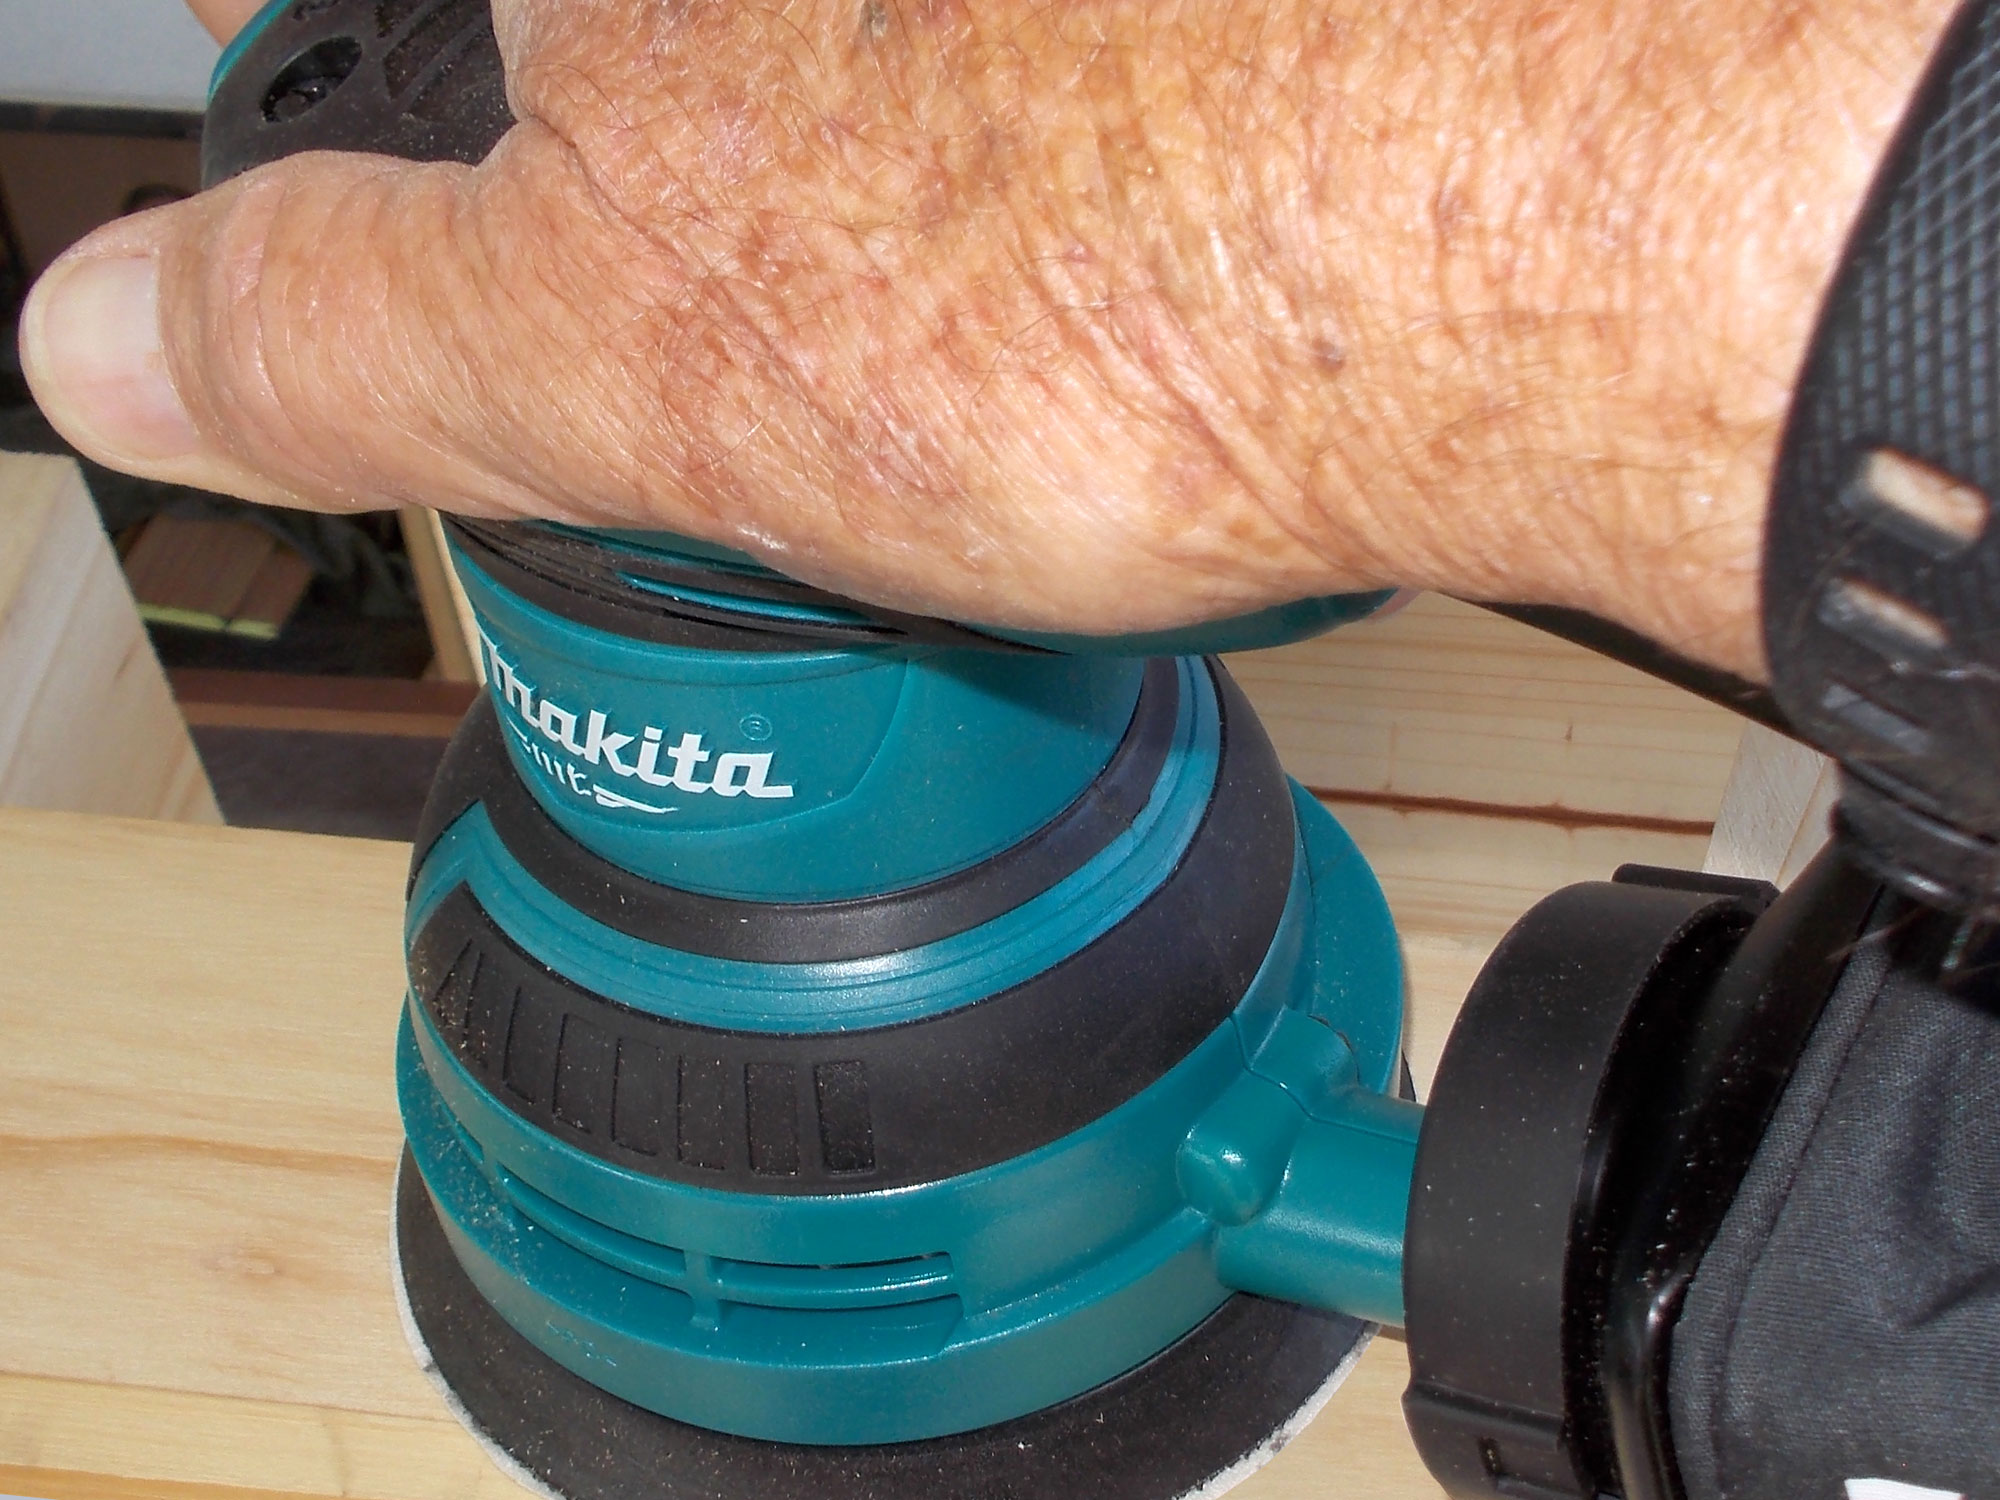
- Before applying the finish, I sanded down all the surfaces. In passing, I always do my primary, and much simpler sanding of the individual pieces before assembly, leaving only a very light sanding to the completed unit. I then applied three coats of the finish, sanding lightly after the first and second.
- Job done – and ready to store just about anything you like (provided you sized those compartments correctly!).
Panel:
These materials are available at Selected Mica Stores. To find your closest Mica and whether or not they stock the items required, please go to www.mica.co.za, find your store and call them. If your local Mica does not stock exactly what you need they will be able to order it for you or suggest an alternative product or a reputable source.
Project guide
TIME: A week
COST: R2500.
Skill: 4
Assistant: No
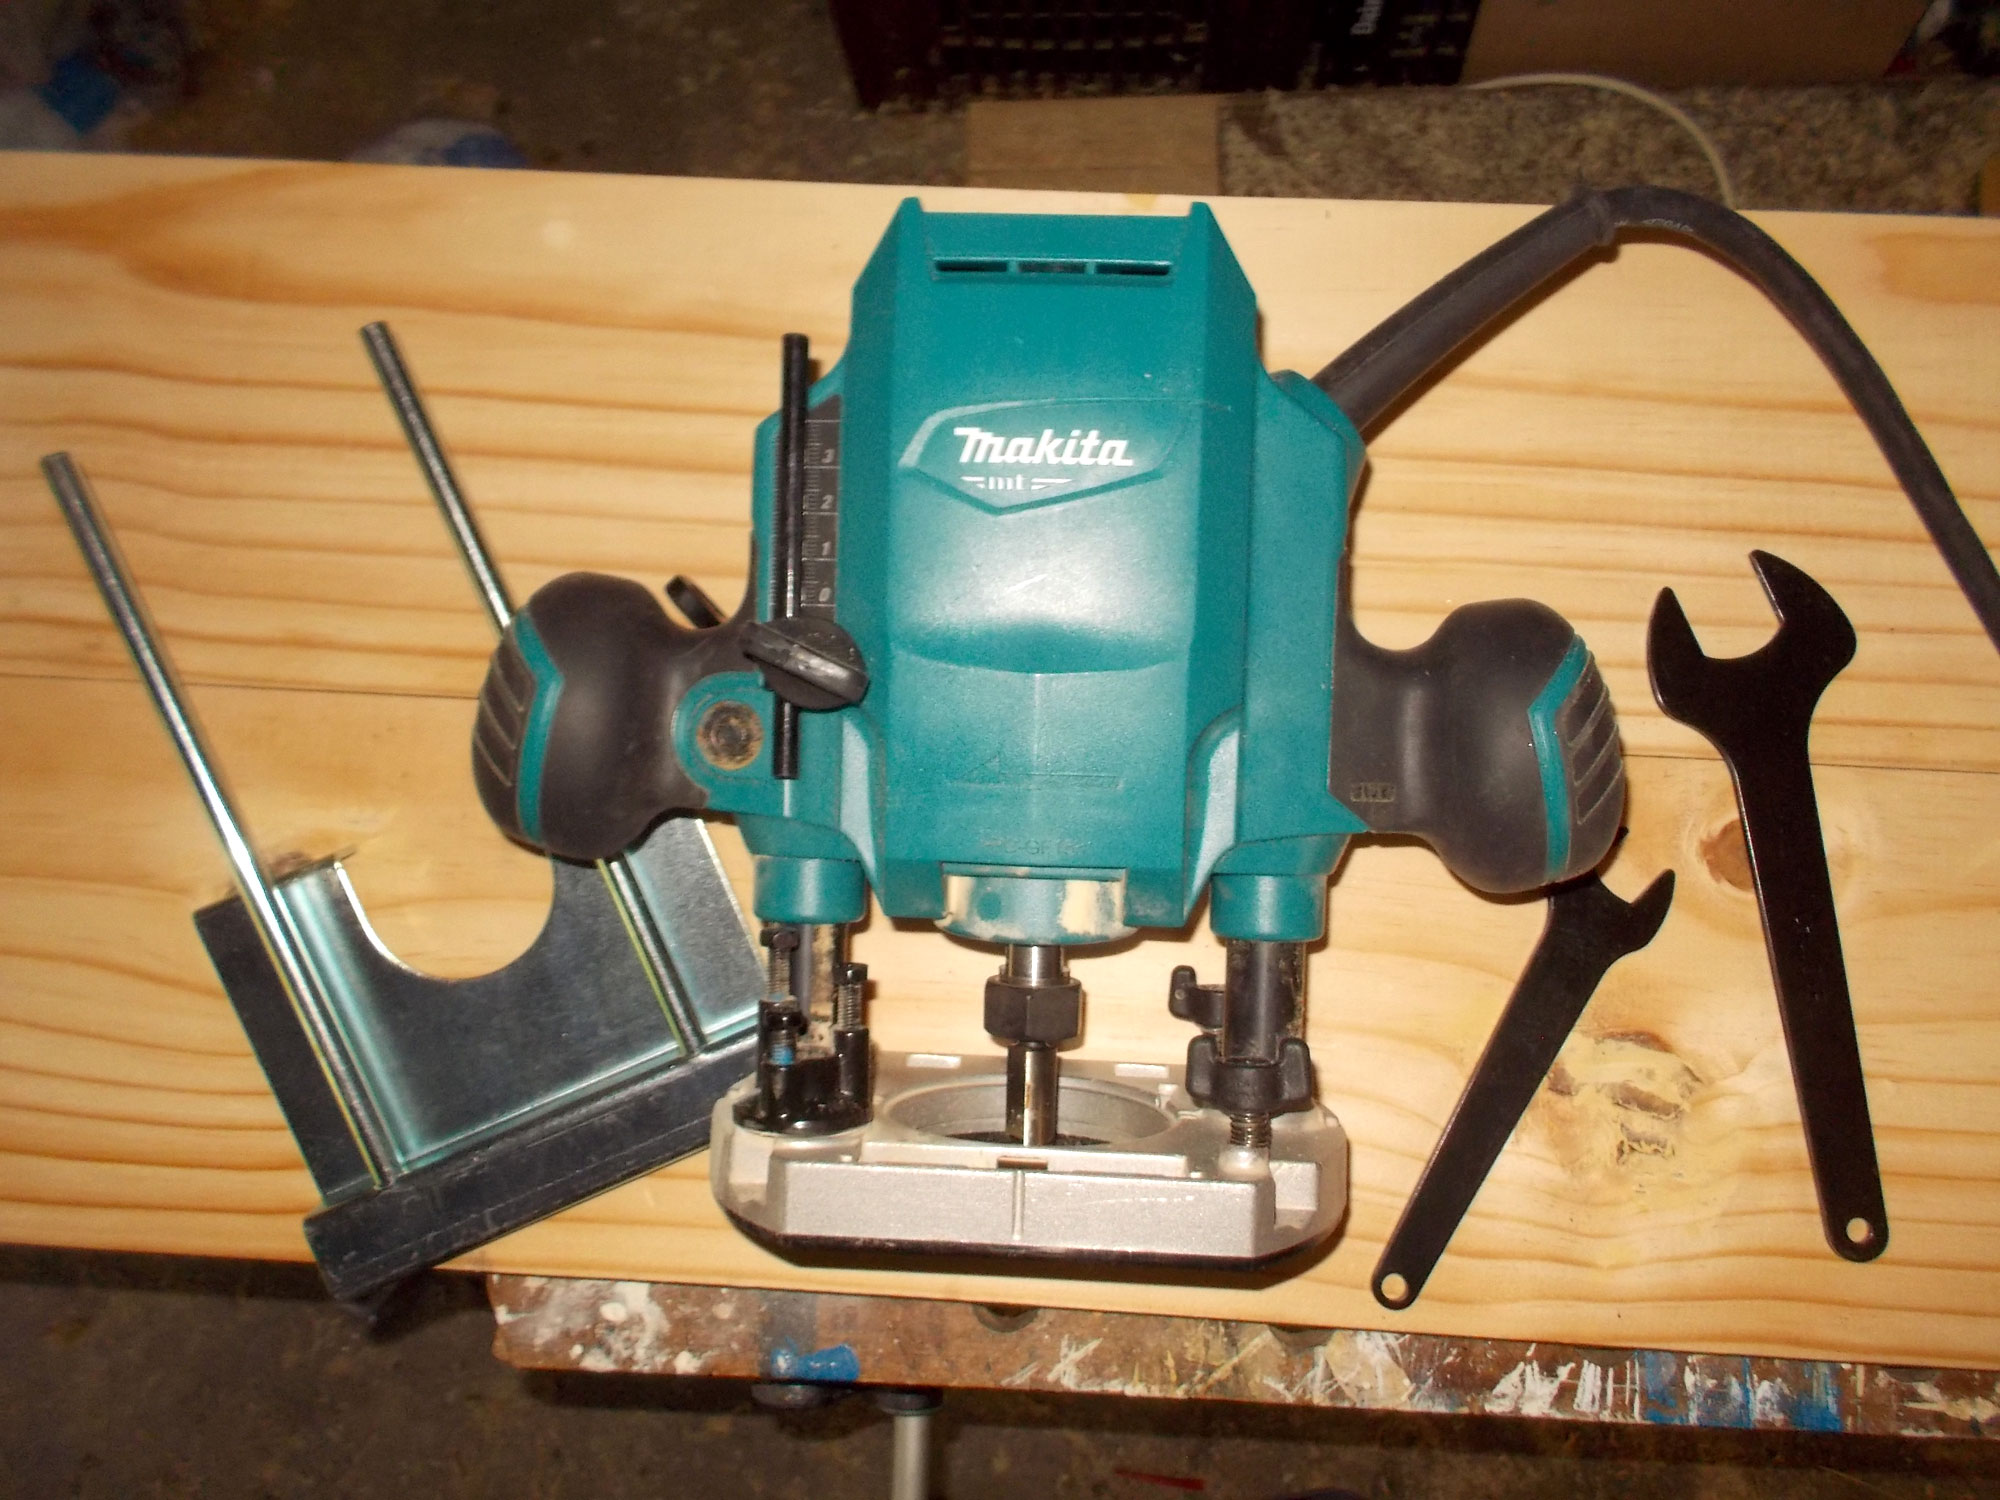
Tools required:
Circular cut-off saw or jigsaw, sander, router