10 January 2017

How to Conceal Unsightly Wiring
Conceal Wiring
Exposed wiring that has been glued down a wall, even in corners, can be a bit unsightly, so here are a couple of methods to conceal the eyesore.
A great product for concealing wiring and keeping it in place is PVC channelling, but there are times when you might want to try a slightly different approach.
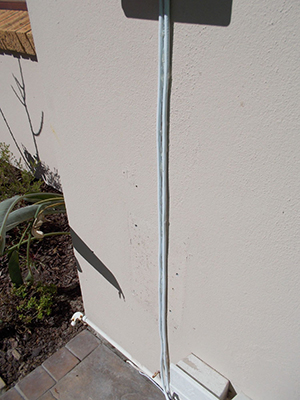
In this particular case, wiring for an irrigation control computer had to be run down an exterior wall. Even though it was carefully glued on and care was taken to get it straight, it was still a bit of an eyesore.
The problem was sorted out with a length of treated timber, eight 40mm stainless steel screws, eight wall plugs, and a coat of paint match the cover to the wall. At the same time, we filled in a couple of holes from where the control box was originally positioned.
We also show you how to conceal wiring running down an internal corner of a room.
A bonus with these methods is that – particularly in the case of the outside wiring – the wiring is protected from the elements and any damage that might occur if a piece of furniture, for example, is slammed into it.
Tools:
- Drill/driver
- Rasp or sandpaper
- Jigsaw or hand saw
- To bevel the edges at 45° when fitting a corner cover, you will also need a hand plane, or use the router with a suitable bit.
These materials are available at selected Mica Stores. To find out which Mica is nearest to you and whether or not they stock the items required, please go to www.mica.co.za, find your store and call them. If your local Mica does not stock exactly what you need, they will be able to order it for you or suggest an alternative product or a reputable source.
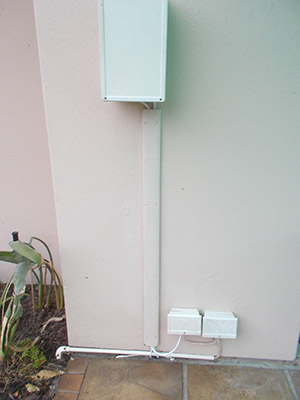
- The original wiring. Not extremely attractive and would still look out of place if painted the same colour as the wall.
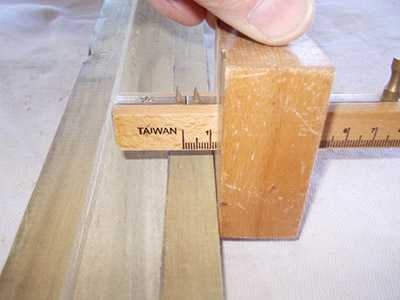
- Take a length of 22x69mm treated timber and rout a channel down the centre, leaving about 12-15mm of timber on either side.
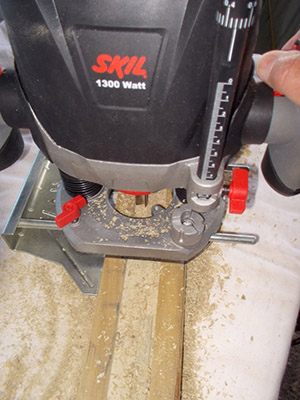
- This lip will be seated hard up against the wall and it is the part of the timber through which the attachment screws are driven.
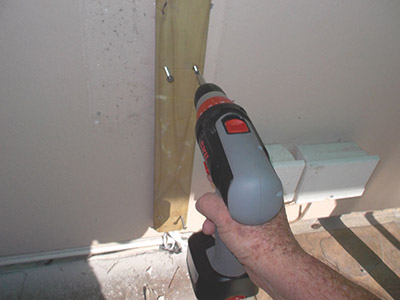
- Cut the timber to length, drill eight holes spaced along its length (the number of attachment screws you will need will depend on the length of the timber), position it over the wires and, holding it steady, use a panel pin to mark the positions of the screws’ holes on the wall.

- Ensuring that the wires are all seated properly in the channel you routed for them, screw the timber to the wall. Remember to insert the wall plugs into their holes first.
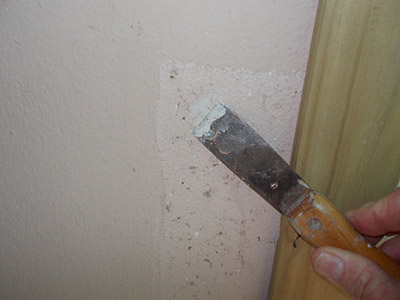
- Using a spatula to apply the filler, fill the holes from the control panel that had been moved.
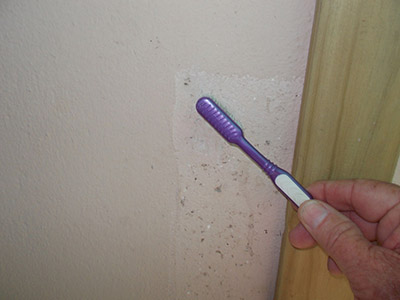
- Lightly tap the filler with a toothbrush to match its texture to that of the surrounding surface, and allow to dry. Finish off with a coat of paint.
- The final result – still rather obvious, but looking far better than it did.
Concealing Wiring in a Corner
Wiring is often run down a corner, but it can still be a little unsightly. Here’s how to combat that.
- Take a suitable length of 9x44mm cover strip and bevel the edges at an angle of 45°.
- Use contact adhesive to glue it over the wires to be covered. You can use screws to attach it to the corner, but take great care to avoid driving the screws through the wiring. In this case, it is cable to a TV in the bedroom and having the wiring replaced would probably require a technician to come in, so adhesive is the safer option.
- Bevel the sides of the cover strip and attach it to the wall, covering the wiring.
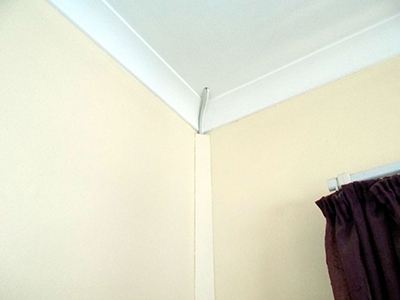
- A coat of paint to match the wall, and the concealment of the wires is complete.
Project guide
Skill level: 1
Estimated time: an hour or two
Cost: R150-R175 (fitting – R30; LED globe – R30; bowl – R95)
Assistant: No