29 July 2016

Giving Painting Challenges the Brush-off
Giving Painting Challenges the Brush-off
Painting your home, furniture, fixtures and so on is a frequent task for every homeowner and getting the best results, as always, comes down to using the correct tools and the right techniques in applying the paint.
Today we are looking at the various commonly-used applicators and we will cover some areas, such as technique and clean up, as well as give you hints and tips, and finally a crafty idea for a paint mixer (added in for good measure).
Firstly – what’s out there?
Paintbrushes
Paintbrushes have been around since the dawn of time and have proved their efficiency over the years. Today there are a wide range of brushes on the market, ranging in size from 12mm to 25mm, 38mm, 50mm and so on up. They are also available with natural or synthetic bristles.
What’s the difference?
Natural
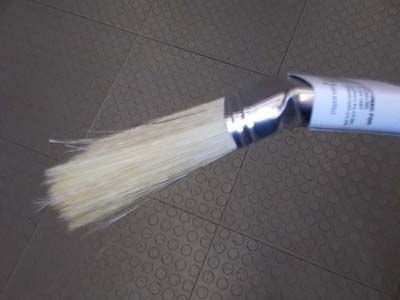
Natural-bristle brushes work best with stains and varnishes, as well as oil-based and alkyd paints. However, being natural (boar-hair bristles are used in high-quality brushes), they get wet in water just as your hair does when you shower. And, just as hair hangs down and becomes limp, the natural bristles in such brushes also get wet and become less efficient when applying the paint.
They are best used on smooth surfaces, so avoid rough surfaces such as roughly-textured masonry or plaster as these surfaces can damage the bristles’ flagged ends.
When used on smooth surfaces, however, and with the right technique, these brushes can provide a superior end-result, with fewer brush marks on the surface than their synthetic-fibre cousins.
Synthetic
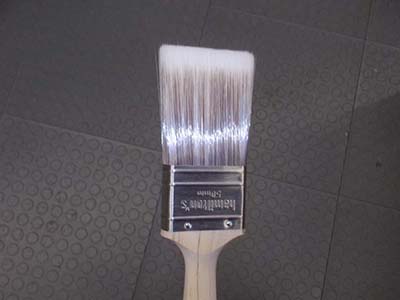
Synthetic fibre brushes have nylon or polyester fibres, and some have a mix of both. Those with polyester fibres are a popular choice with the casual do-it-yourselfer and occasional painting homeowner because they a generally not as expensive as the natural-bristle types, handle rough surfaces well, and can be used to apply any paint or finish.
Polyester bristles retain their stiffness better than any other kind of brush, but this comes with a bit of a drawback as this stiffness means they flex less and tend to leave more brush marks on the surface being painted. Brushes with nylon fibres are easier to clean. You can get the best of both worlds by using a brush that blends the two as they combine the best qualities of both for enhanced performance.
Foam brush
A variation on the bristle or fibre paint brush, the foam brush, available in a range of widths and sizes, consists a shaped foam pad in place of the bristles or fibres and are good for fine detail work around wall fixtures. They can be used for oil, solvent or water-base finishes.
Rollers
Rollers cover large surfaces like no other non-mechanical applicator, so they are great for painting walls and ceilings. They have the added advantage that the need to go up a ladder to reach higher areas is reduced or even eliminated altogether when a broomstick inserted into the roller’s handle. They also – when properly used – tend to give a more even finish than brushes.
Paint rollers can range in sizes, starting with what Americans call ‘hot-dog’ rollers – small (usually sponge or foam) rollers ranging from 50mm to 150mm, up to 450mm. However, rollers generally range in sizes from 190mm to 240mm. Smaller rollers are used for more delicate works, such as painting around light fittings and switches, while larger rollers are great for covering larger surfaces quickly and easily.
The rougher the surface, the thicker the nap… that is, the thicker the fibre coating on the roller. Generally, it is advisable to choose a shorter nap of 5-10mm when painting smooth surfaces, such as wood, plaster or metal. Longer naps of 20-30mm are the best choice for rougher surfaces such as unplastered masonry, textured walls and stucco where you want to get the paint right into the nooks and crannies of the textured surface, and the cracks and crevices of an un-plastered masonry surface.
Natural or Synthetic?
Just as with paint brushes, rollers that have natural fibres, such as lambs’ wool or mohair, work most effectively with oil-based paints because they won’t get wet and become limp. Likewise, synthetic roller fibres, such as polyester or nylon, are the best choice for latex paints and any other water-based finish because they won’t get wet and will retain their characteristics.
Sponge
Sponge rollers are another option and will work well with water-based paints as they will absorb the finish and release it when rolled along the surface.
Corrugated
This type of roller has a profile designed to make painting corrugated roofs much easier. They have a profile to match the corrugations, but to apply the paint, you will probably need to use a deeper reservoir than the usual paint tray. Contractors often use a 20ℓ paint container with mesh sitting in it, which they use to remove excess paint from the roller.
Patterns
Finally, there are also rollers available with rippled surfaces or actual raised patterns on them to apply a regular pattern in a contrasting colour of the base coat.
Pad Applicators
Pad applicators comprise a foam pad that is glued to a base and handle – usually plastic. They are available in a range of shapes and sizes. Pad rollers provide a very sharp edge and can be used for fine edging work around wall fixtures and so on.
Spraypaint
Spraypainting is good for covering large areas very quickly, but it takes a little while to get the hang of it – too little and you will get insufficient coverage in an area, too much as you can get run-off, so practise first.
Spraypainting is not the option for small jobs because you can end up with a bit of overkill. Rather use a sprayer for covering large areas.
Some tips for spraypainting
- Wear nose and eye protection, plus gloves.
- Cover areas and surfaces that you do not want to paint as the droplets can spread.
- If spraying inside, ensure the room is adequately ventilated and that it is sealed off from other areas that you don’t want painted as the droplets can drift a bit.
- If spraying outside, choose a calm day to do the work as spraypainting on a breezy day can lead to all sorts of things going wrong with the spray mist getting blown this way and that.
Getting started
Whatever your choice of finish, and of course of applicator(s), the final result is very dependent on the preparation.
Prepare the surface(s) properly
- Remove or mask items that are not to be painted
- Sand surfaces to remove loose old finish
- Fill any nail holes or dents and then sand level
- If painting bare wood, apply a knot sealer where necessary
- Apply primer as recommended by the manufacturer
Clean up
After you have completed the job, your next task is to clean up.
For water-based finishes, the job is simple – a good wash in warm soapy water with a good rinse off afterwards.
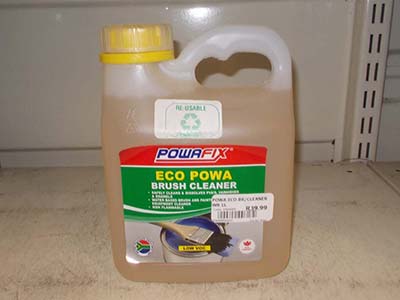
After using oil or solvent-based finishes, there is a range of good brush-cleaning solutions available (like all the other requisites in this feature) from your local Mica.
Hints:
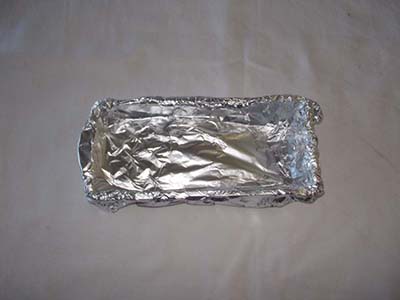
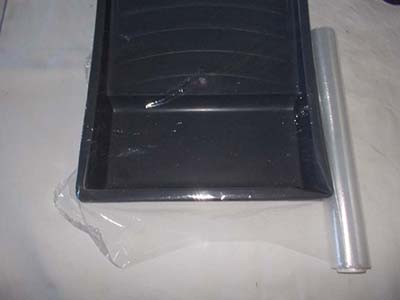
- Save yourself the hassle of cleaning a paint tray by covering it either in kitchen foil or sandwich wrap. Once you have finished, peel off the covering and discard it. And the tray will still look like new.
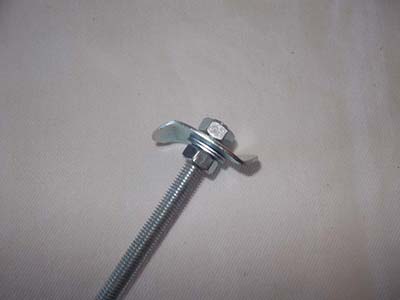
- If using a length of flat wood (say a 9x44mm cover strip) as a spatula to stir paint, drill some 16mm holes at about 30mm centres as the paint swirls through the holes, it will mix quicker and with less effort from you.
- To get old paint our of a brush when it has penetrated the bristle up to the ferrule, soak the brush in a good cleaner for a few hours to loosen the paint and then draw the brush over a steel-wire brush. The wires penetrate the bristles or fibres and pull the old paint out. Before you know it, your old brush will be as supple and as flexible as it was when you bought it.
- In a few years’ time, you might need to repaint a space or item, but might not remember the manufacturer or exact colour name. To help you out later, remove a lightswitch cover (something you need to do before painting anyway) and write the manufacturer’s name, the colour name and whether it was gloss, sating or matt, as well as the lot number on the inside of the said cover. When the time comes to repaint, you’ll know exactly what paint was used.
- Just some of the wide range of brushes and other applicators carried at Mica stores.
- A roller designed to make painting a corrugated roof a lot easier.
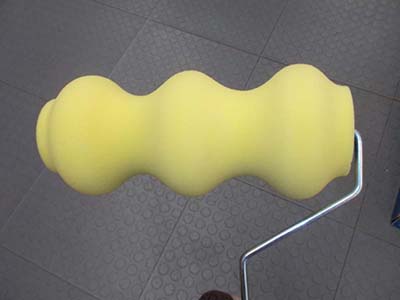
- A sponge roller, suitable for applying all finishes. Please note that the roller isn’t tapered as it appears here. The appearance is down to the way the roller was angled when the photo was taken.
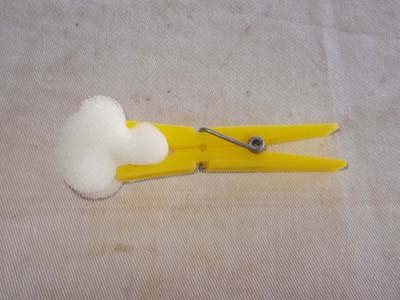
- For small touch-up jobs, a small piece of sponge gripped in a clothes peg makes a handy throw-away applicator.
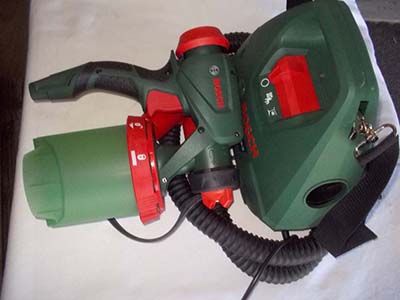
- Spraypainting is a way to cover large areas very quickly, but it needs some practice to master and the finish will probably have to be diluted as per the spray manufacturer’s instructions.
- This type of brush is used for applying the finish in very shallow areas.
- Notice the different nap and width, used for different applications.
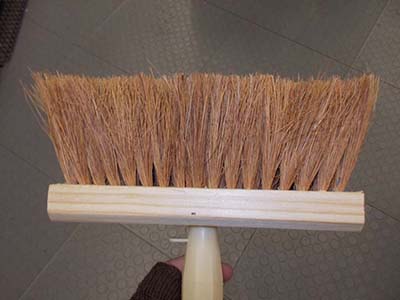
- Two brushes used for applying whitewash to masonry. The lighter coloured one has synthetic fibres while the brown one has natural bristles.
- Paintbrush widths range from 12mm and up.
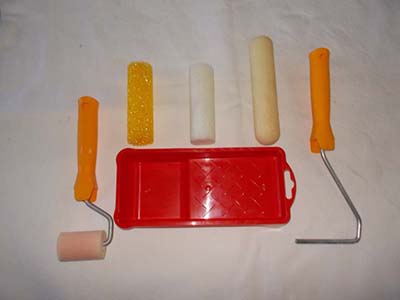
- These small rollers are ideal for applying a smooth finish to smaller areas. Wrapping the tray in kitchen tinfoil before use eliminates cleaning.
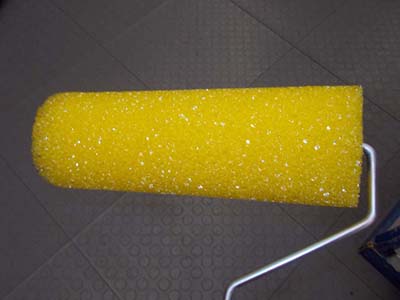
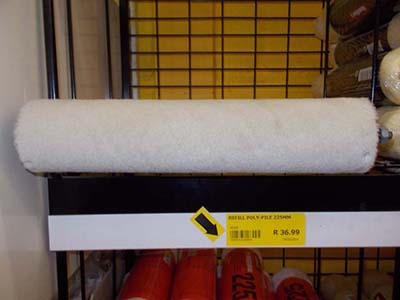
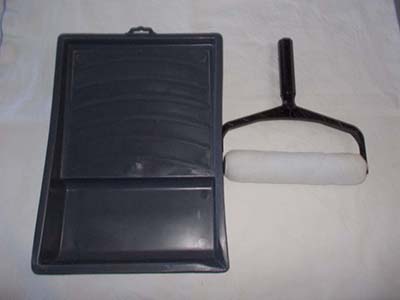
- A large roller which has been designed for use on larger areas and given a shorter nap should be used on smooth rather than rough or textured surfaces.
- A good quality cleaning solution, properly used after each time the brush is used, will prolong the latter’s life by quite a long time.
- For large containers of paint, you can buy purpose-designed mixing attachments that fit a powerful drill. For small containers, however, this simple little device works well. Take a large fender washer and either bend it as shown, through about 45°, or make three or four cuts towards the middle and then bend the resulting blades to an angle to create what looks rather like a primitive and very rough-and-ready boat propeller. Bolt it firmly onto a length of threaded rod (as shown) and fit that into a cordless or main drill, and off you go. Just be sure to stop the rotation before you remove it from whatever you are mixing, otherwise you will be doing a little spraypainting of your own – and not in a nice way.