04 May 2026

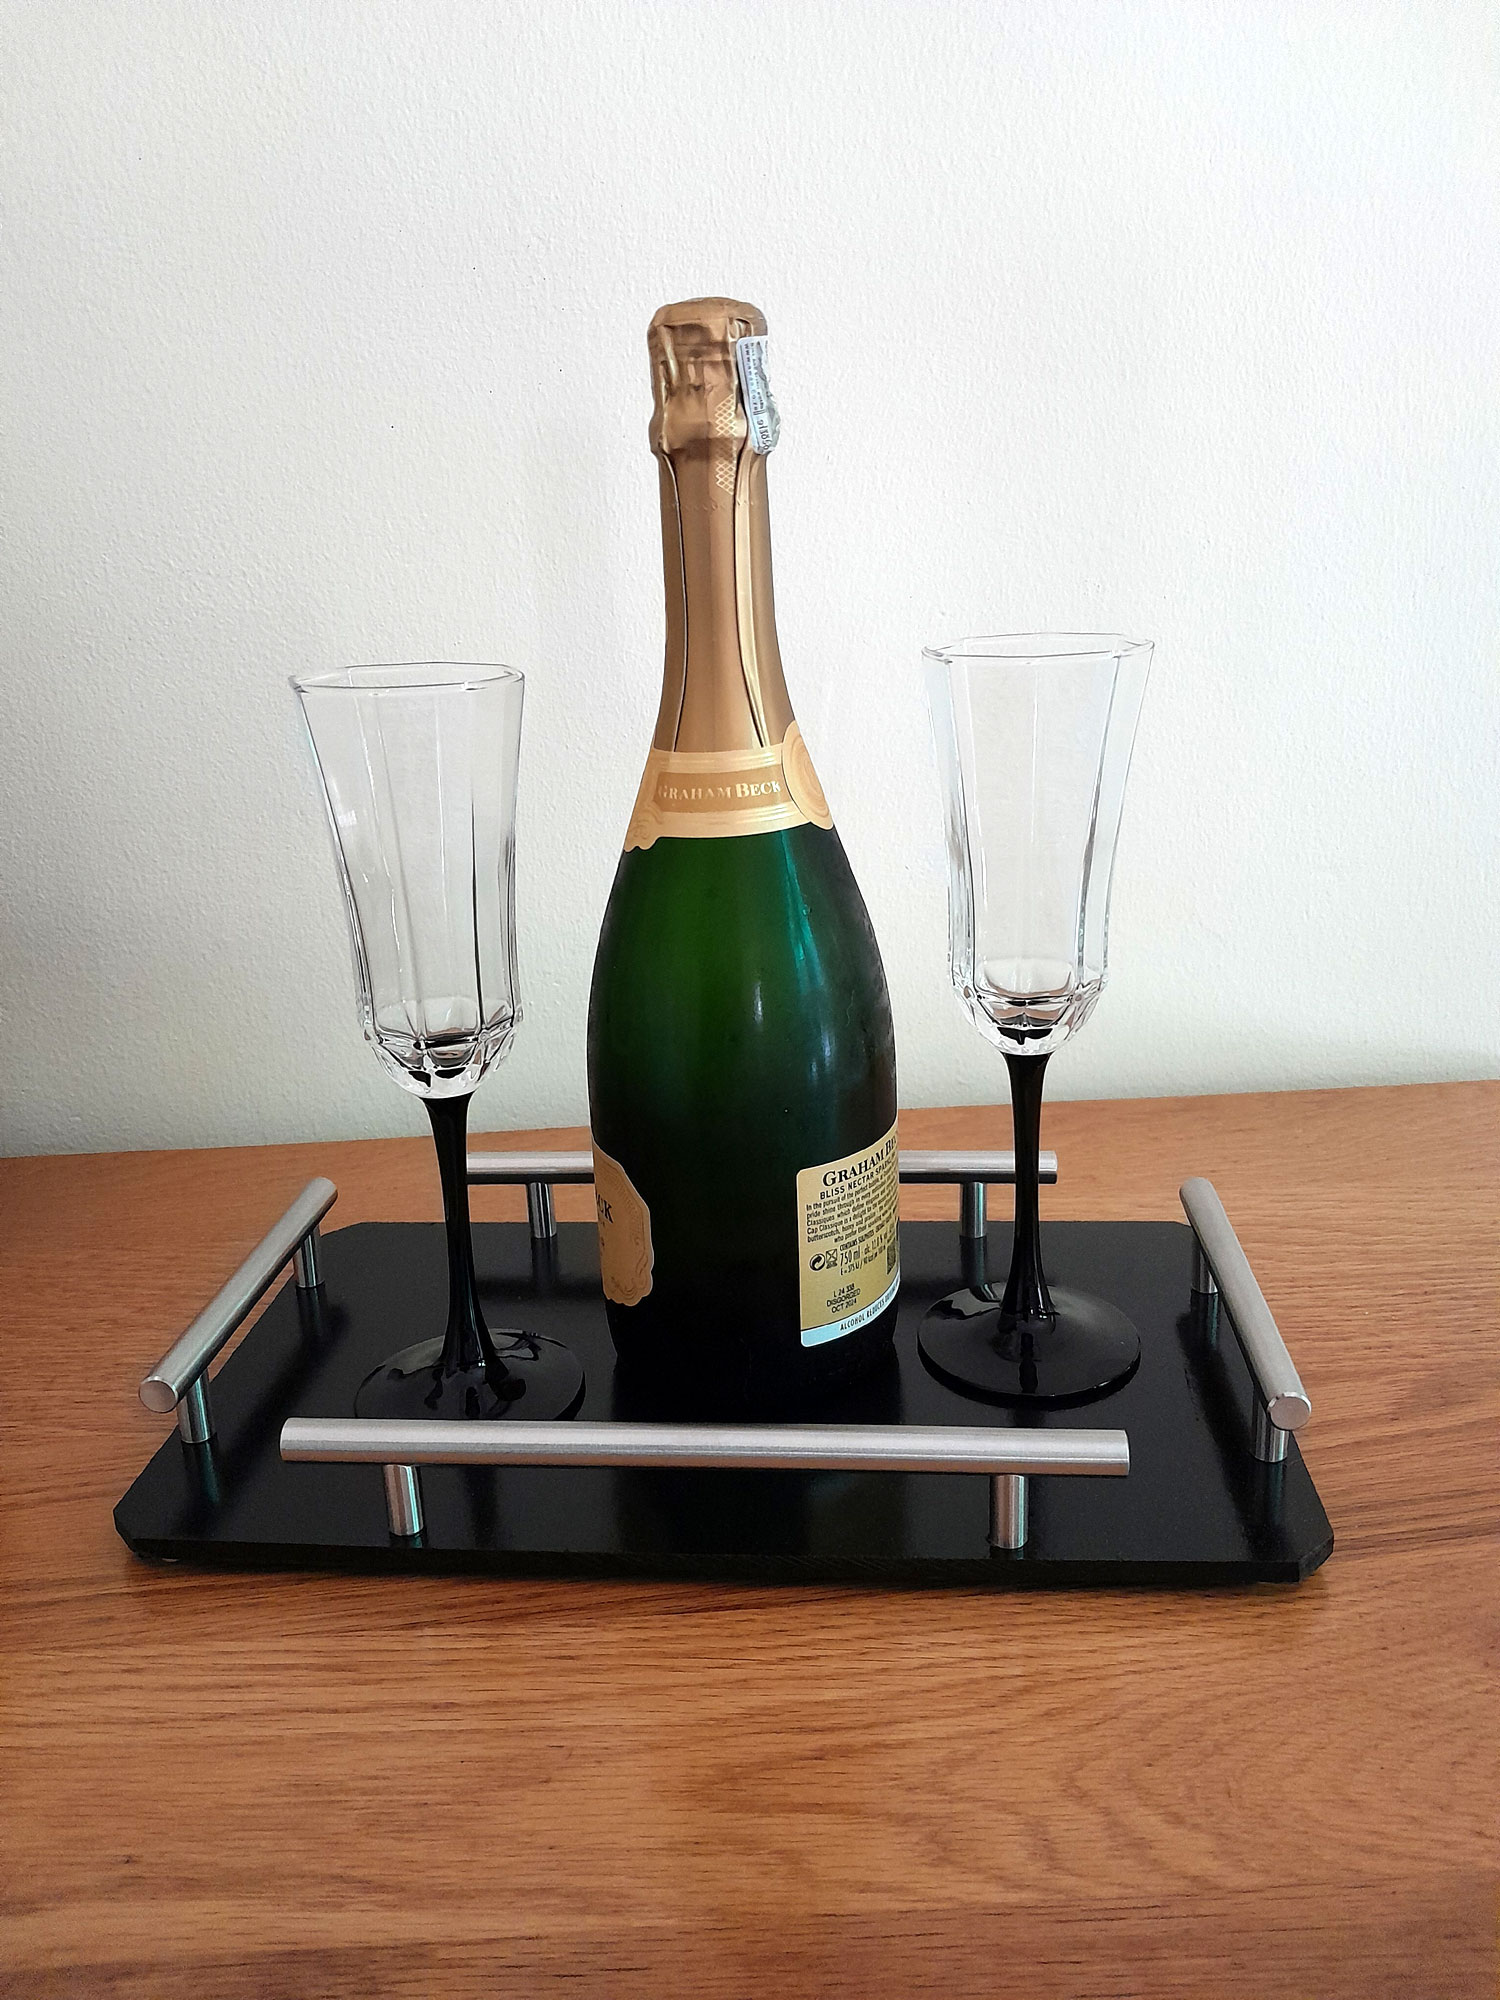
Are you being served?
This serving tray is just what you need when you have to deliver a bottle of wine and glasses to your guests, or tea and biscuits, to your guests, of course – but they will probably prefer the former!
Materials:
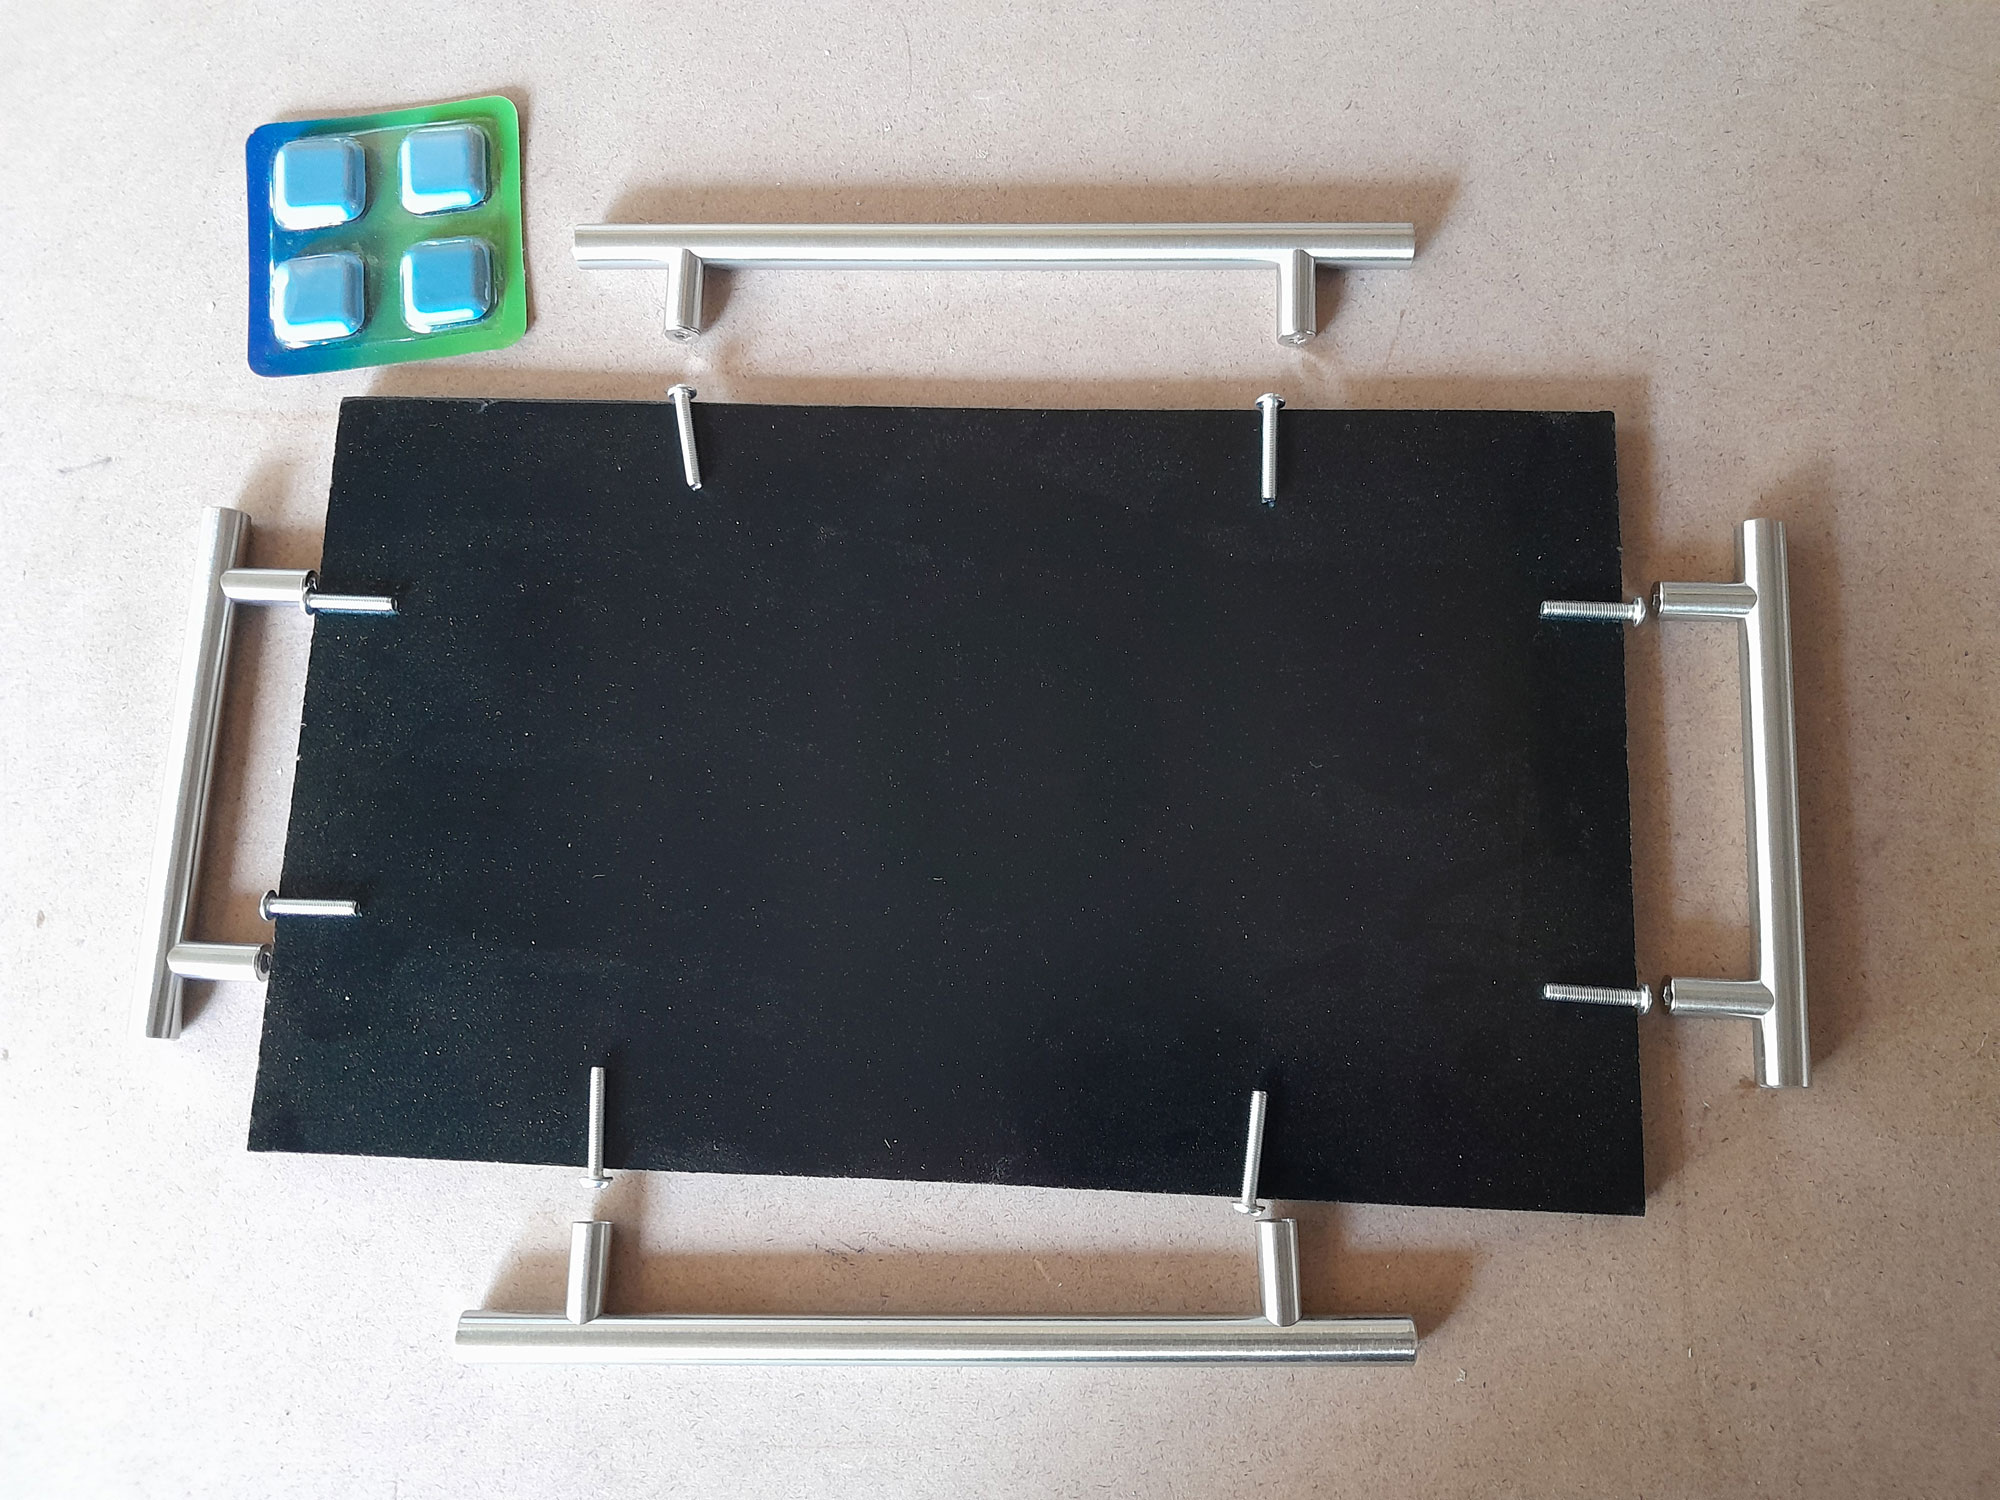
- Tempered hardboard or plywood – 6mm, dimensions up to you. In this case, 330x195mm
- Handles – stainless steel hollow – one pair 136mm; one pair 220mm
- Easy-slider or felt pads – self-adhesive – 4
- Finish – I chose gloss black
Method:
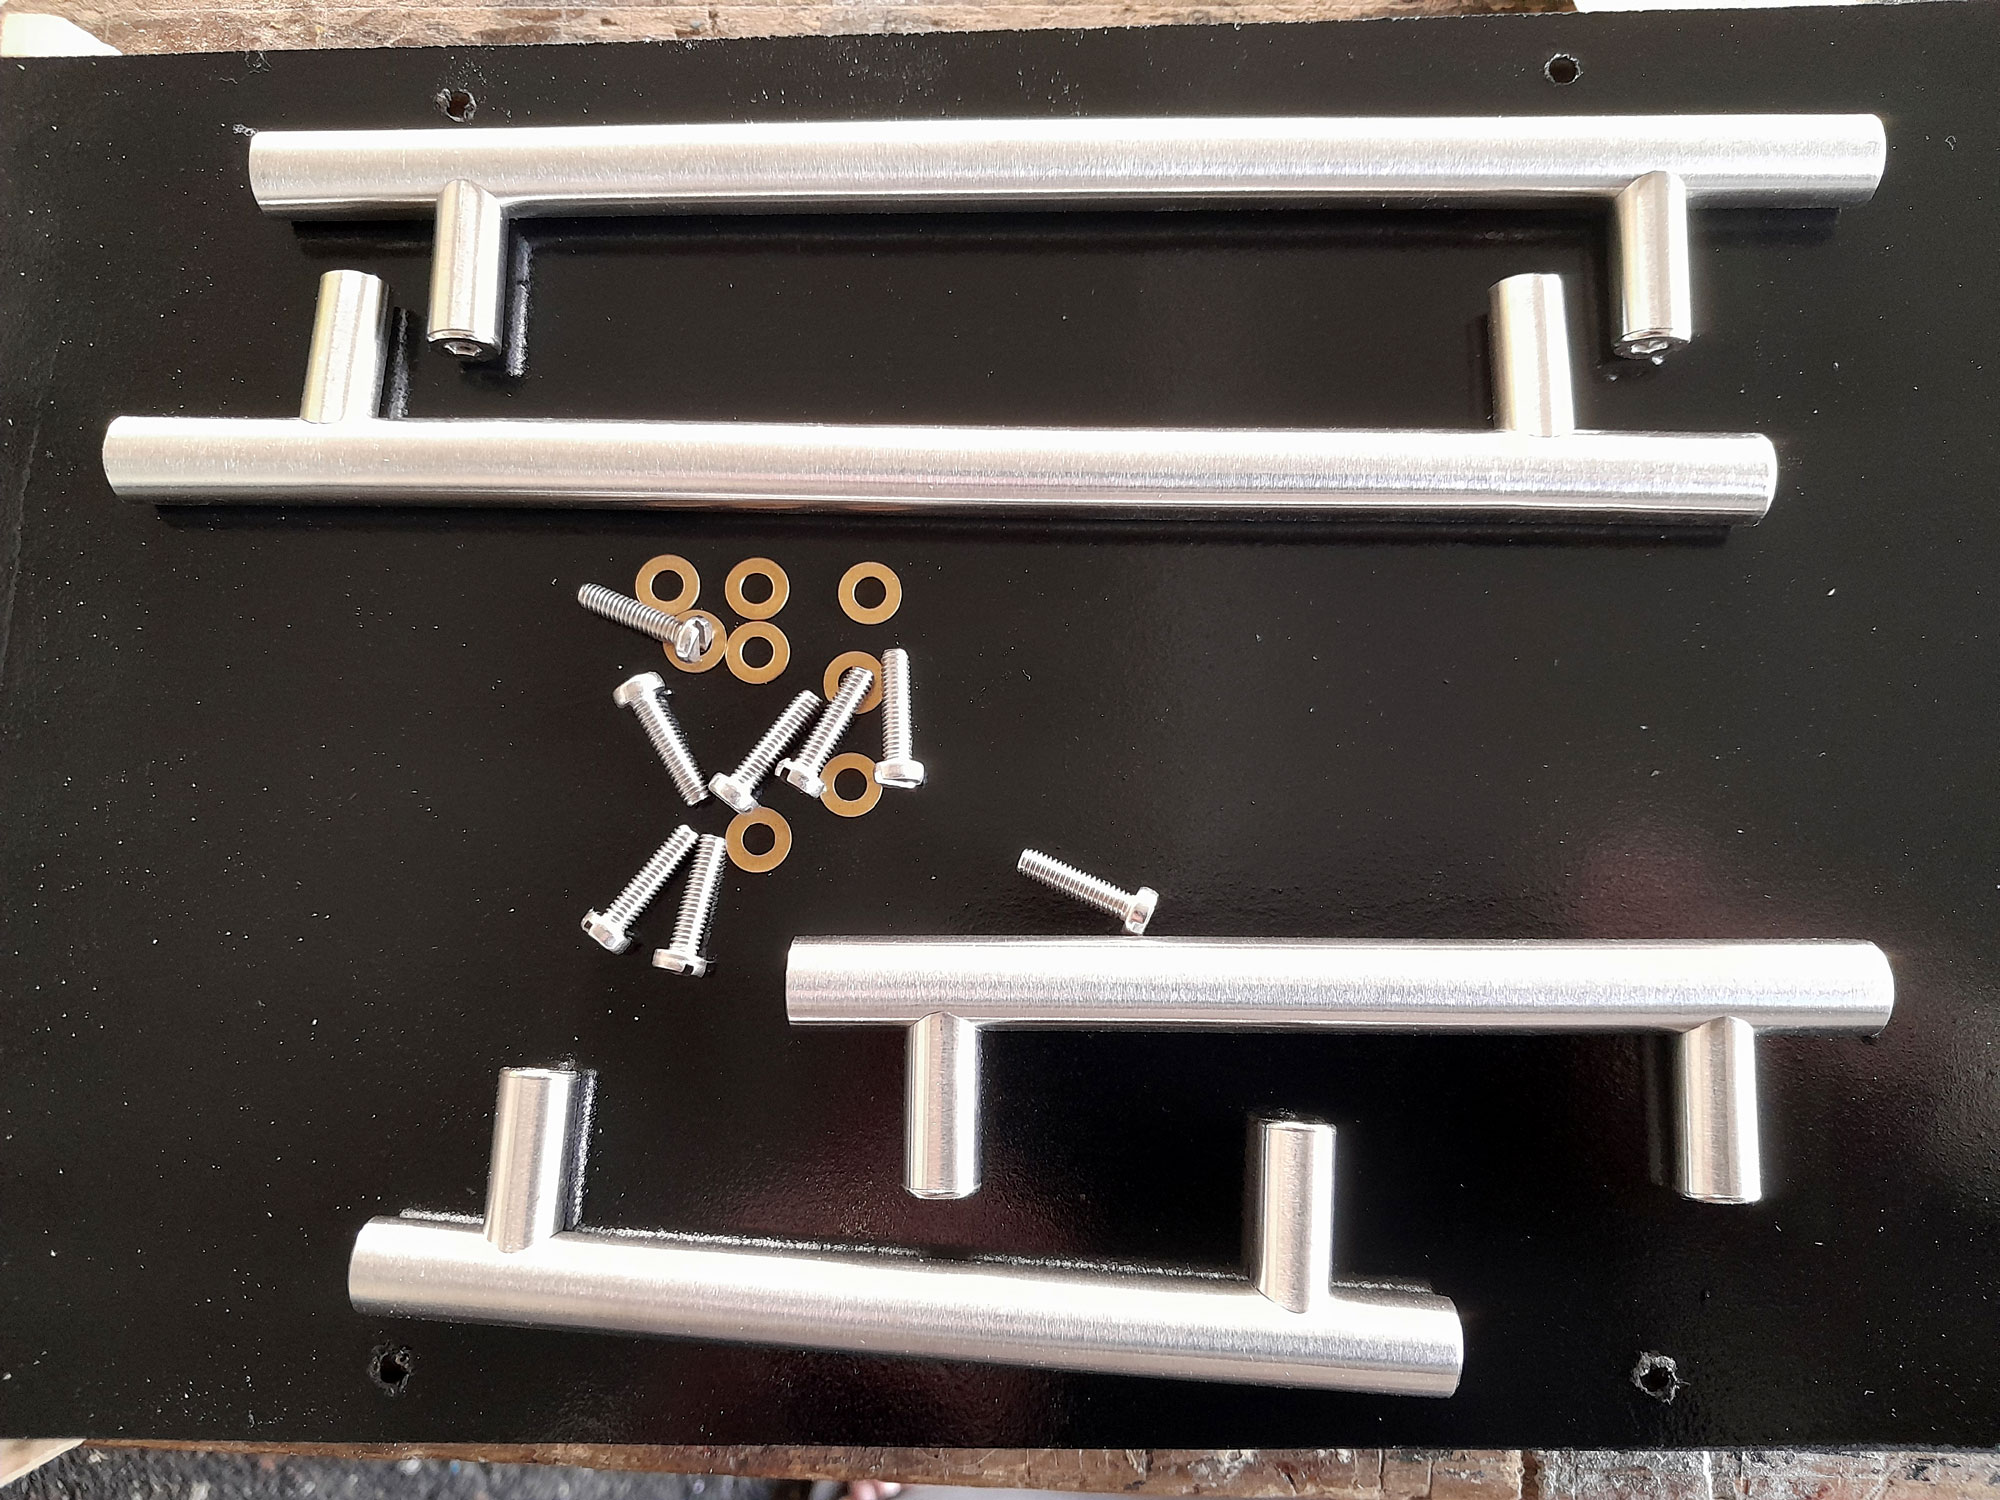
- The materials – the board, an offcut from a previous project has been painted by applying four coats of aerosol gloss black paint.
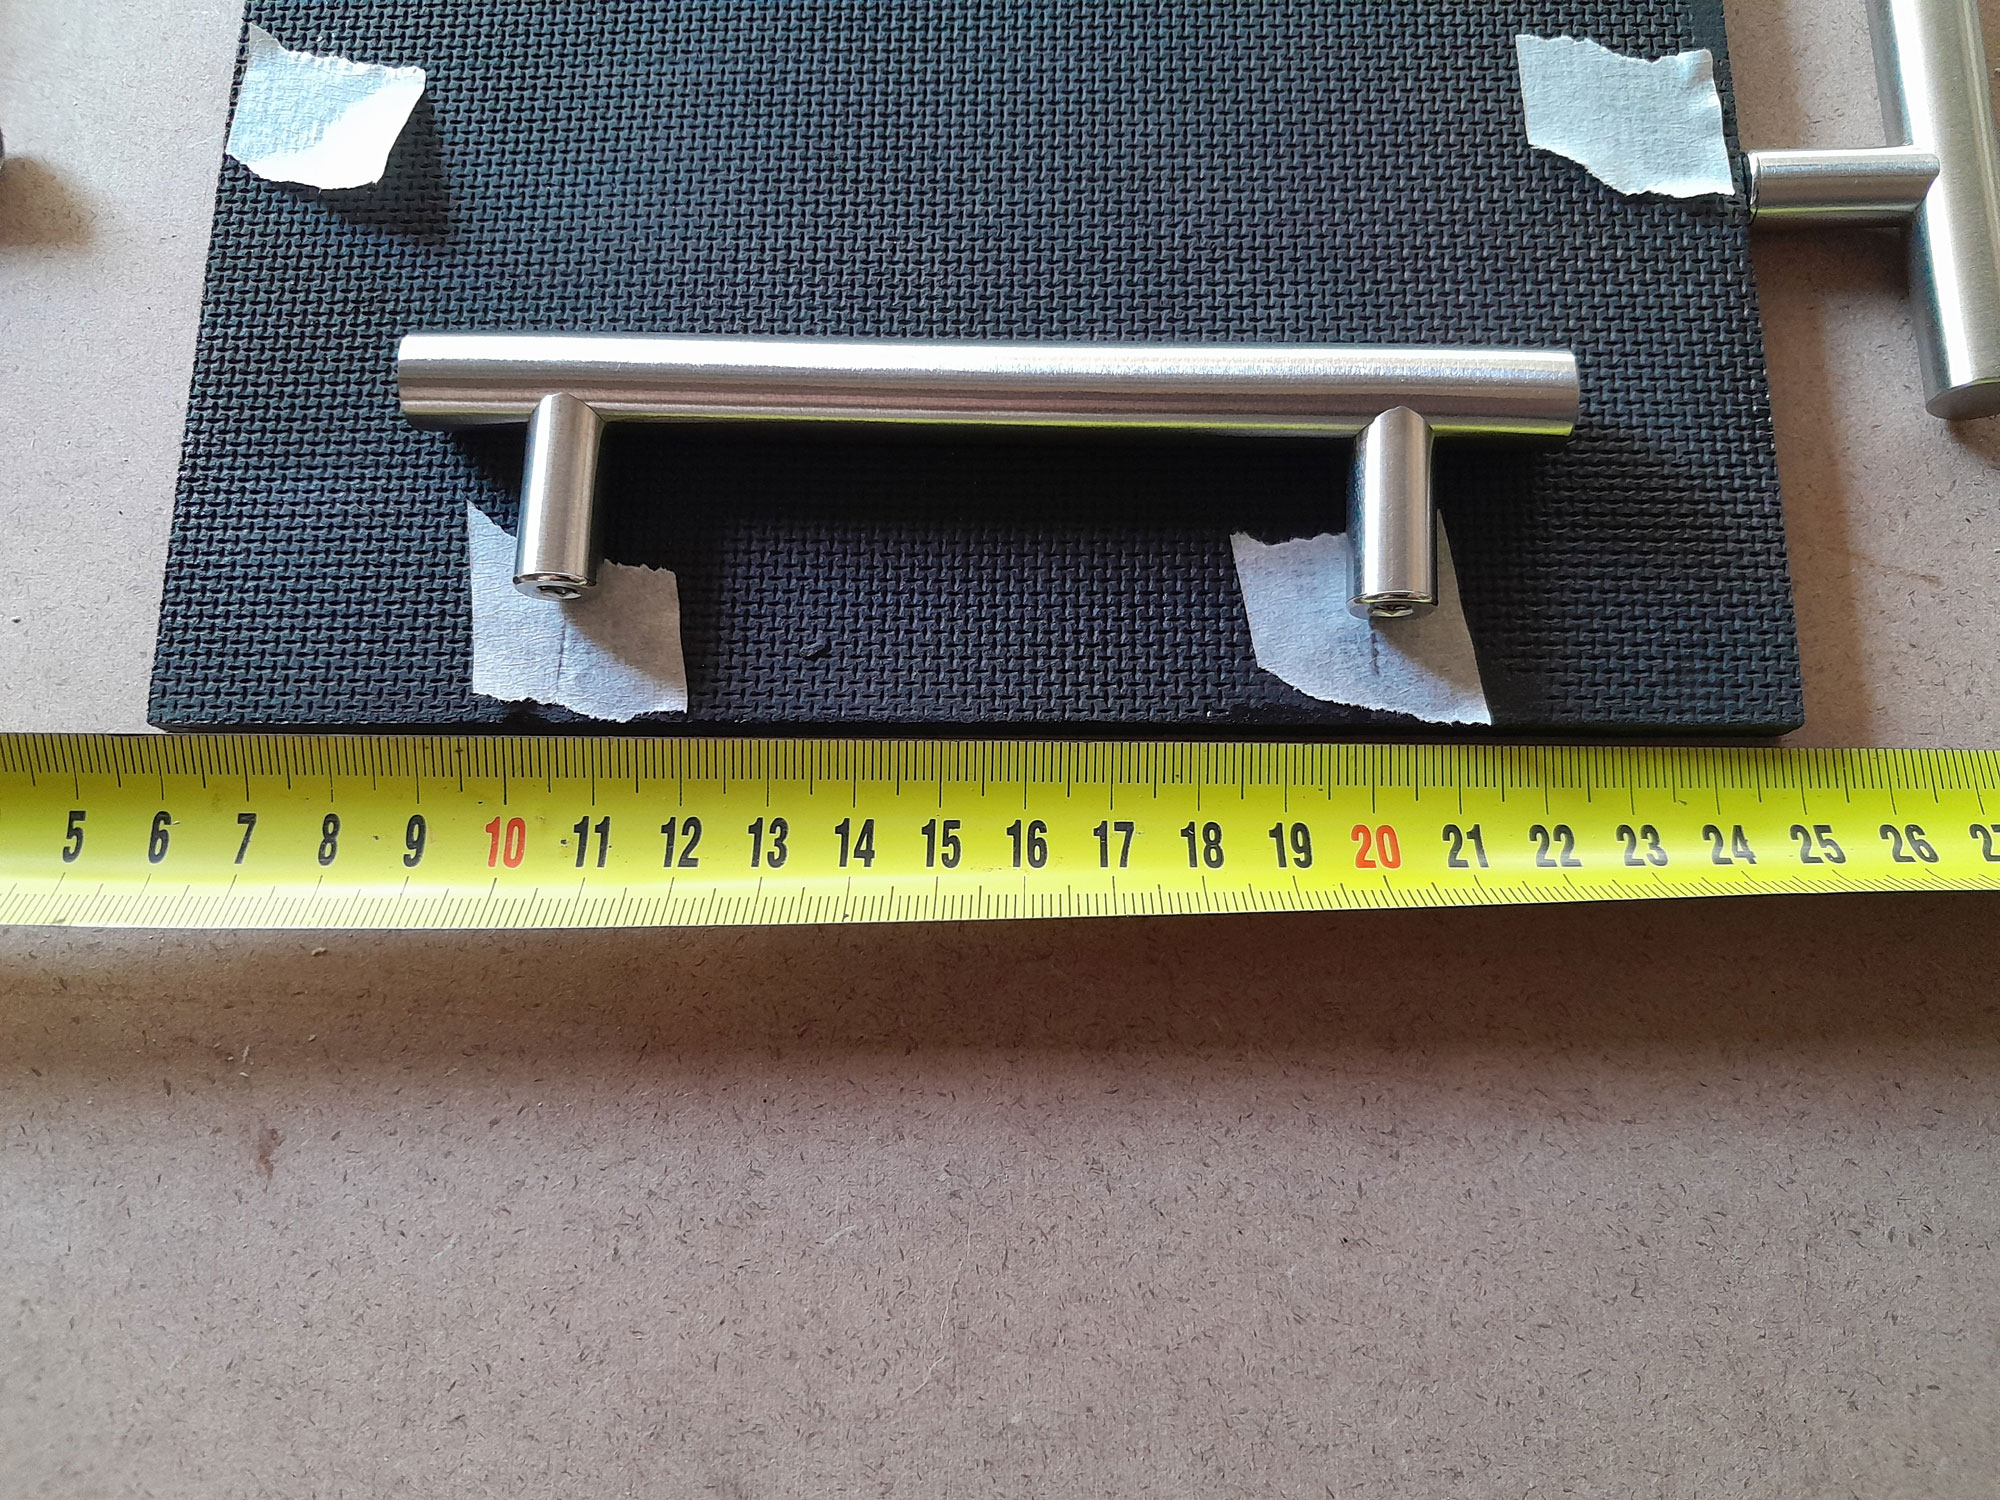
- I used small pieces of masking tape to mark the positions of the handle attachment screw holes, and a gauge to set them exactly 10mm in from the edge.
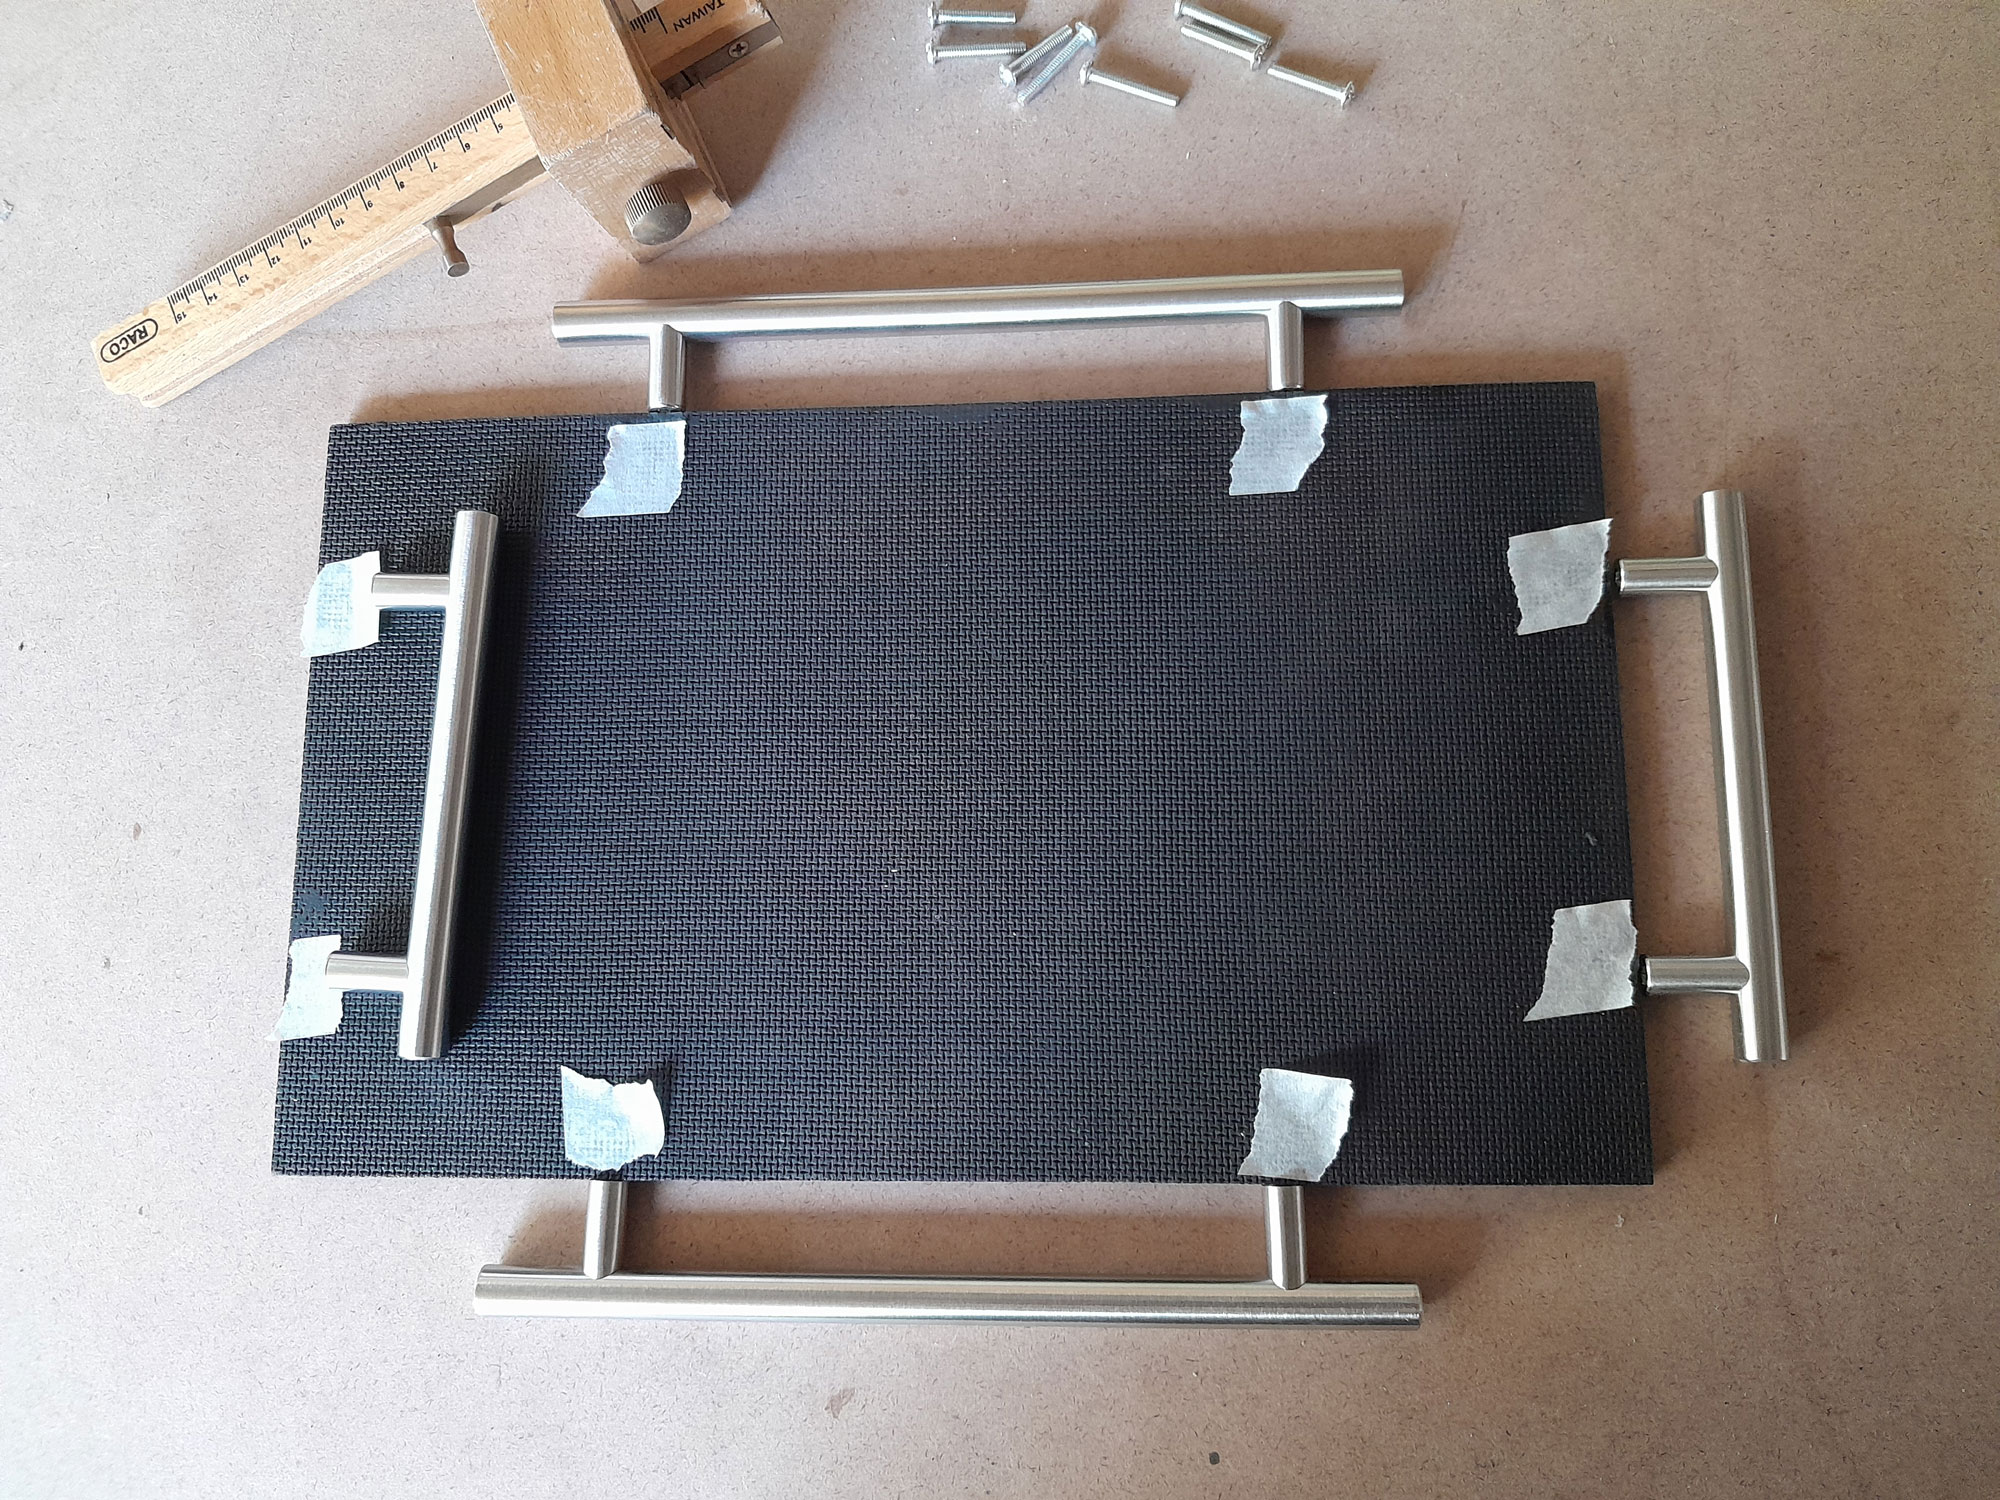
- Then I double-checked the positioning of the holes to ensure they aligned precisely with the handles’ uprights; as with sawing or cutting, before drilling holes for items such as handles, confirm 100% that your measurements are correct.
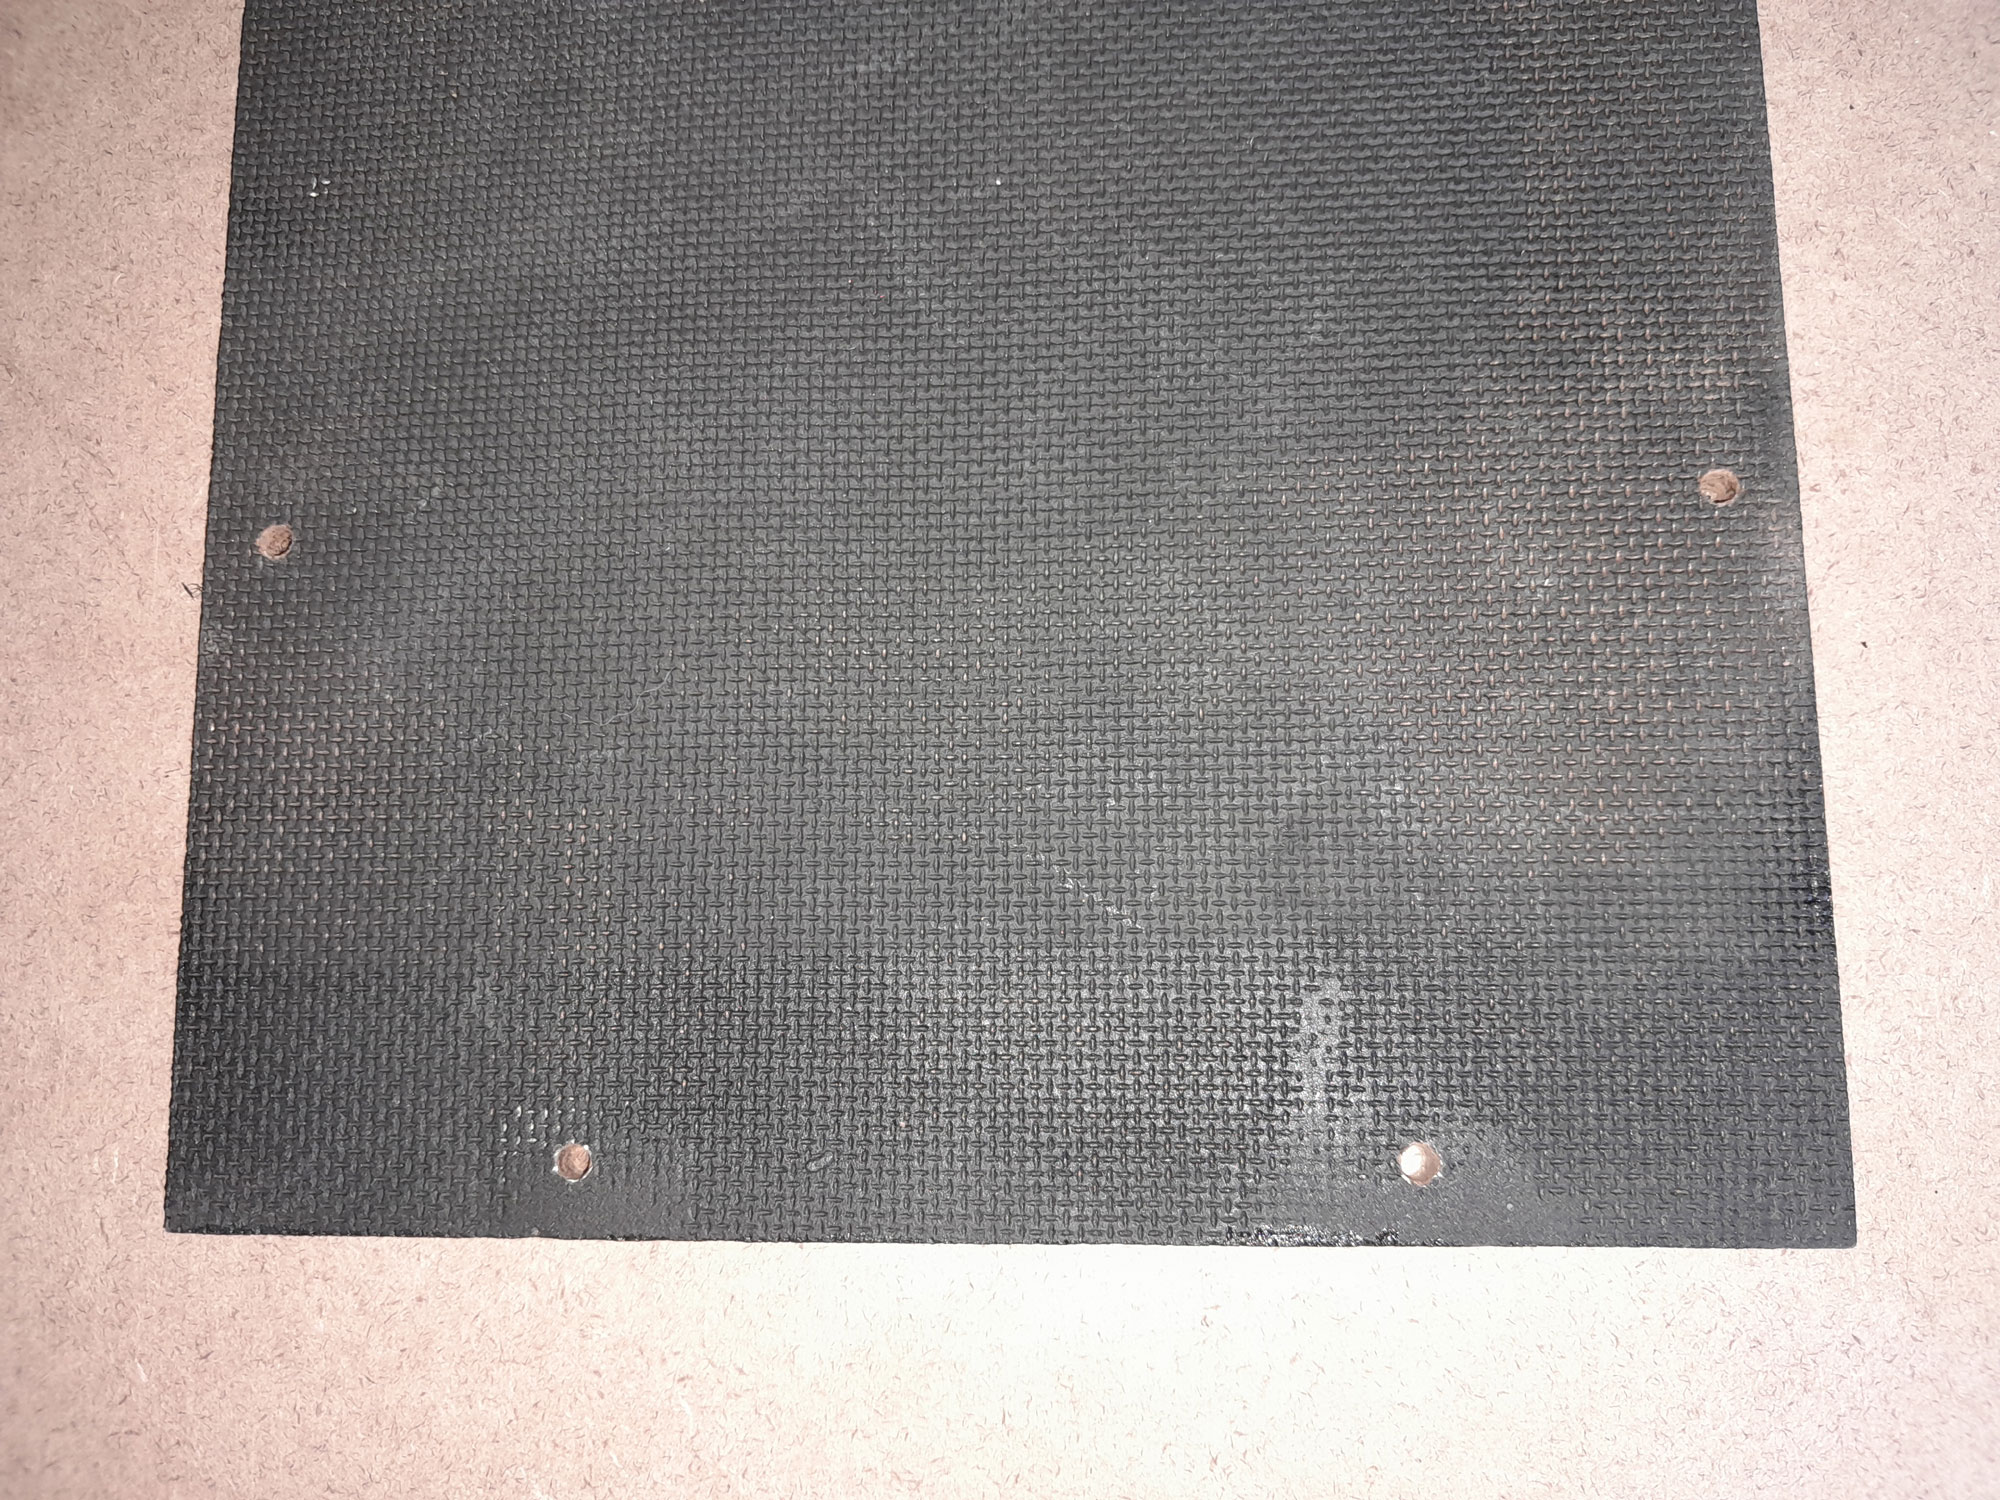
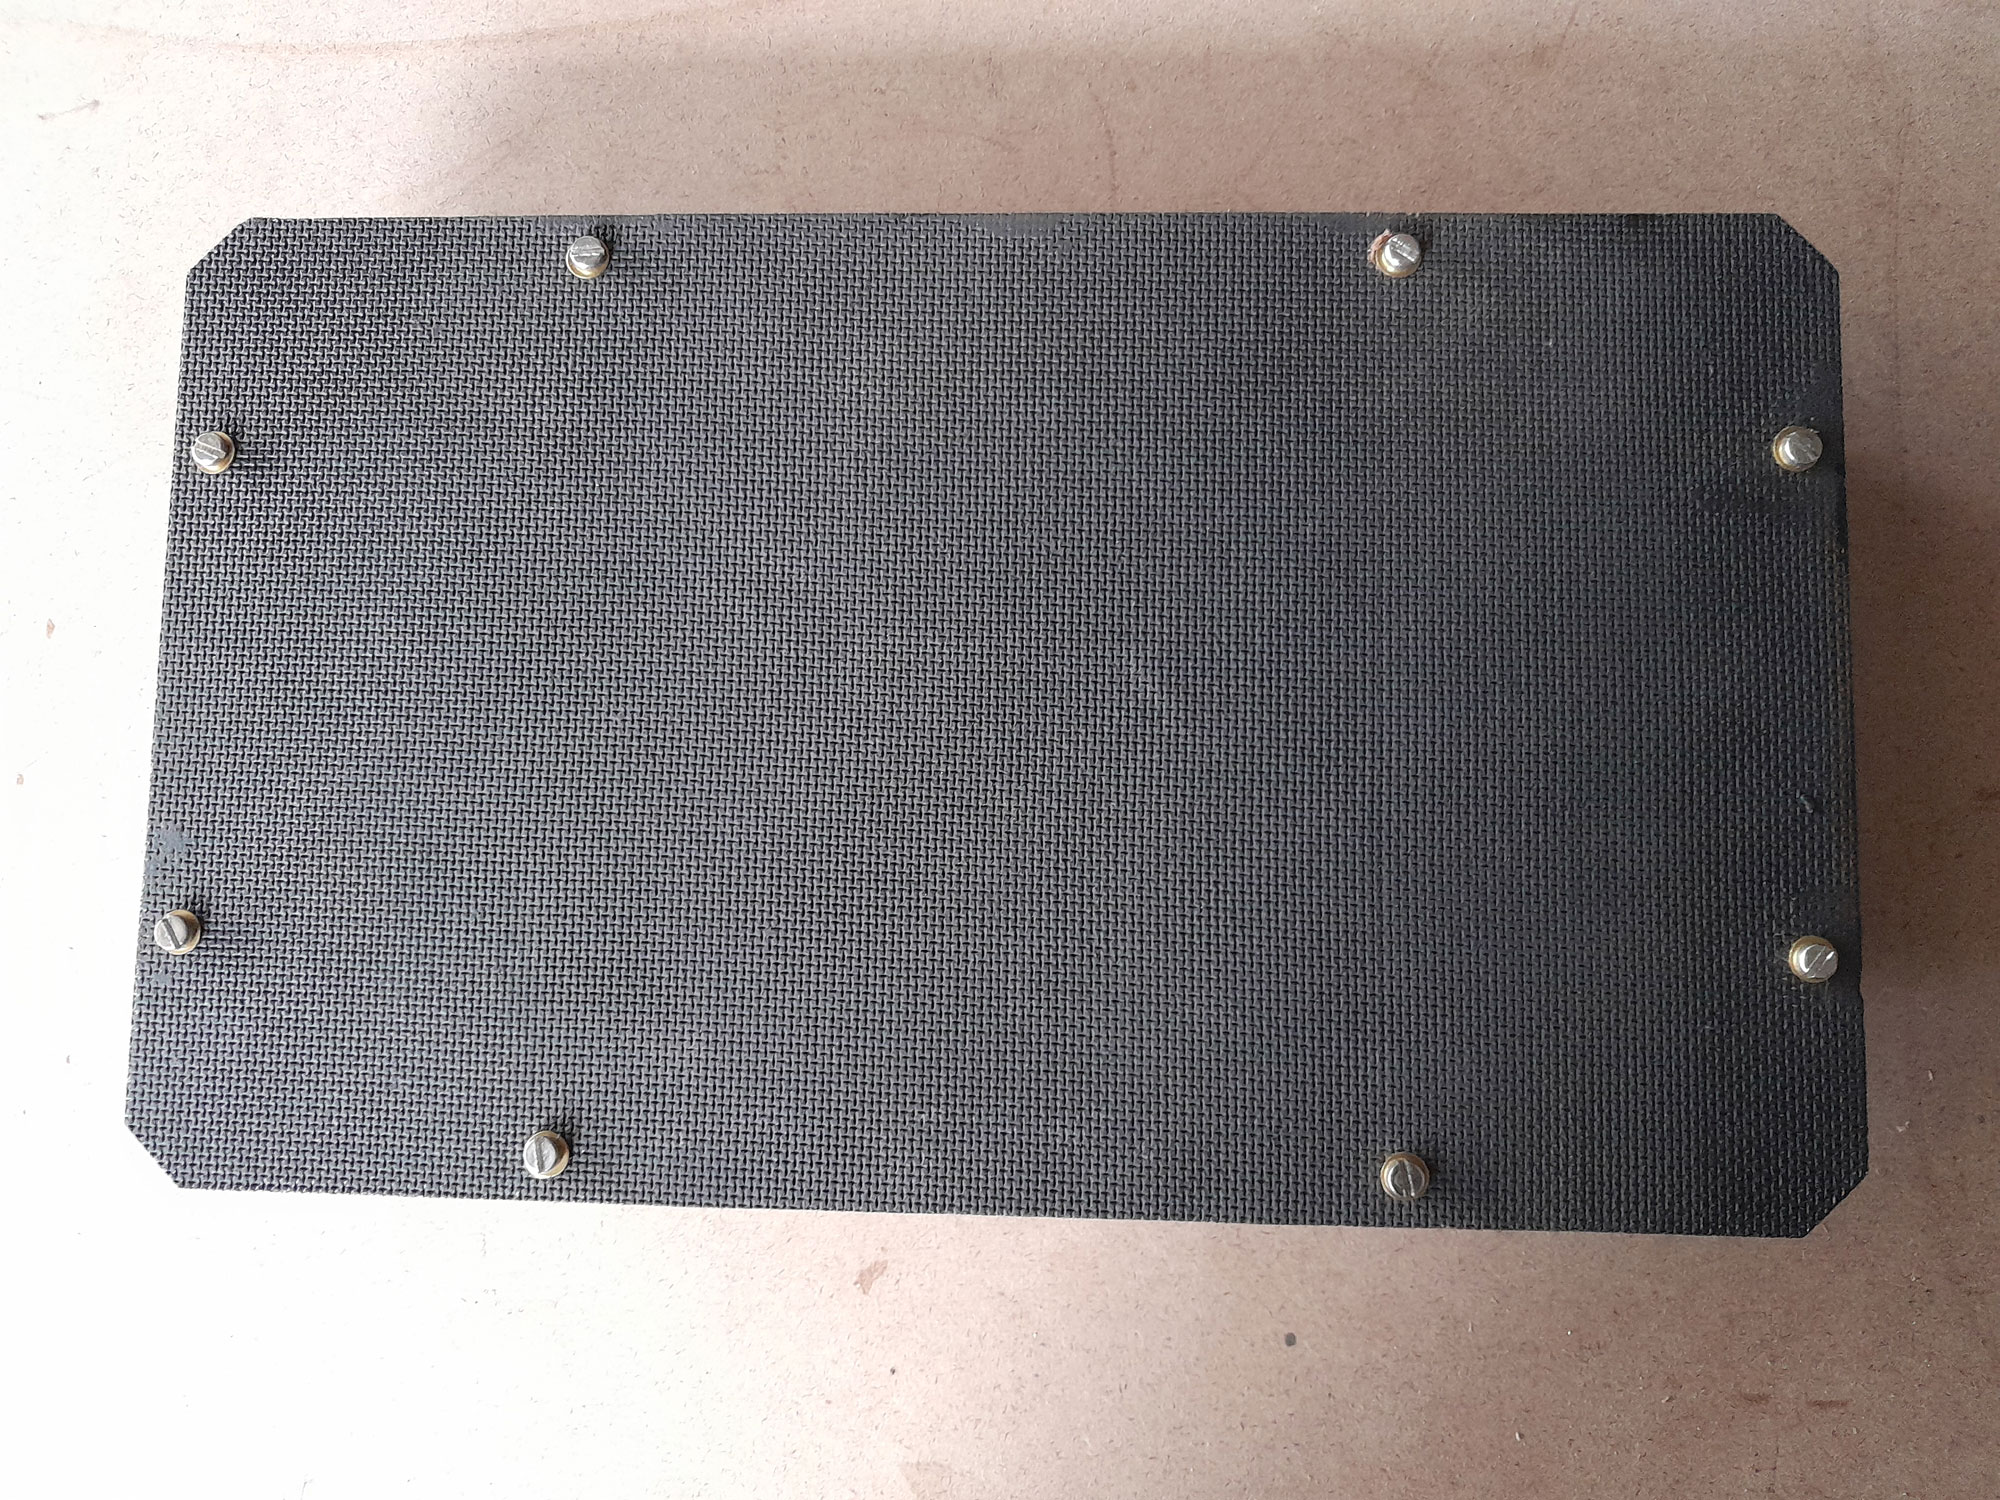
- Once satisfied, I drilled the holes.
- All ready to go, and I added a 4mm brass flat washer to cushion each screw. In passing, the screws I used are shorter than the ones supplied with the handles as those supplied proved to be a little long. The important thing to remember is that the screw heads must not protrude more than the pads you will be using. If they do, you will mar the surface on which the tray is placed. If necessary, use CSK (countersunk) screws, without washers to secure the handles.
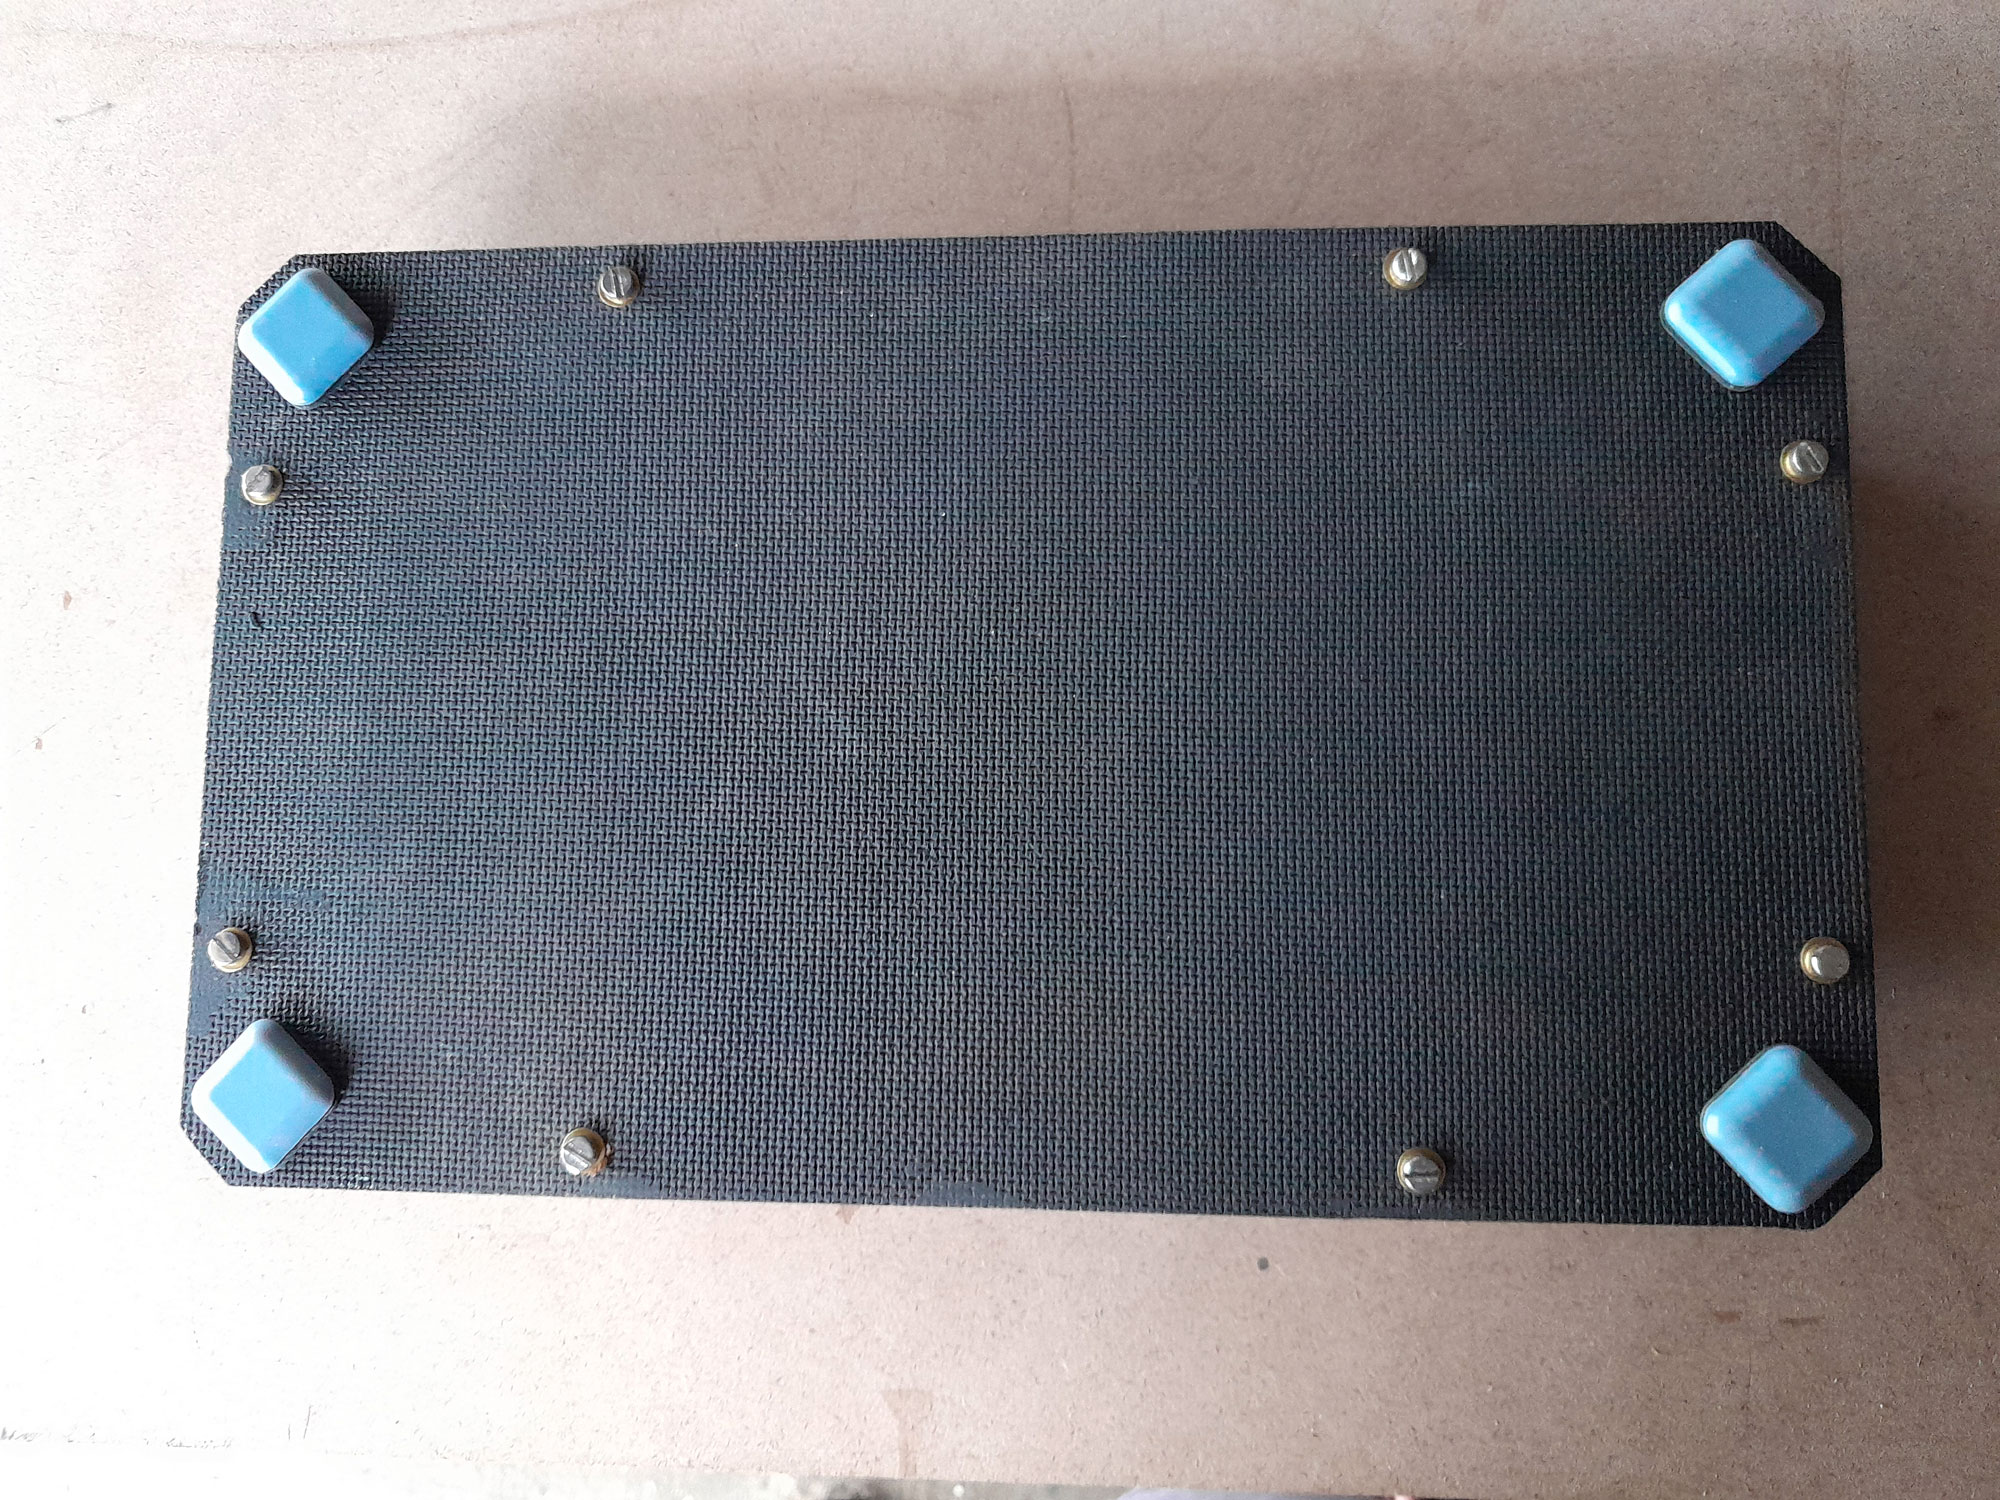
- At this stage, I decided to trim each corner at 45º as I had dropped the board and the one corner was slightly damaged so it occurred to me that trimming them would not only make damage less likely, but also make the corners less “sharp” – and trimming them does not reduce the carrying area of the tray at all. I touched up the cut edges using the same paint, applied in a puddle on some scrap wood, and using an ear bud to apply it.
- I finished off by adding a slider pad on each corner as shown.
- And here we are, ready to provide much-needed sustenance to an eager recipient or three.
Panel:
These materials are available at Selected Mica Stores. To find your closest Mica and whether or not they stock the items required, please go to www.mica.co.za, find your store and call them. If your local Mica does not stock exactly what you need they will be able to order it for you or suggest an alternative product or a reputable source.
Project guide
TIME: 1 day or so
COST: R200
Skill: 1
Assistant: No
Tools required:
Jigsaw, drill/driver (cordless or mains)