05 December 2018

Recycle those old shelves into cupboards
This feature shows you how to convert a set of old shelves that had clearly seen better days, into kitchen cupboards.
Materials:
- SA pine laminated shelves 330x18mm
- Four pine door knobs
- Four pairs of spring-loaded, self-closing hinges
- 30mm screws
- 2.4m length of 32mm x 32mm SA pine
- Two sheets of 3.2mm Evowood Finecote 610mm x 1220mm
- 75mm chipboard screws
- 1m of 10x19mm bevelled beading
- Four 100mm screws
- 8mm wall plugs
- Finish of your choice – Gloss white enamel for the doors and varnish for the door knobs were used here.
Method:
- The original shelves. The first task is to disassemble the unit and select the best parts. That which is warped or damaged can be discarded. Also, check carefully for any wood that has been cut to a different width or not cut straight as this will lead to inaccuracies when you start building.

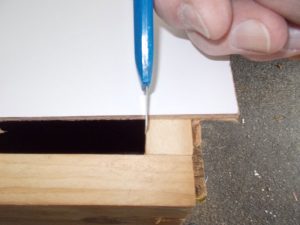
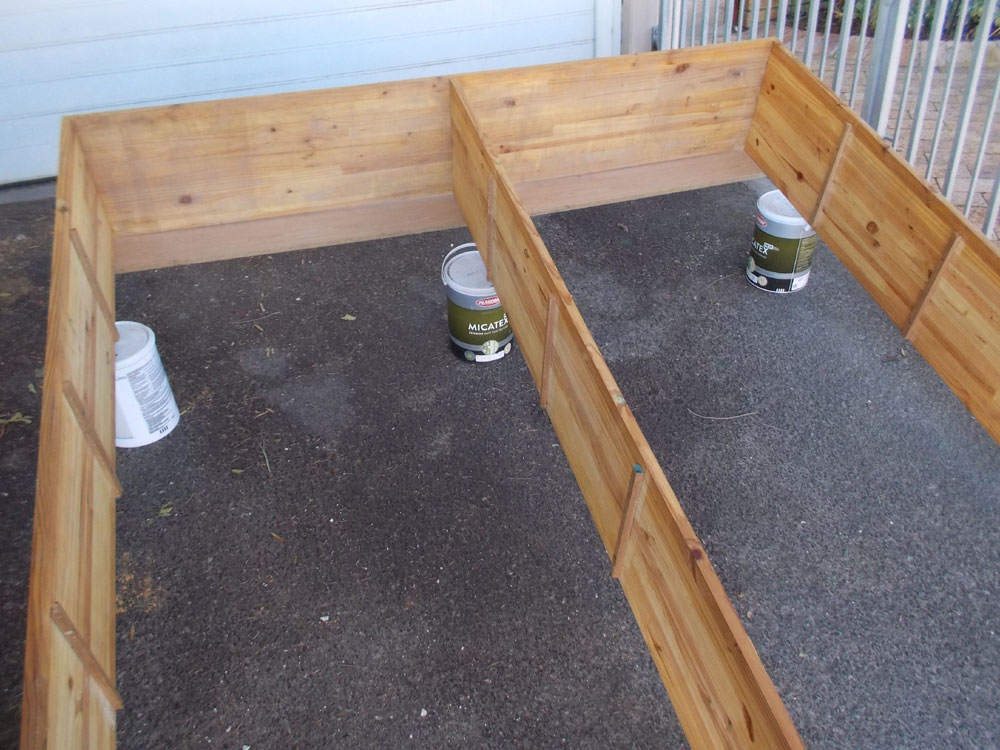
- These cupboards were both 700mm wide x 600mm high x 330mm deep. The top was cut first, which was 664mm (the sides would be attached to the top and base and as they would each be 18mm thick, 664+218+18 = 700mm for the full width). A craft knife was used to accurately mark the second top and the two bases. Cut each one in turn and confirm each is an exact match in length for the others.

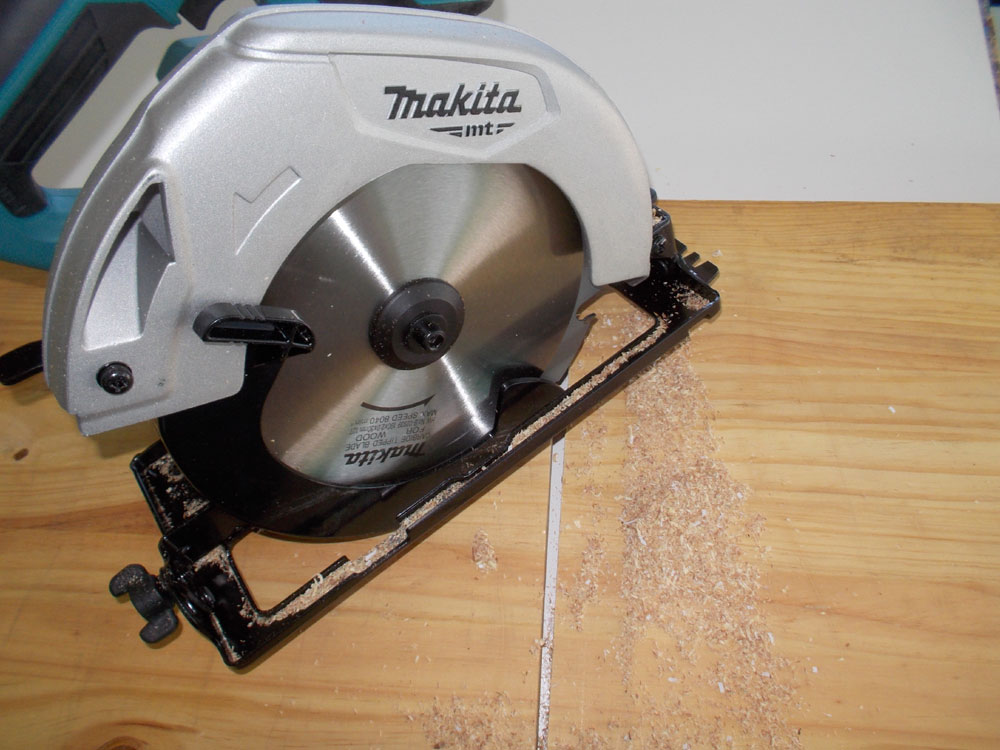
- The same way the four sides were cut, each 600mm, using a cut-off circular saw to make the cut, the depth was set to 17.5mm so that the saw could run straight over the work piece while it rested on the workbench top. This depth setting ensured that the blade did not fully penetrate the work pieces, which were simply snapped off and the edges sanded smooth.

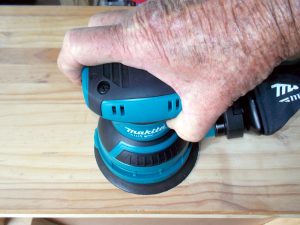
- As the wood was old and being recycled, the next step was to sand all the surfaces – it is so much easier to do it at this stage, before assembly. The first cupboard shell was then assembled using glue and 5 x 75mm chipboard screws per edge.
- The backing for the first cupboard – on the right – was simply glued and tacked to the back of the unit, hence it was 700mm x 600mm, but in the case of the second, the backing had to clear three electrical conduits going down that wall and that meant it had to be mounted at least 30mm in from the wall on which the cupboards were mounted. There are two ways of attaching the backing:
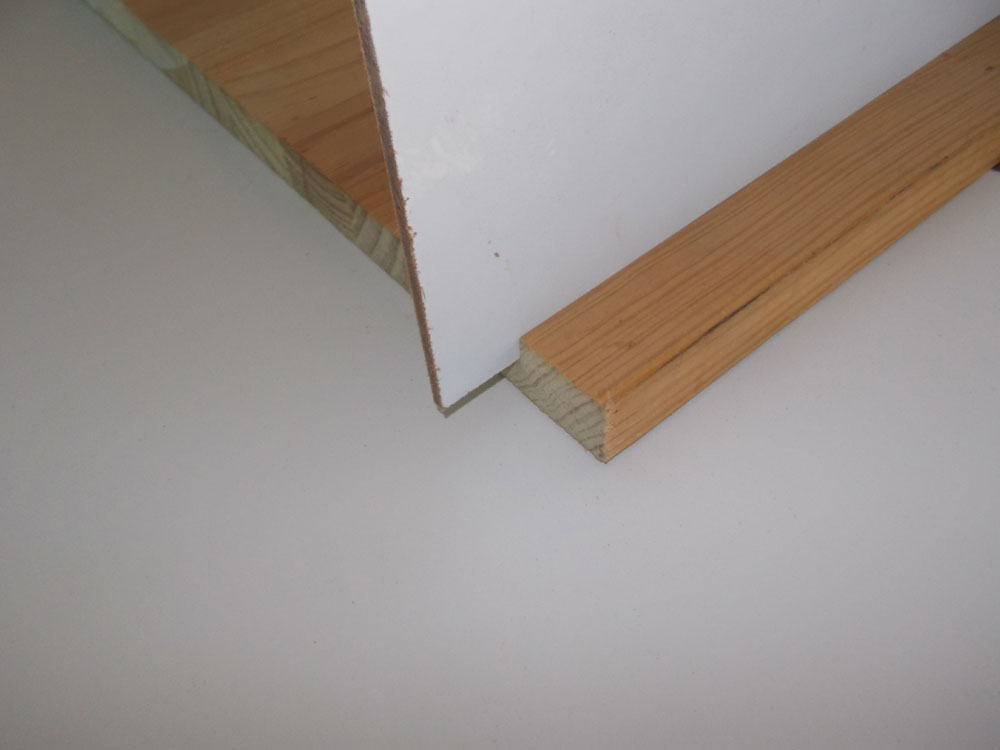
- One is with a 32mm x 32mm beading along the rear edge of the cupboard to which the backing is glued – in this case the backing would be 664mm x 564mm, to fit snugly within the cupboard.
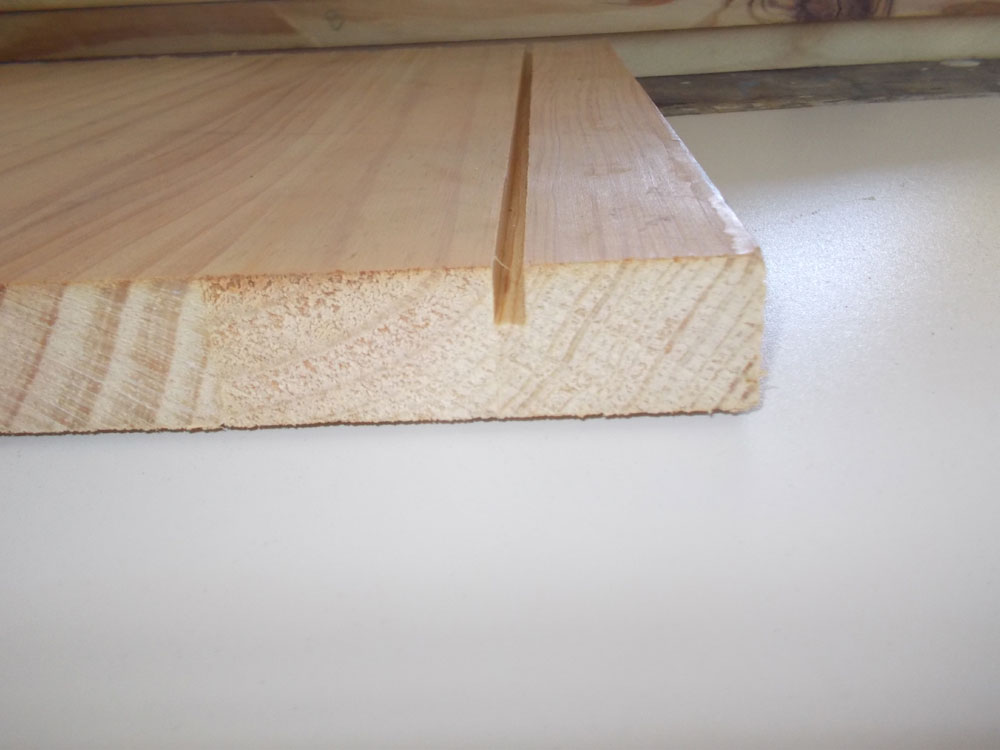
- The second method is to rout a channel for it in the top, base and sides.

- The channel is routed using a 3.2mm straight-cut bit.

- Care must be taken not to rout too deep – about 6-8mm is sufficient.

- The backing fits snugly into the channel.

- Having cut the backing to fit, the second cupboard can then be assembled.

- If you take the beading route, however, then the shell can be assembled as was the first cupboard, the beading glued and screwed to the inner rear edges of the shell, and backing cut to fit within the inner surfaces of the shell and then cut with a craft knife.
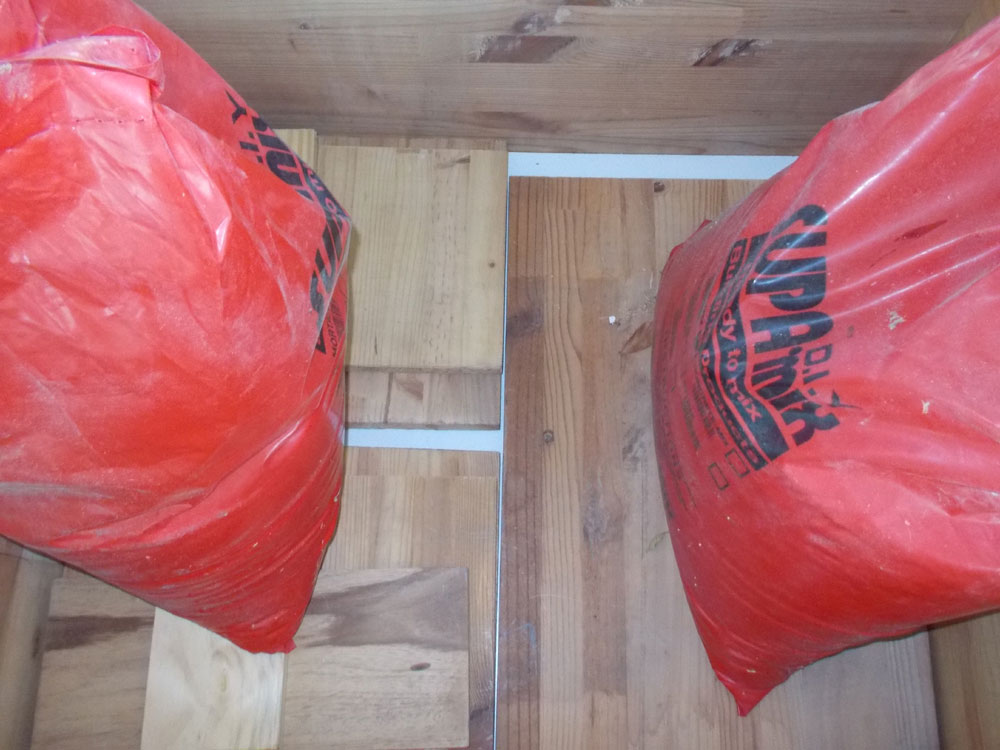
- Ensure that the backing is a very accurate fit. Thereafter, glue was applied to the beading and backing inserted and weighted down with heavy bags to ensure a good bond.

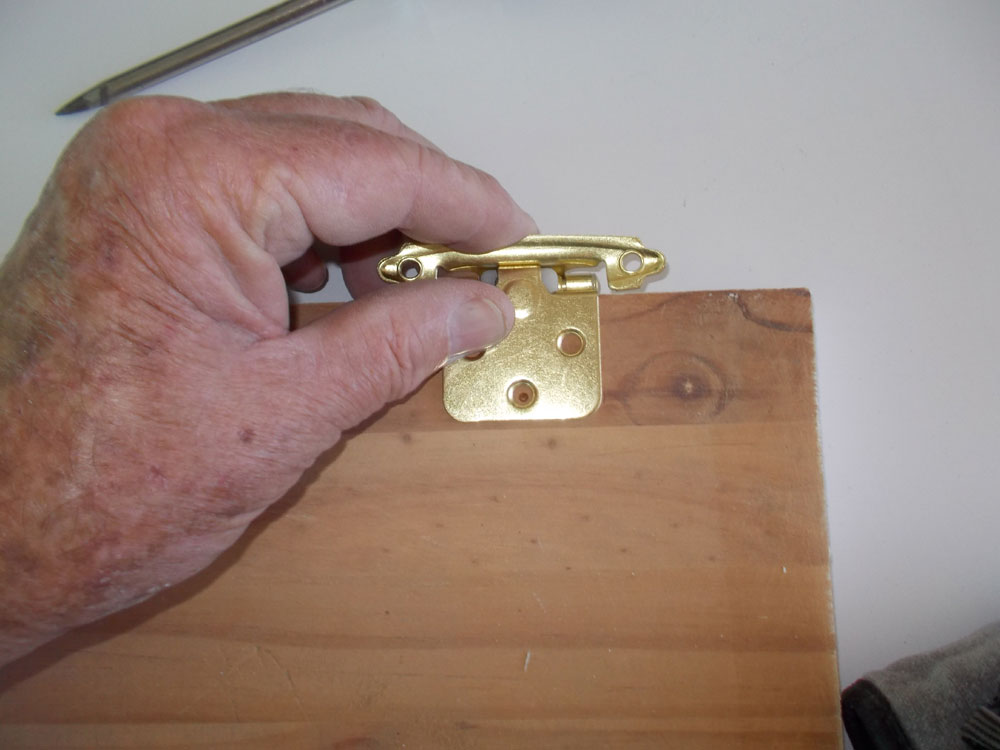
- While the glue was curing, and having painted the doors with three coats of gloss white enamel, I attached the hinges to the inner edges of the doors. Each was set 50mm in from the top and bottom of the door.

- Attach the hinge with one screw first, ensuring that it is exactly the right position, and then drive in the other attachment screws. Each door knob is attached 50mm in from the edge and 280mm up from the bottom of the door.
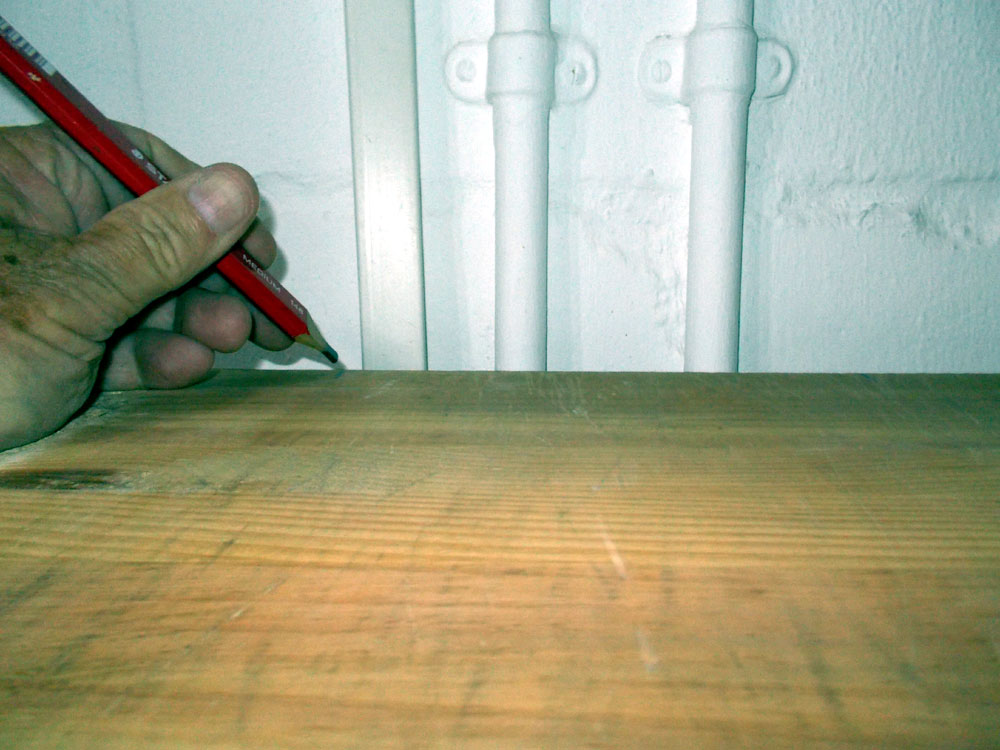
- With the left-hand cupboard supported in position, I marked off the cut outs for the electrical conduit.

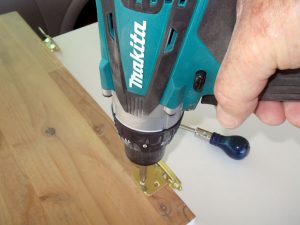
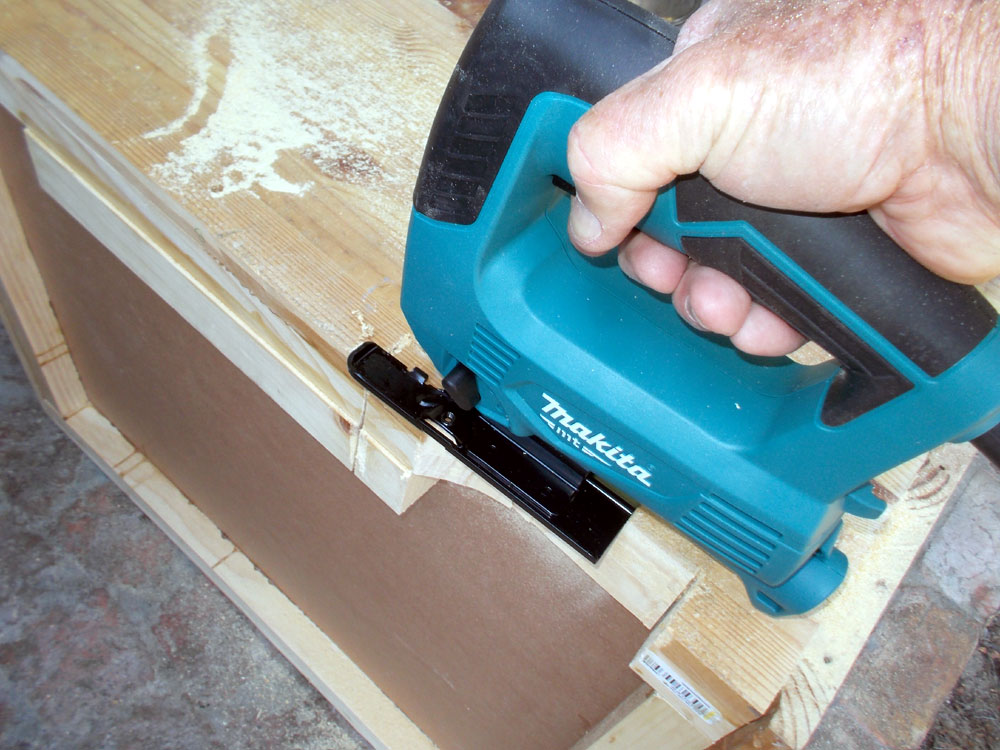
- A jigsaw makes quick work of making the cut outs. At this stage, also drill the holes for the attachment screws that will pass into the wall. These screws should pass though the top beading to ensure a secure fixing to the wall; if they pass through only the backing sheet, they might pull through.

- With the cupboard back in position, the positions of the two attachment screws were marked on the wall with a small diameter masonry bit passing through the pre-drilled attachment-screw holes. Then the cupboard was set aside again and the final 8mmØ holes frilled for the 100mm attachment screws. Note the use of an old newspaper to catch the debris from the drill holes. It makes cleaning up so much easier. Note that the shelf in the first (right-hand) cupboard is the full depth of 330mm, but that in the second is 290mm (330 – 32 – 3.2 = 294.8mm) deep, to allow for the fact that the backing is recessed into the cupboard unit by 36.2mm (32mm beading plus the 3.2mm thickness of the backing itself). The shelves in both cases are positioned at the midpoint of each cupboard and rest on lengths of 10mm x 19mm bevelled beading cut to length at each attached with 2 x 30mm screws.


These materials are available at Selected Mica Stores. To find out which is your closest Mica and whether or not they stock the items required, please go to www.mica.co.za, find your store and call them. If your local Mica does not stock exactly what you need they will be able to order it for you or suggest an alternative product or a reputable source.
Final Shots:

Project guide:
TIME: 6 days
COST: R100 – R150
Skill: 4
Assistant: Yes – to hold the cupboard in position while you mark the positions for the plugs
Tools required:
- Jigsaw
- Drill
- Cordless Screwdriver
- Sander
- Hammer Drill
- Circular cut-off saw or Compound mitre saw.