04 November 2022

How to replace the battery in an emergency stand-by light
The LEDs used in emergency lights generally have a very long life, but the batteries take an absolute hammering when ‘load shedding’ takes place multiple times every day. The batteries have less time to recharge after each use, and they also build up a memory – effectively they sort of ‘fill up’… think of a bucket used to empty a muddy pool time and again, but each time without the sediment at the bottom being washed out. As more and more sediment builds up, so there is less capacity for muddy water from the pool.
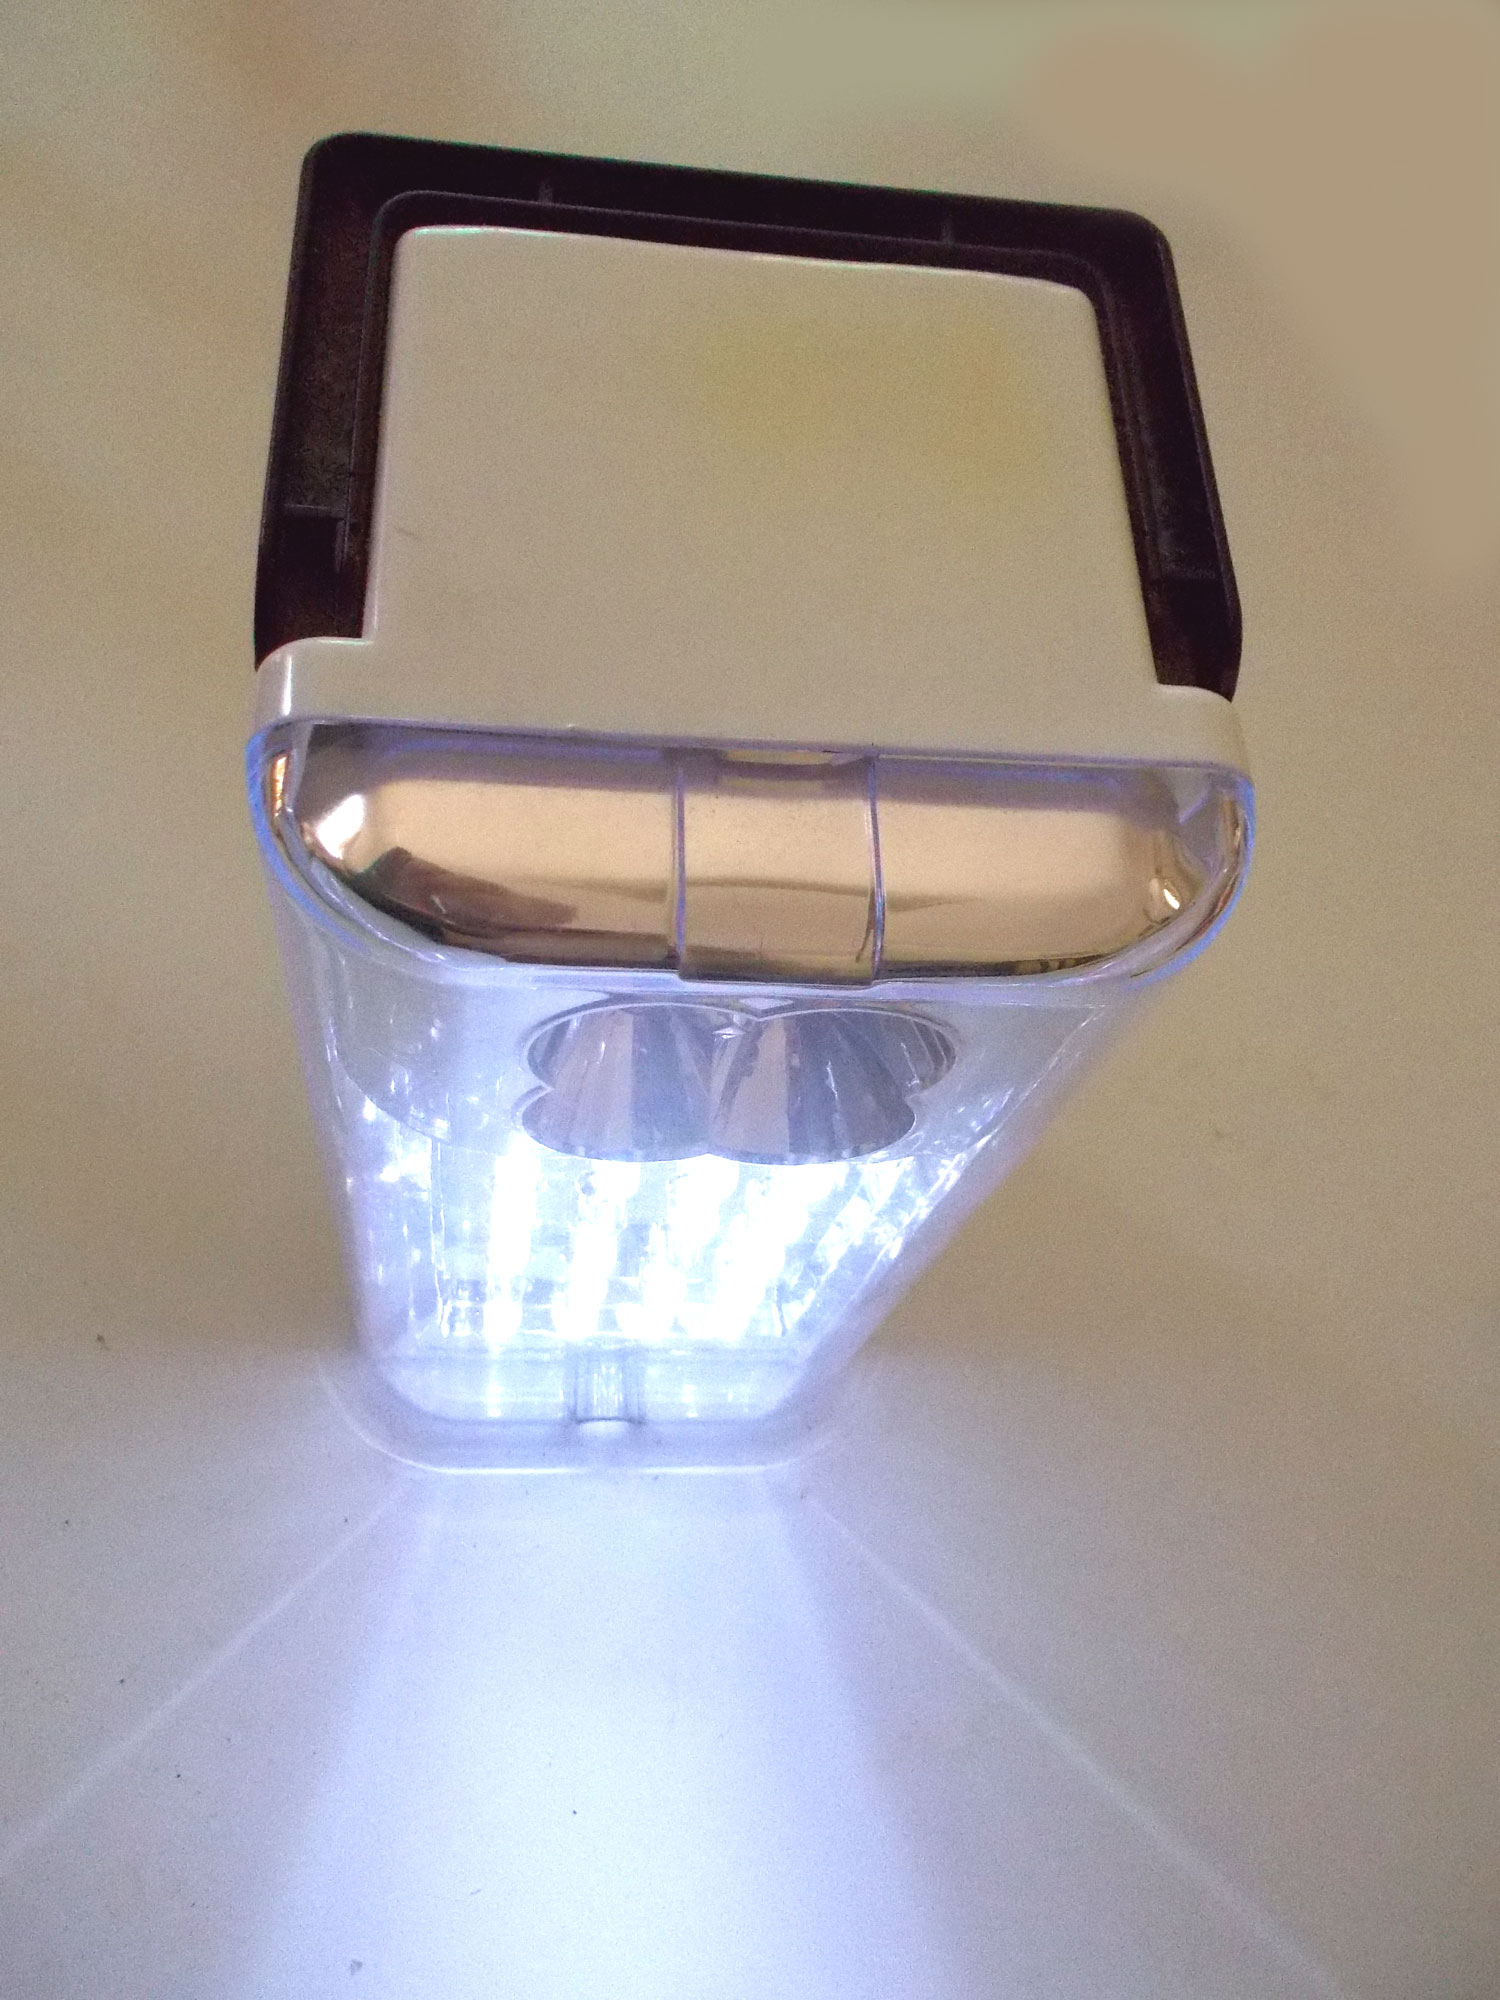
The lights featured here are used in my workshop as I do some (much quieter [don’t want to annoy the neighbours]) work in the early evening and need good, reliable light sources.
Replacing the light’s battery isn’t rocket science. It simply requires a bit of care and some simple steps.
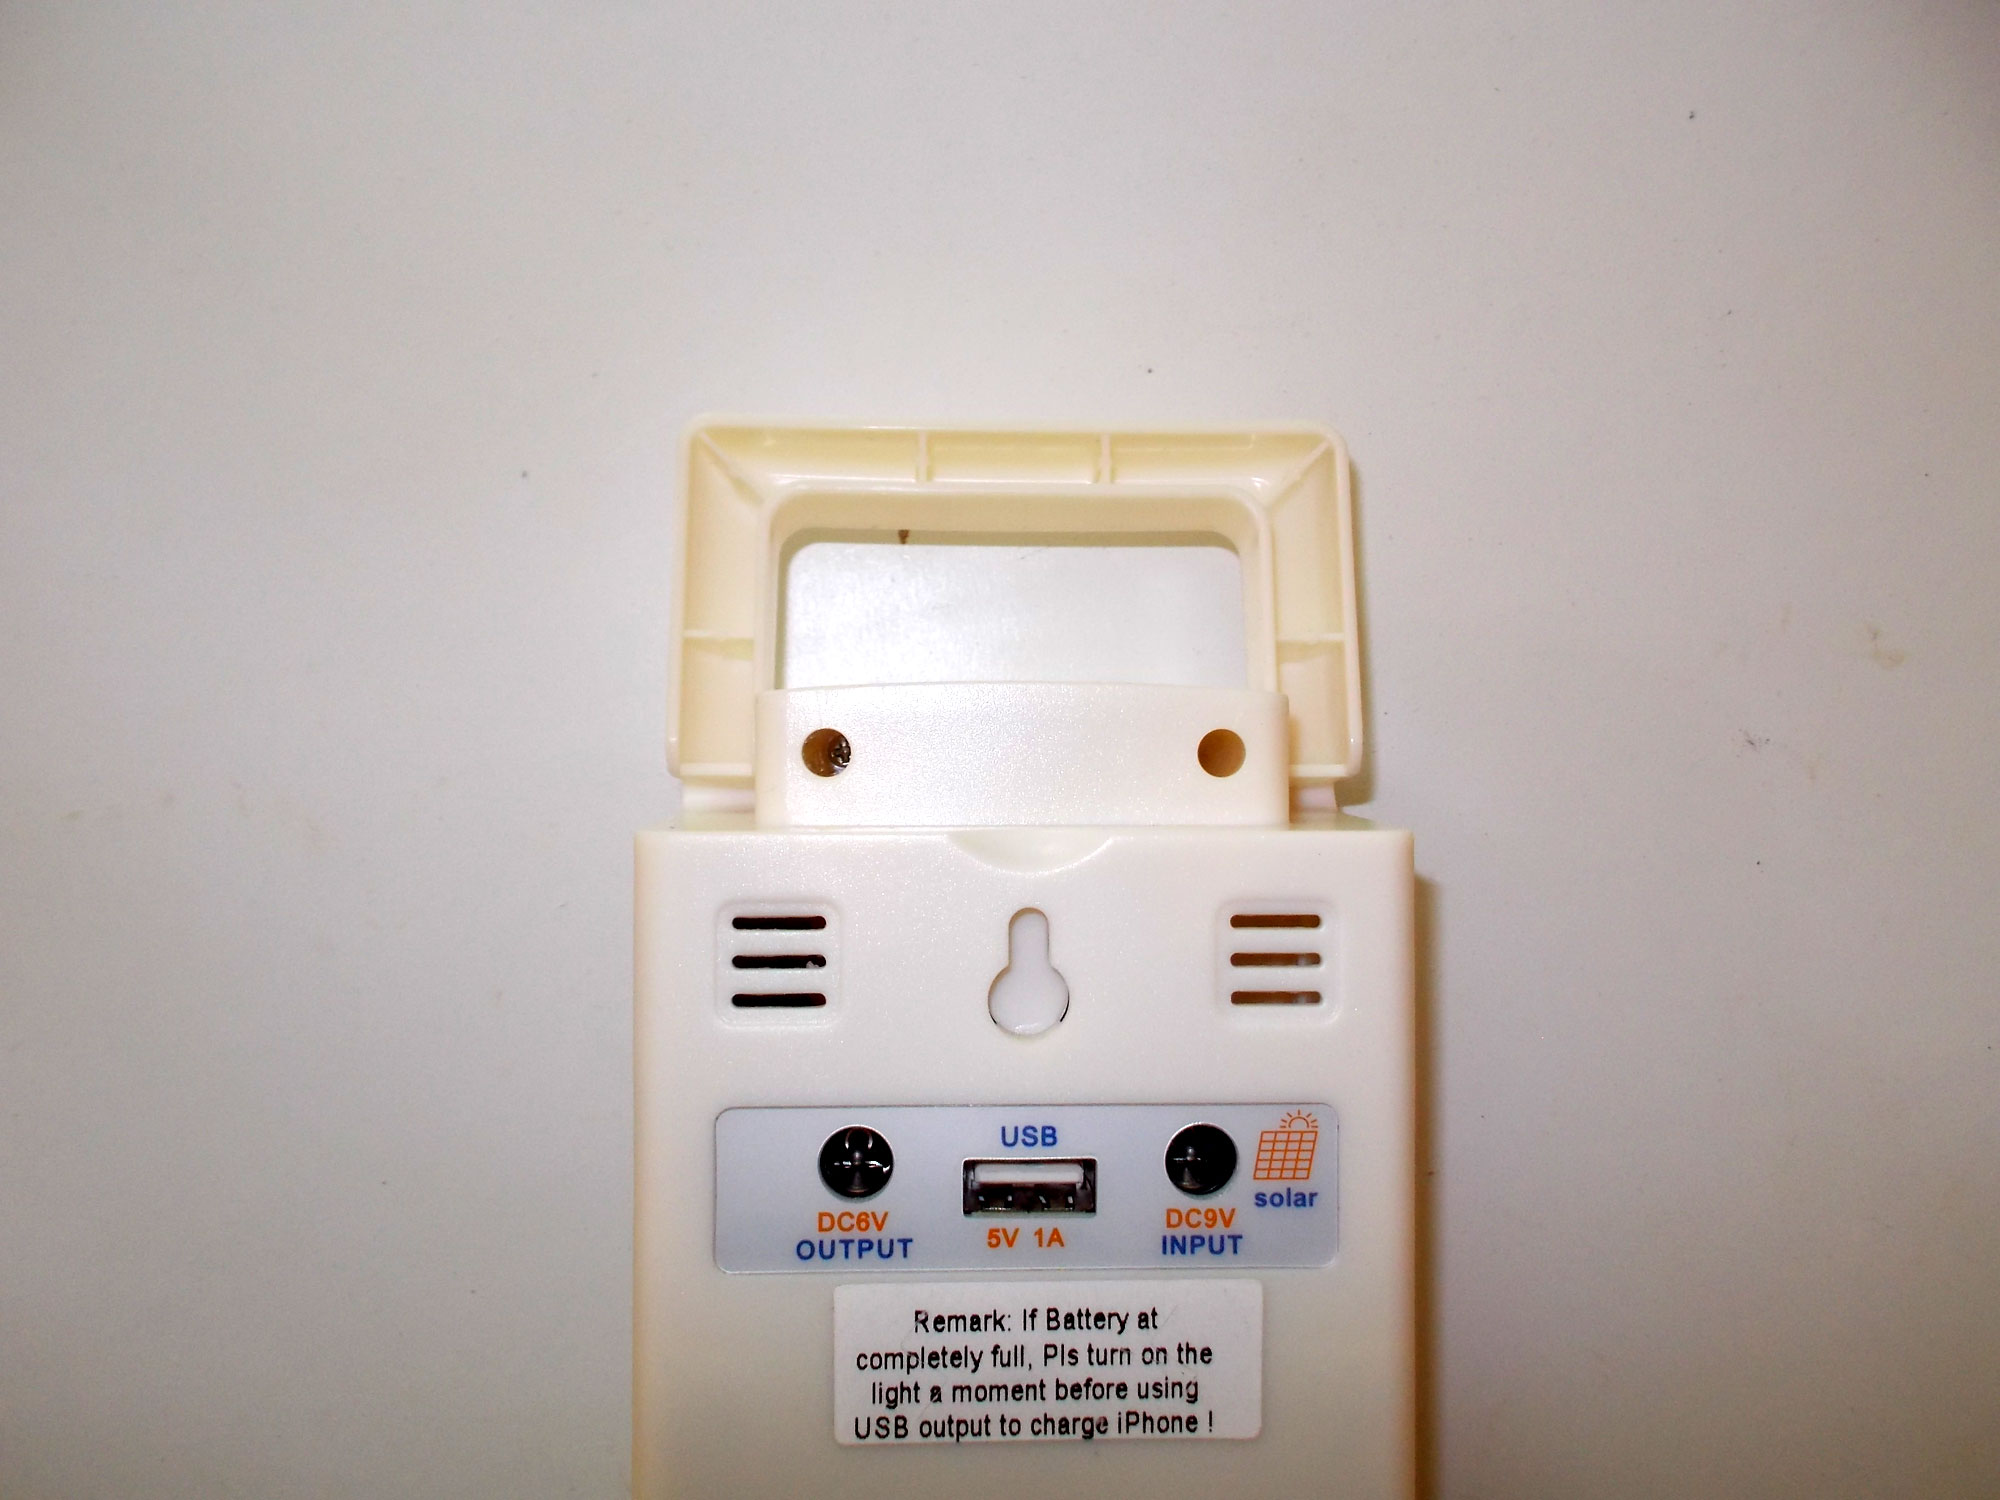
In this feature we show you how to replace the batteries on two different types of emergency light. However, both use the same battery – a sealed lead-acid rechargeable type, both rated at 6V, but the one at 6V/4.2Ah and the other rated at 6V/4.5Ah. The replacement batteries available were in the latter range but would still be acceptable for the light using the battery with the lower 4.2Ah.
Caution
- When removing and then fitting the replacement battery, take care to not short the terminals – for example if using a screwdriver to lever the old battery out of the casing. If possible use an electrician’s screwdriver with a plastic sheath, or even slip a plastic tube of the screwdriver’s shaft.
- Apply a steady but gentle leverage when removing the old battery – you do not want to crack the case (the battery is usually held in place within the casing with double-sided tape, but it can be overcome with a little gentle, steady upward force).
- Take great care when lifting off the light unit; it is connected to the main circuitry by four relatively thin wires (the number may vary depending on the design and manufacturer) and you do not want to pull any of them loose. So you need to keep it close to the casing and circuitry, and also support it if you need to lift it and the casing off the work surface. These connecting wires must never be put under any strain.
- Bear in mind that different brands use different methods of fasteners to secure their lights’ casing to the lighting unit and so on. They may be clipped together, or use screws, or possibly a combination of the two, so check for securing screws, slots to lever open clips and so on. Never use brute force to open the light – you will only break it.
- If there is a slot in the casing/cover junction for a screwdriver blade to assist in releasing securing clips, use a screwdriver blade as wide as the slot itself. If you use a much smaller blade, it will probably not separate the two parts sufficiently to disengage the clips and will also very likely damage the edges of the slot.
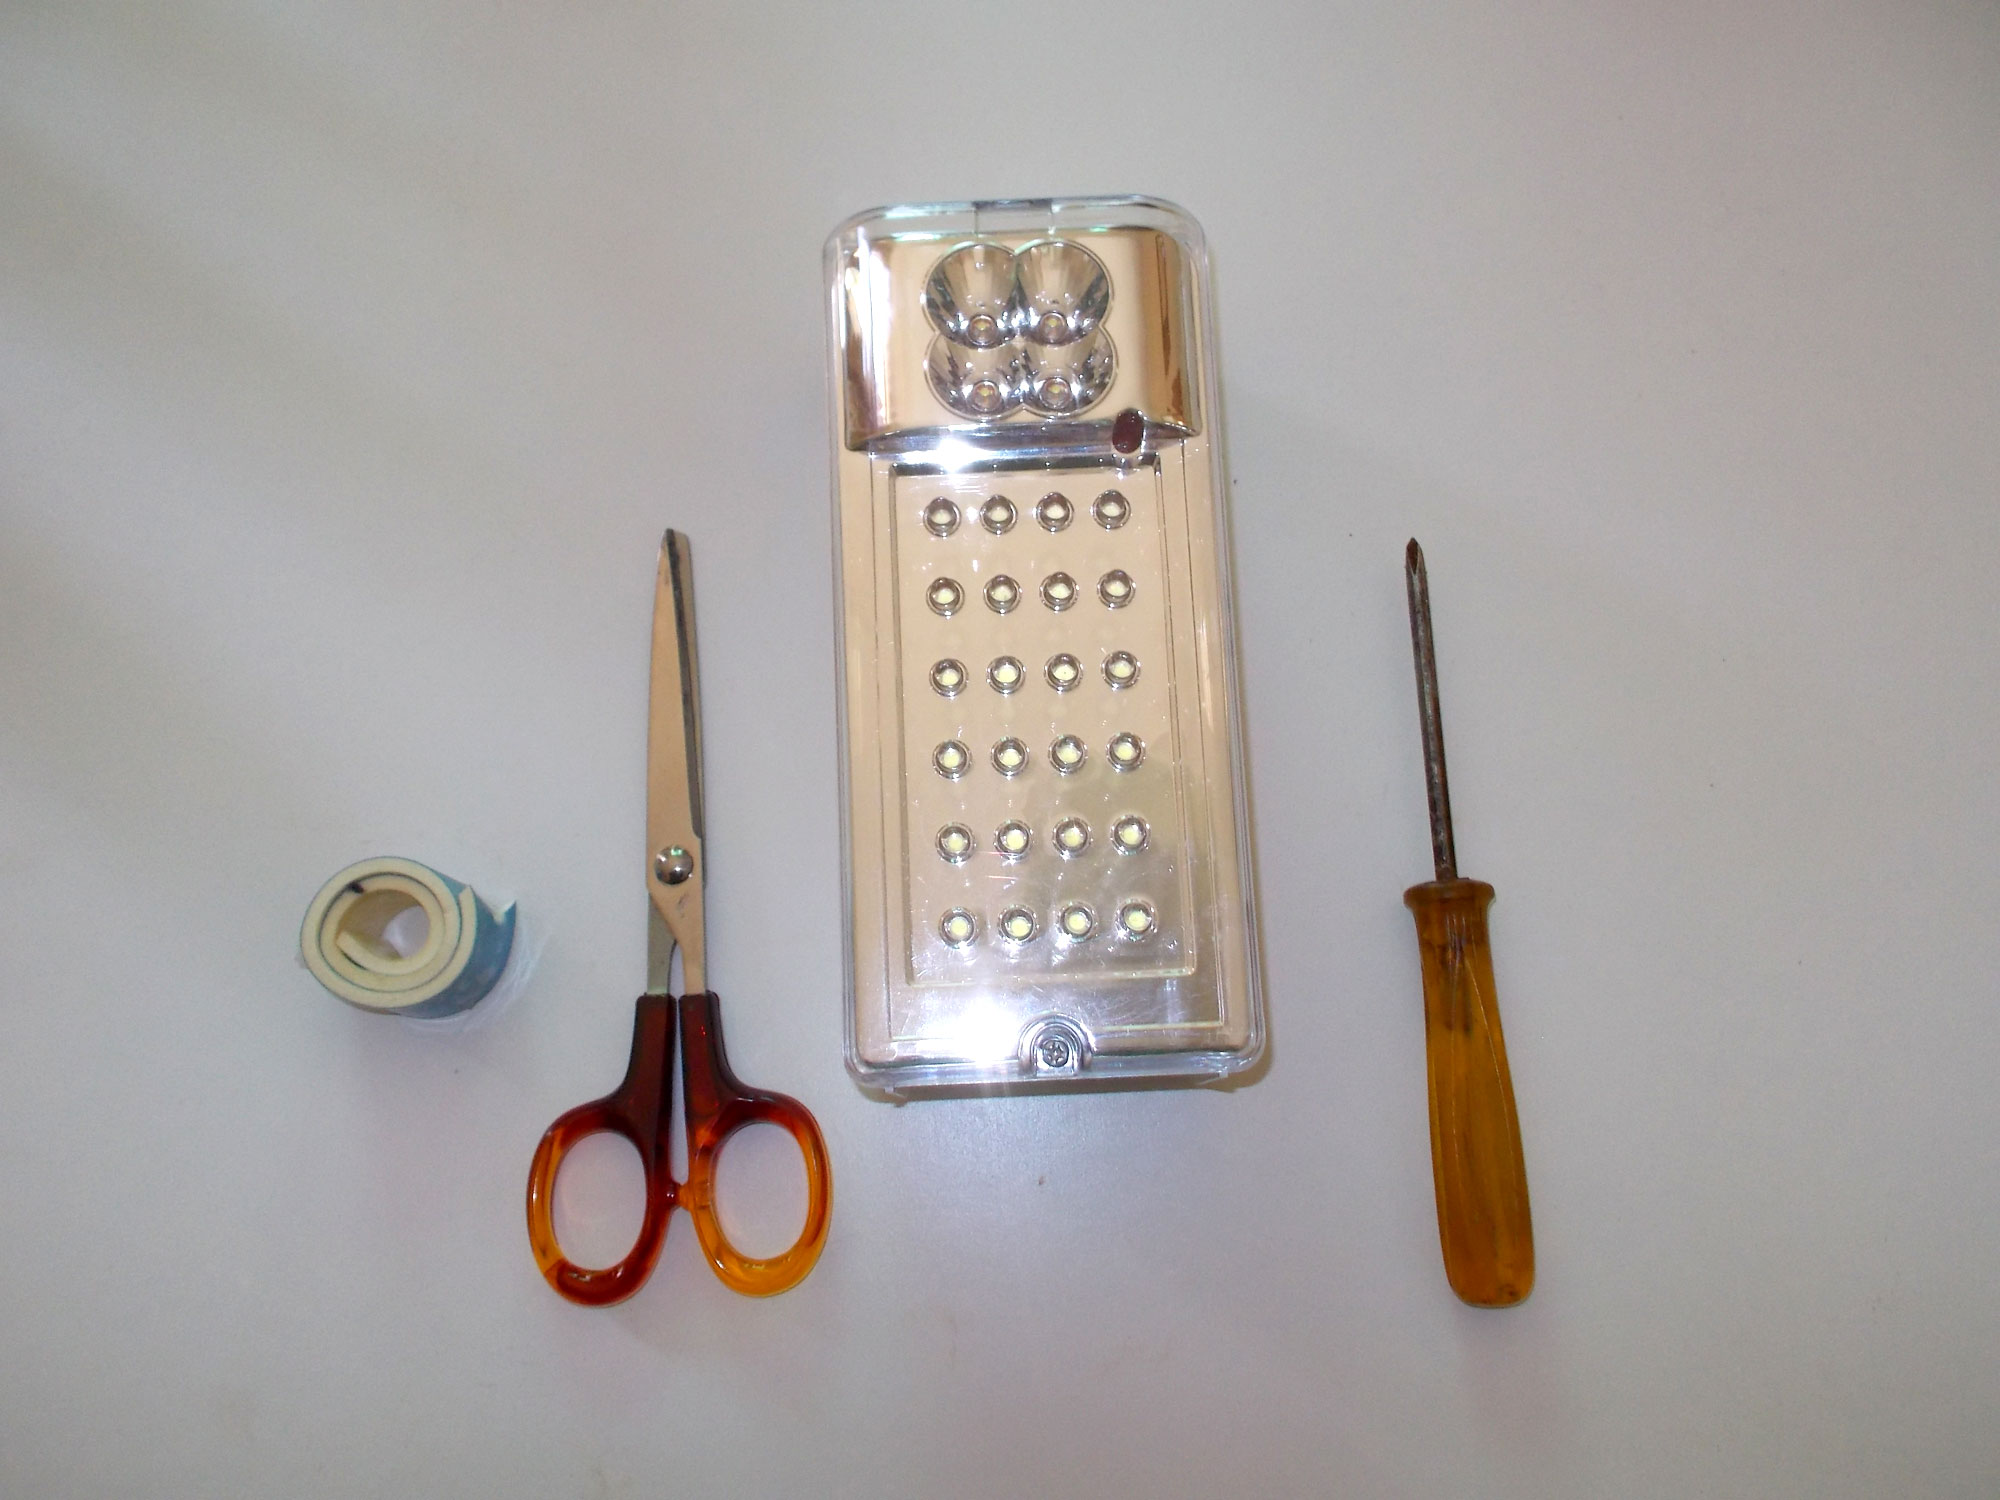
Method:
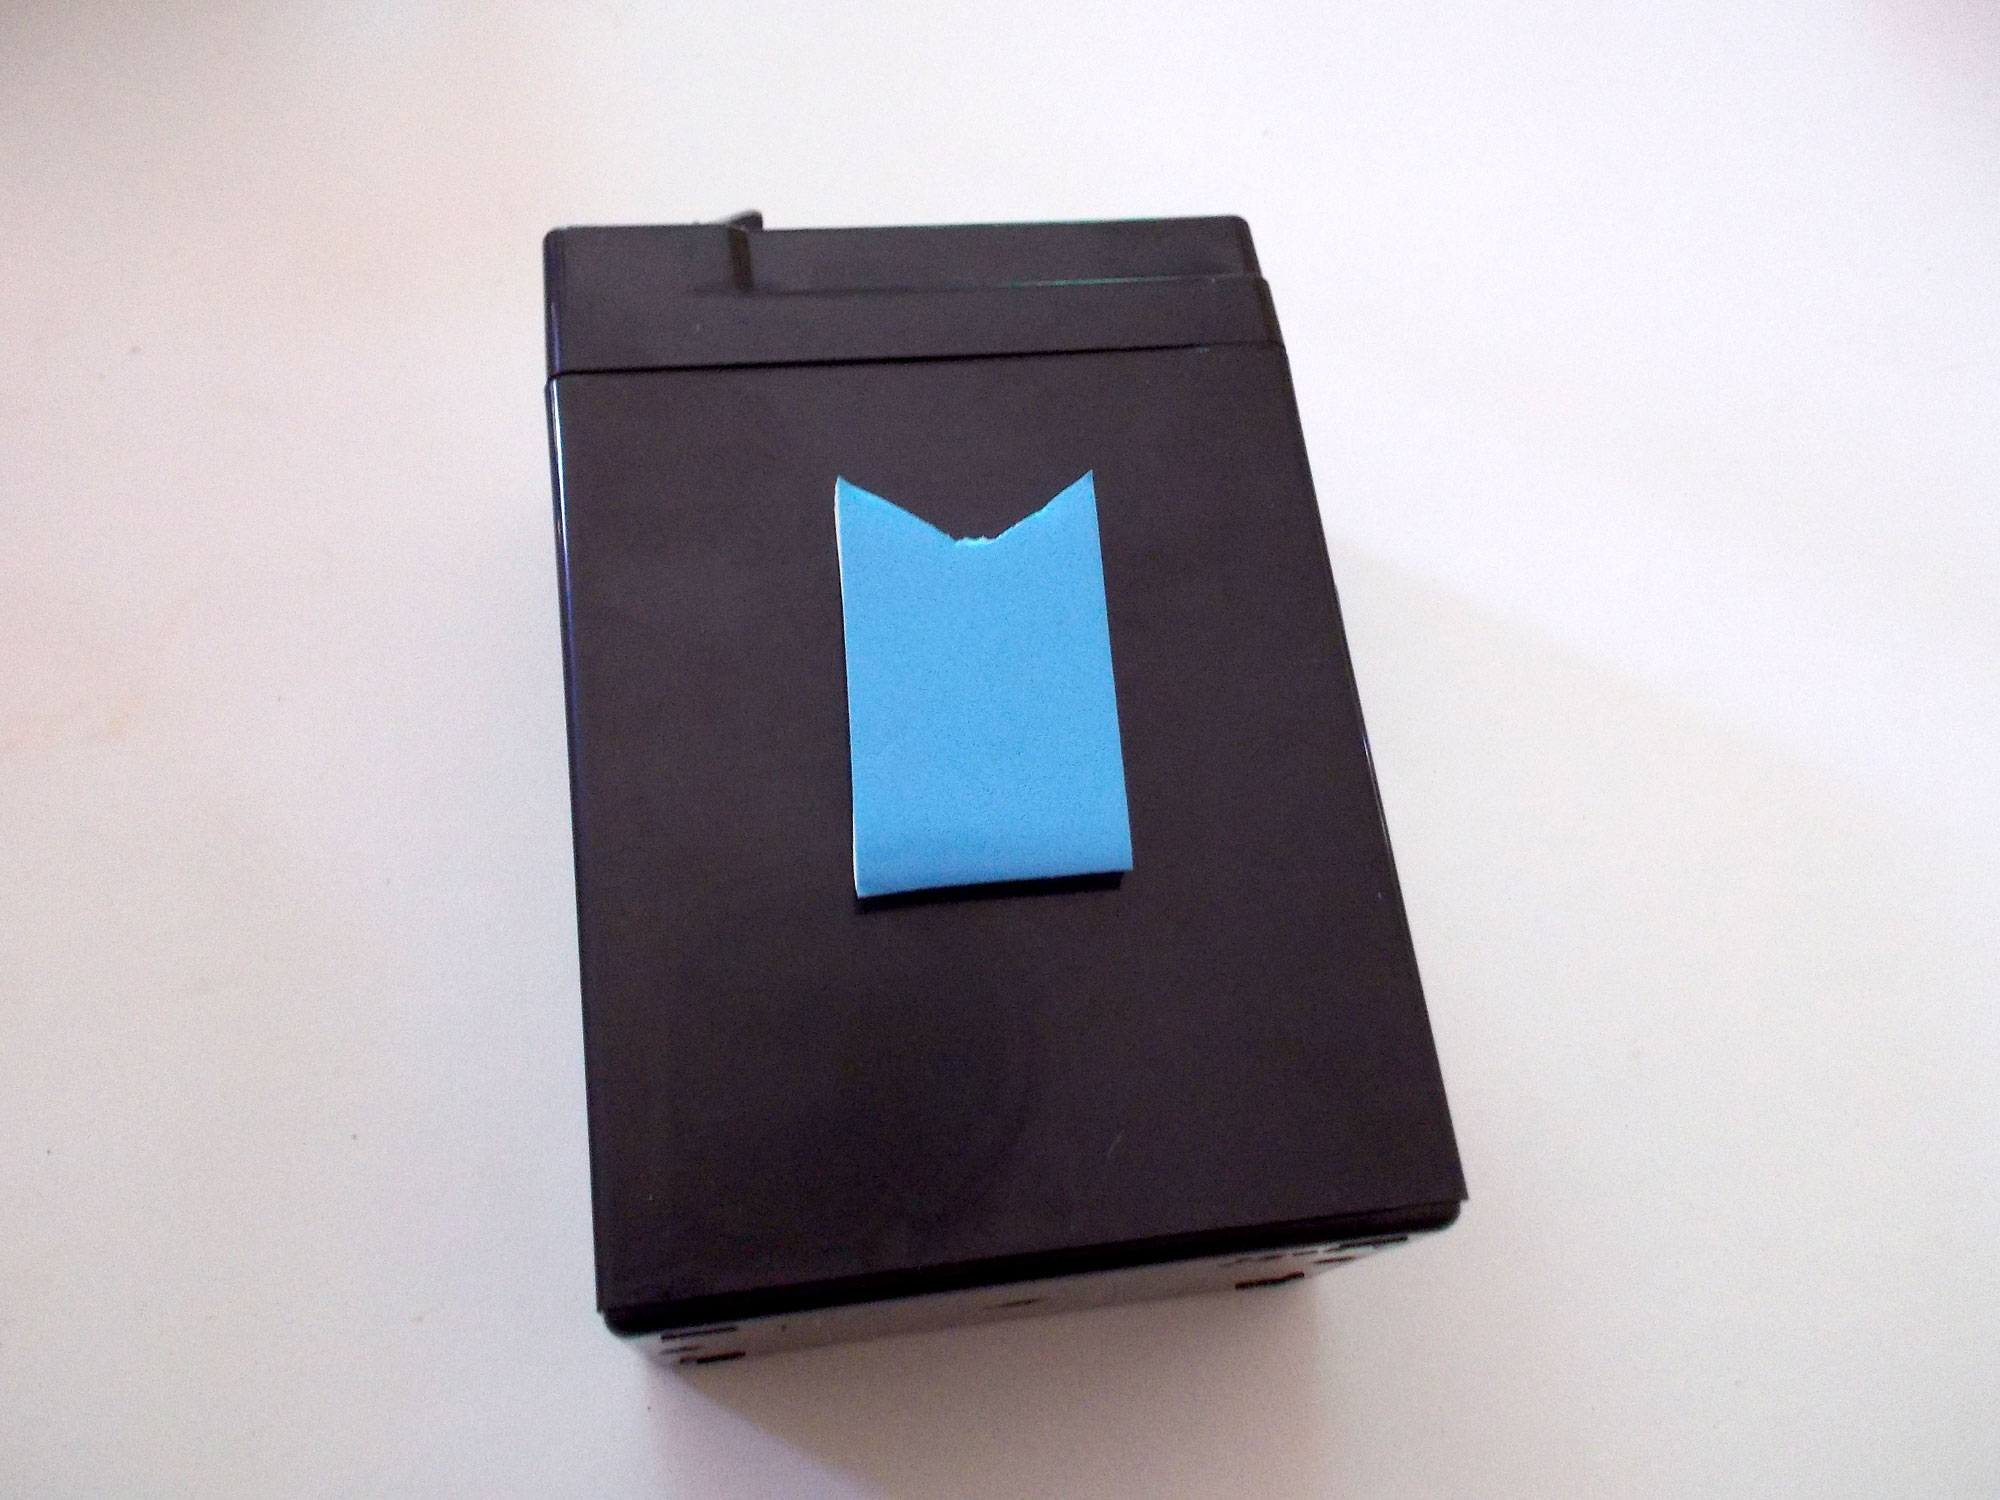
- Only simple tools are needed (having first checked to see what sort of fasting system has been used). Note the roll of mirror tape to secure the replacement battery in position.
- In this case a single screw at the base of the light and a tang in a slot at the top secure the lighting unit to the casing, so first remove the screw, lift off the clear plastic cover, and gently lift the lighting unit out and to one side – bearing in mind the above-mentioned cautionary notes on putting the connecting leads under any strain – to expose the battery.
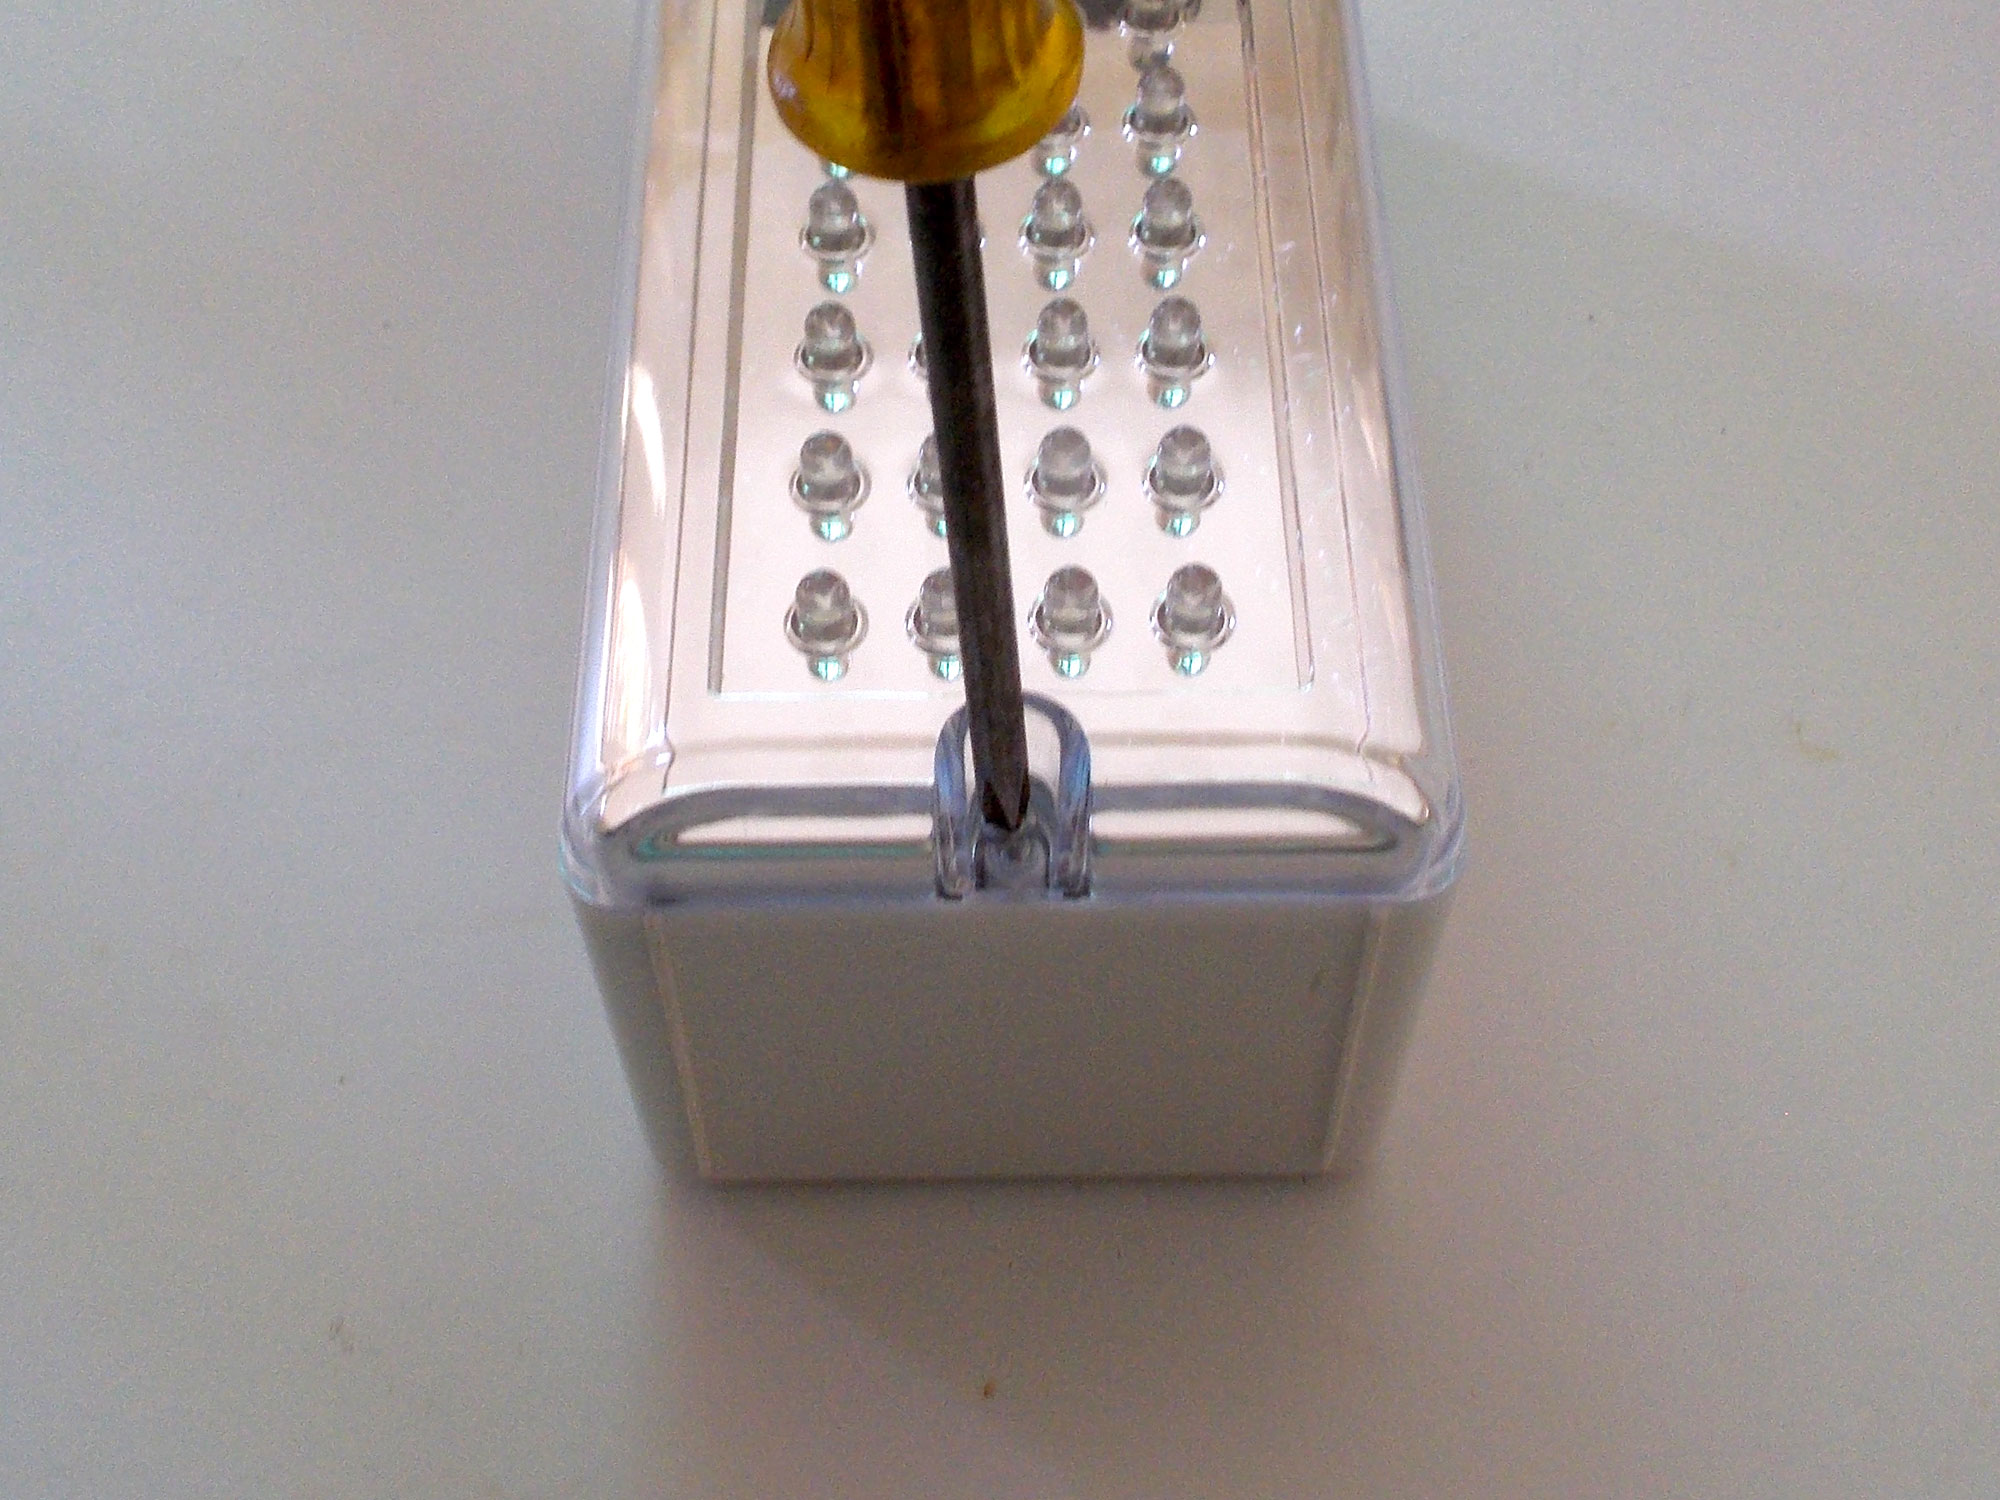
- Note that the lighting unit is connected to the circuit board with four wires; it is vital that they not be put under any strain at any time. I know I have banged on about this point, but it does bear banging on about. Okay?!
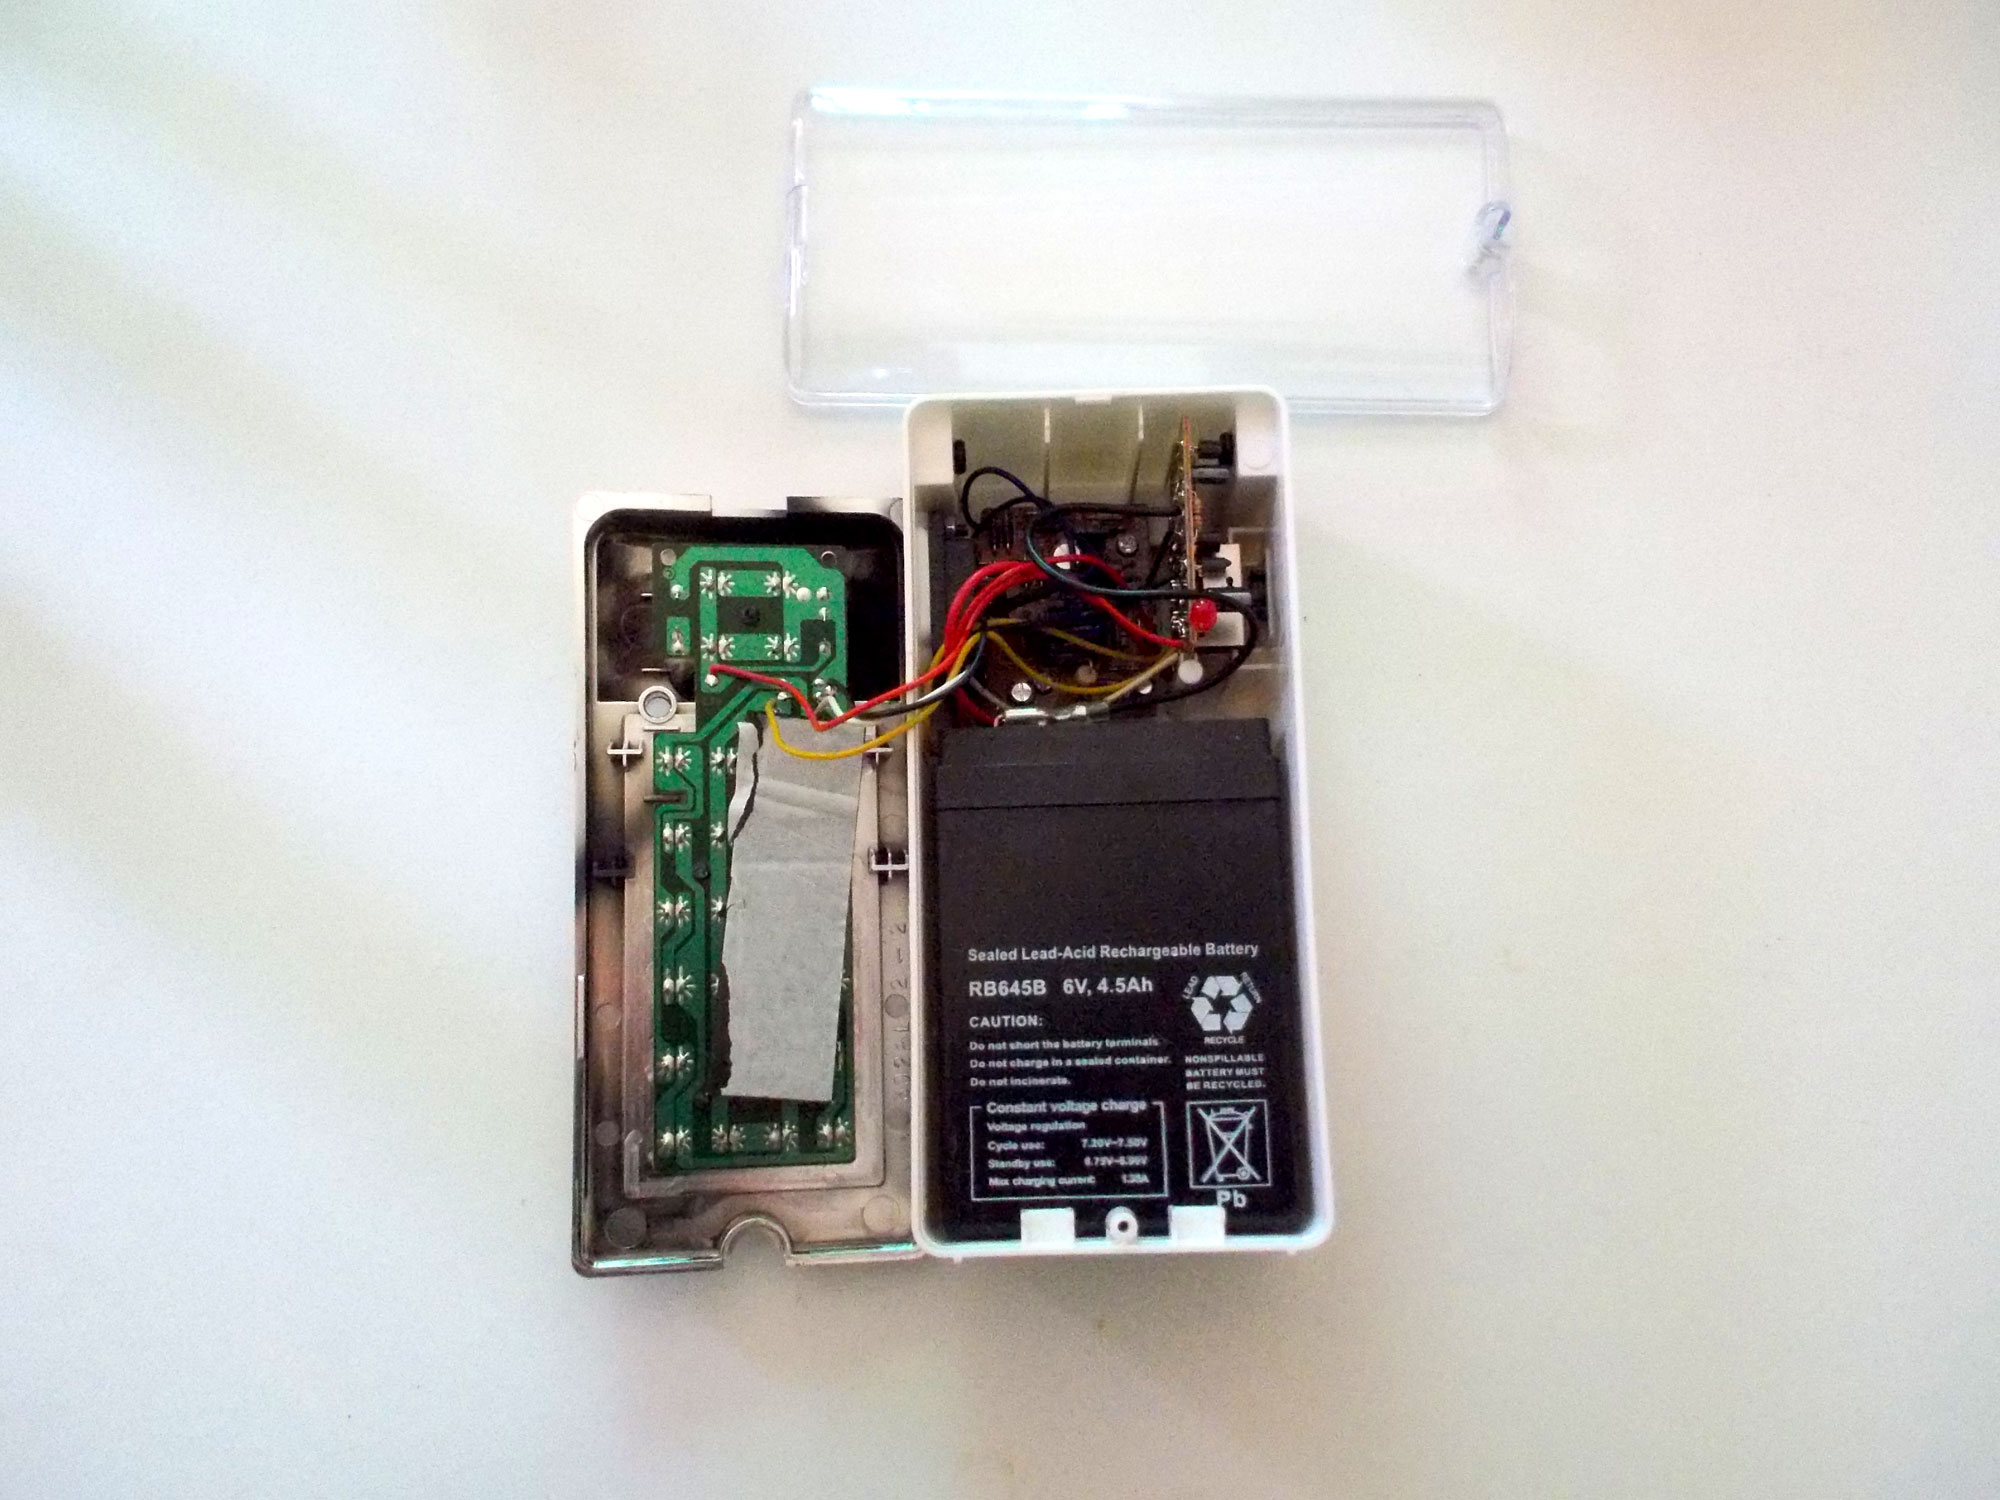
- To avoid the risk of any inadvertent short-circuiting damaging the circuitry, I disconnected the battery leads from their respective terminals.

- Then I applied the above-mentioned steady but gentle leverage to prise the battery off its securing double-sided tape…taking great care to avoid damaging the case where it acted as the fulcrum for the levering action.

- The battery out. As it turned out there was enough of the original double-sided tape remaining in the bottom of the case to keep the replacement battery from wandering about after being fitted, so I didn’t need to use any new mirror tape for the job.
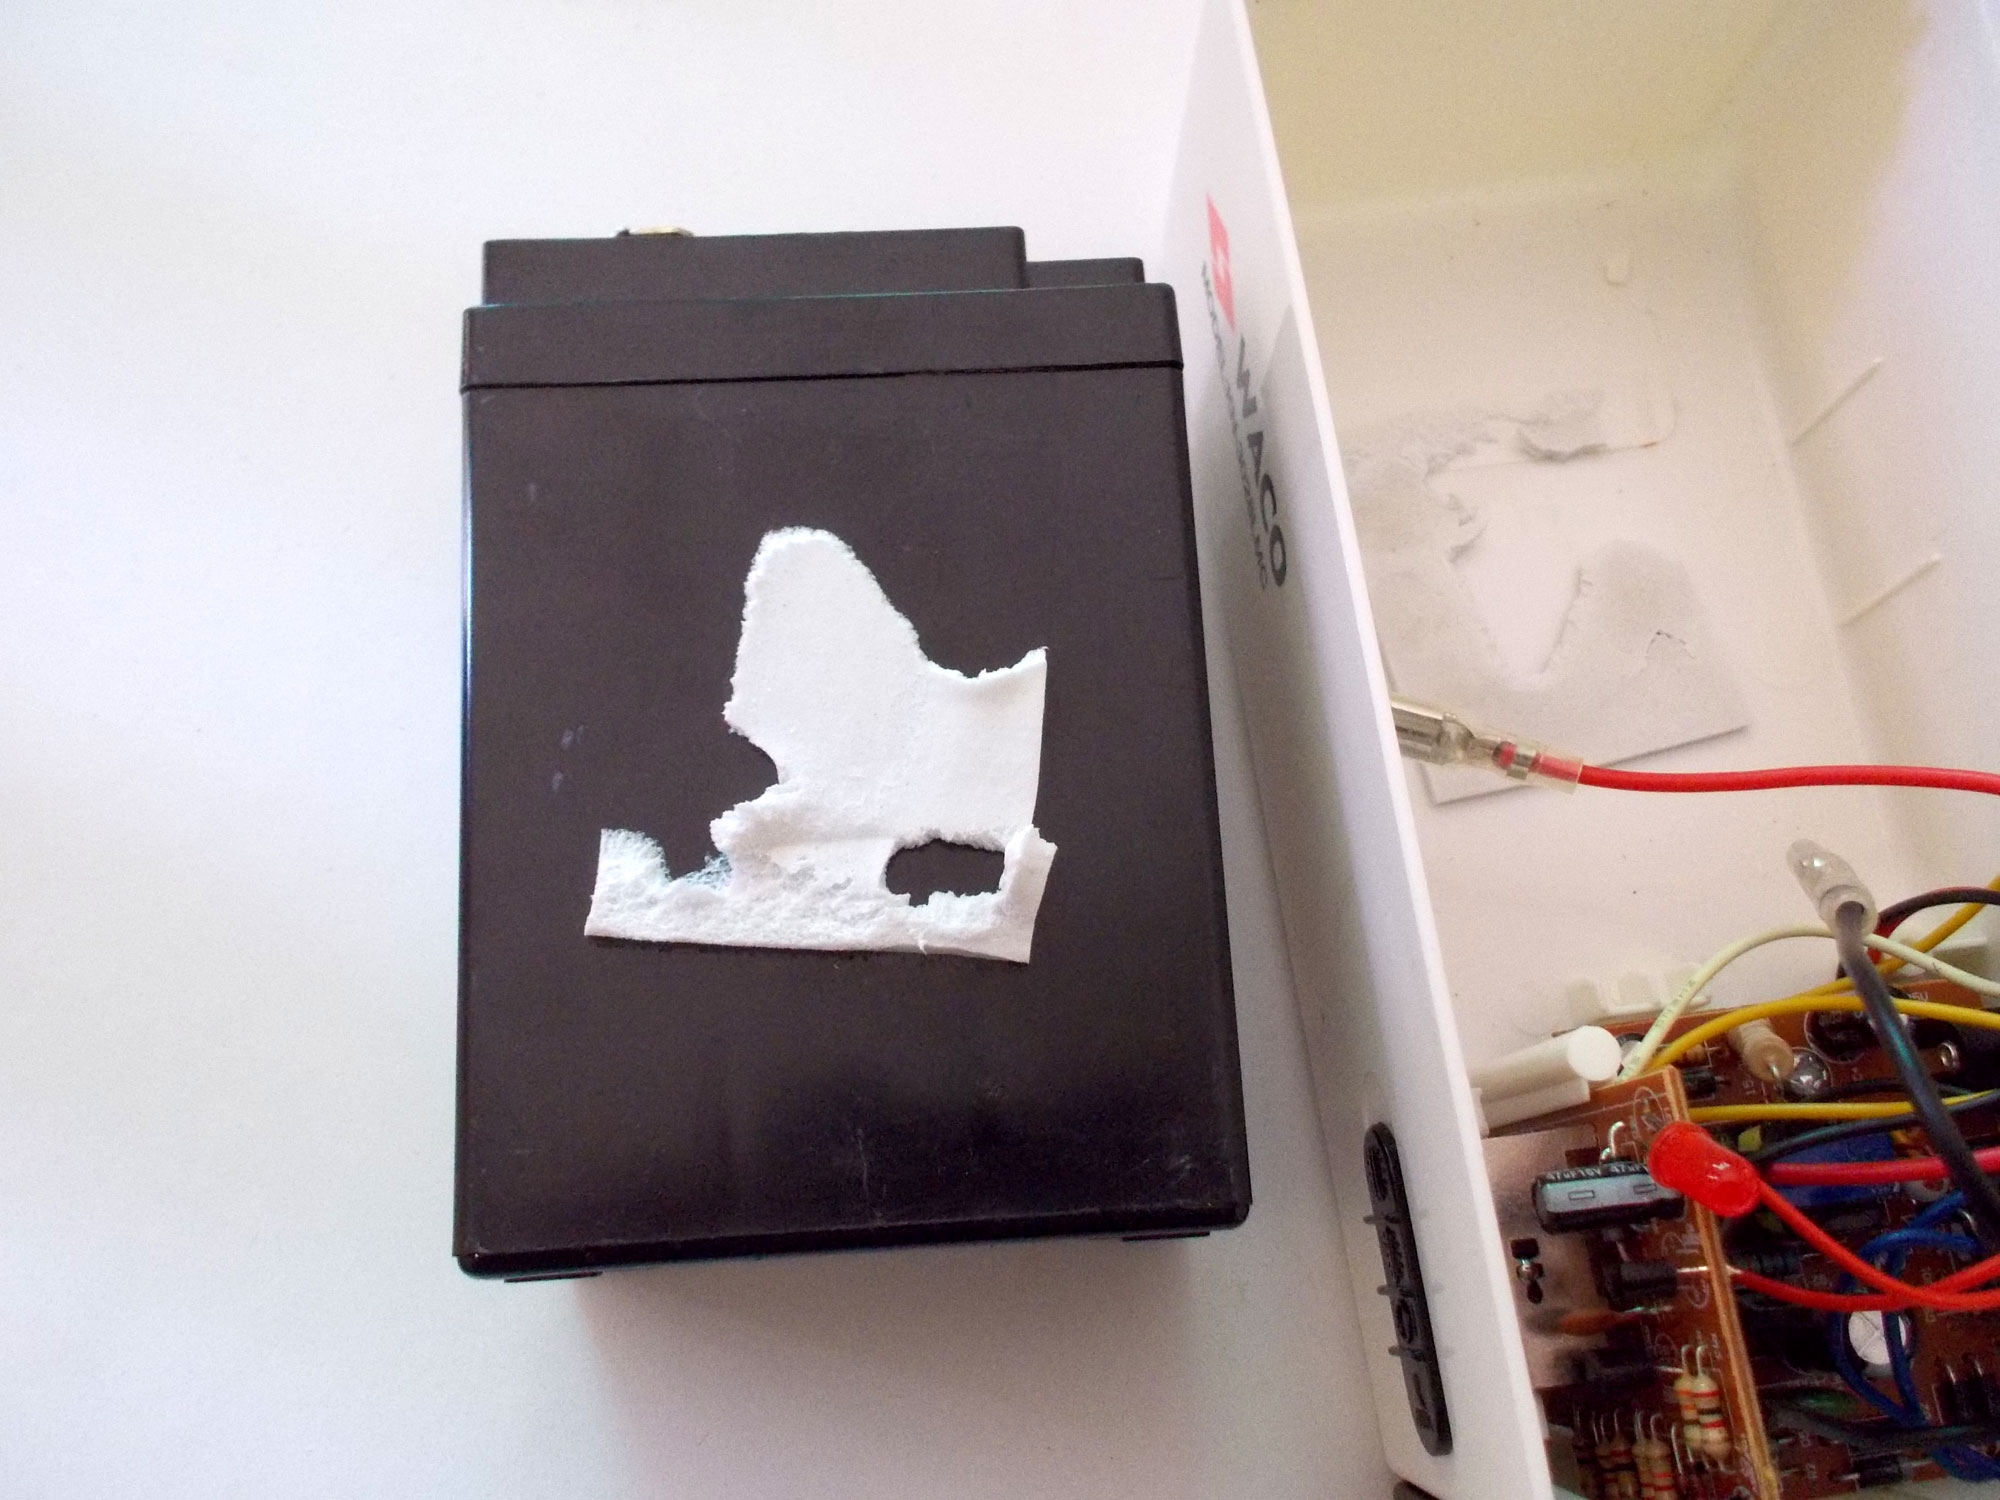
- Almost done. Connect the leads to the battery terminals, ensuring that the red (live/positive) lead go on the red terminal and the black (negative) lead to the second terminal.

- Ease the battery back into the case, seating it firmly in position. Then, ensuring that all the leads were packed well away from any risk of being trapped between the lighting unit and the casing or circuit board, I put the lighting unit back into position, and reattached the front clear plastic cover.

- Viola 1! Let there be light, and there was, and it was good – and it lasted a lot longer than it had been recently.
- Here is the second light to have its battery replaced.

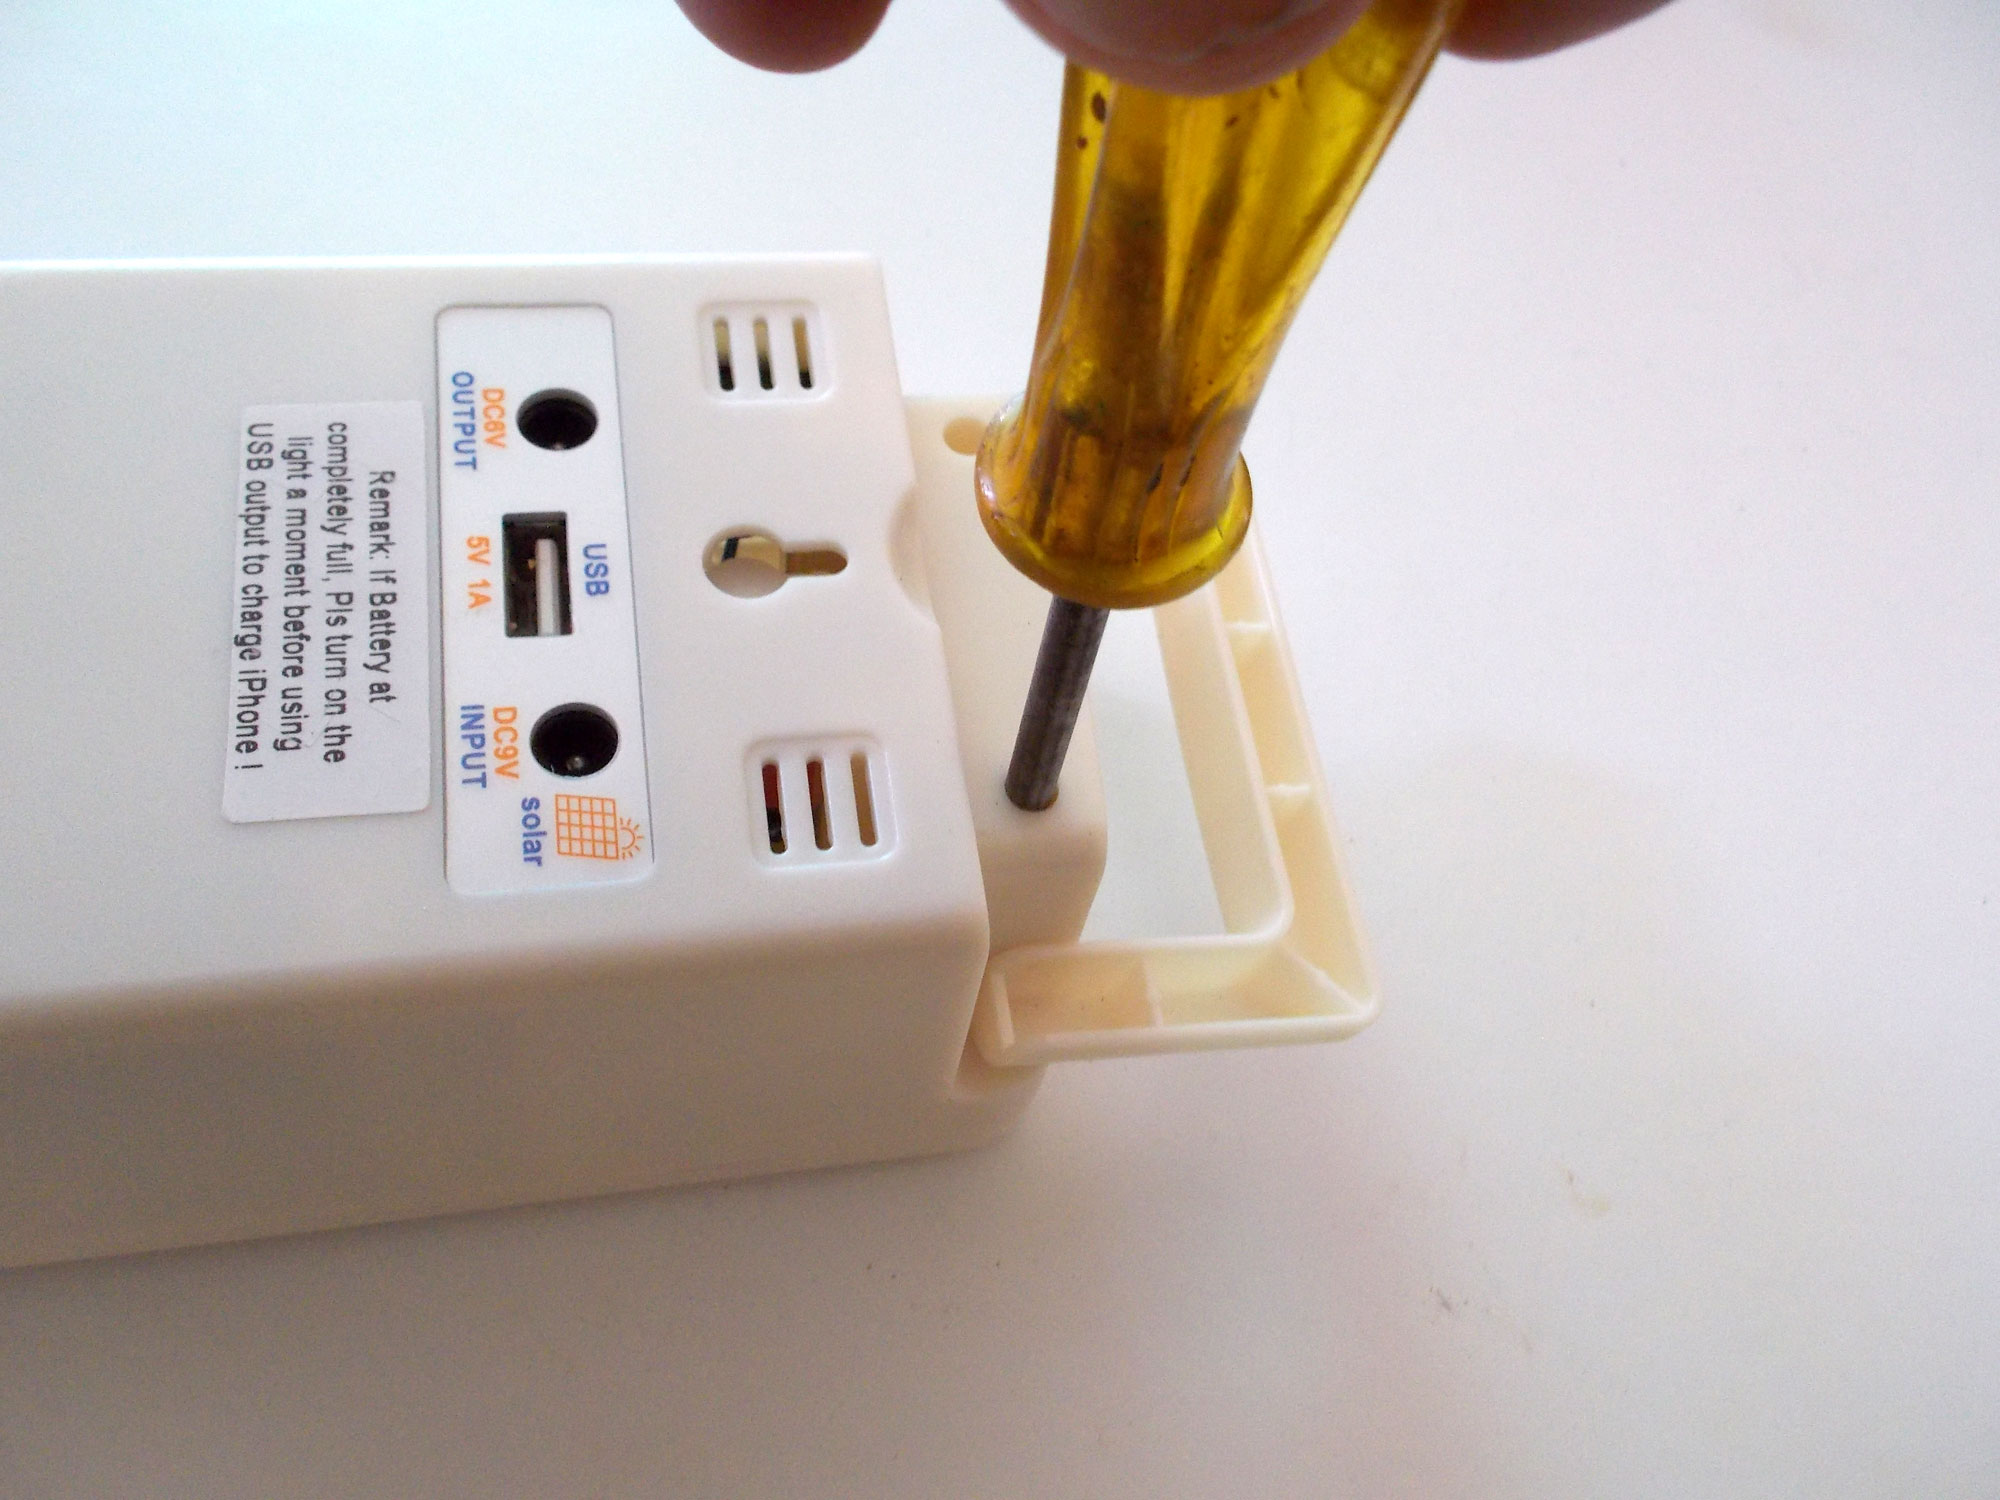
- In this instance, the cover is secured with two screws under the handle recess, and with clips down the sides. So…
- Naturally, first remove the two securing screws.
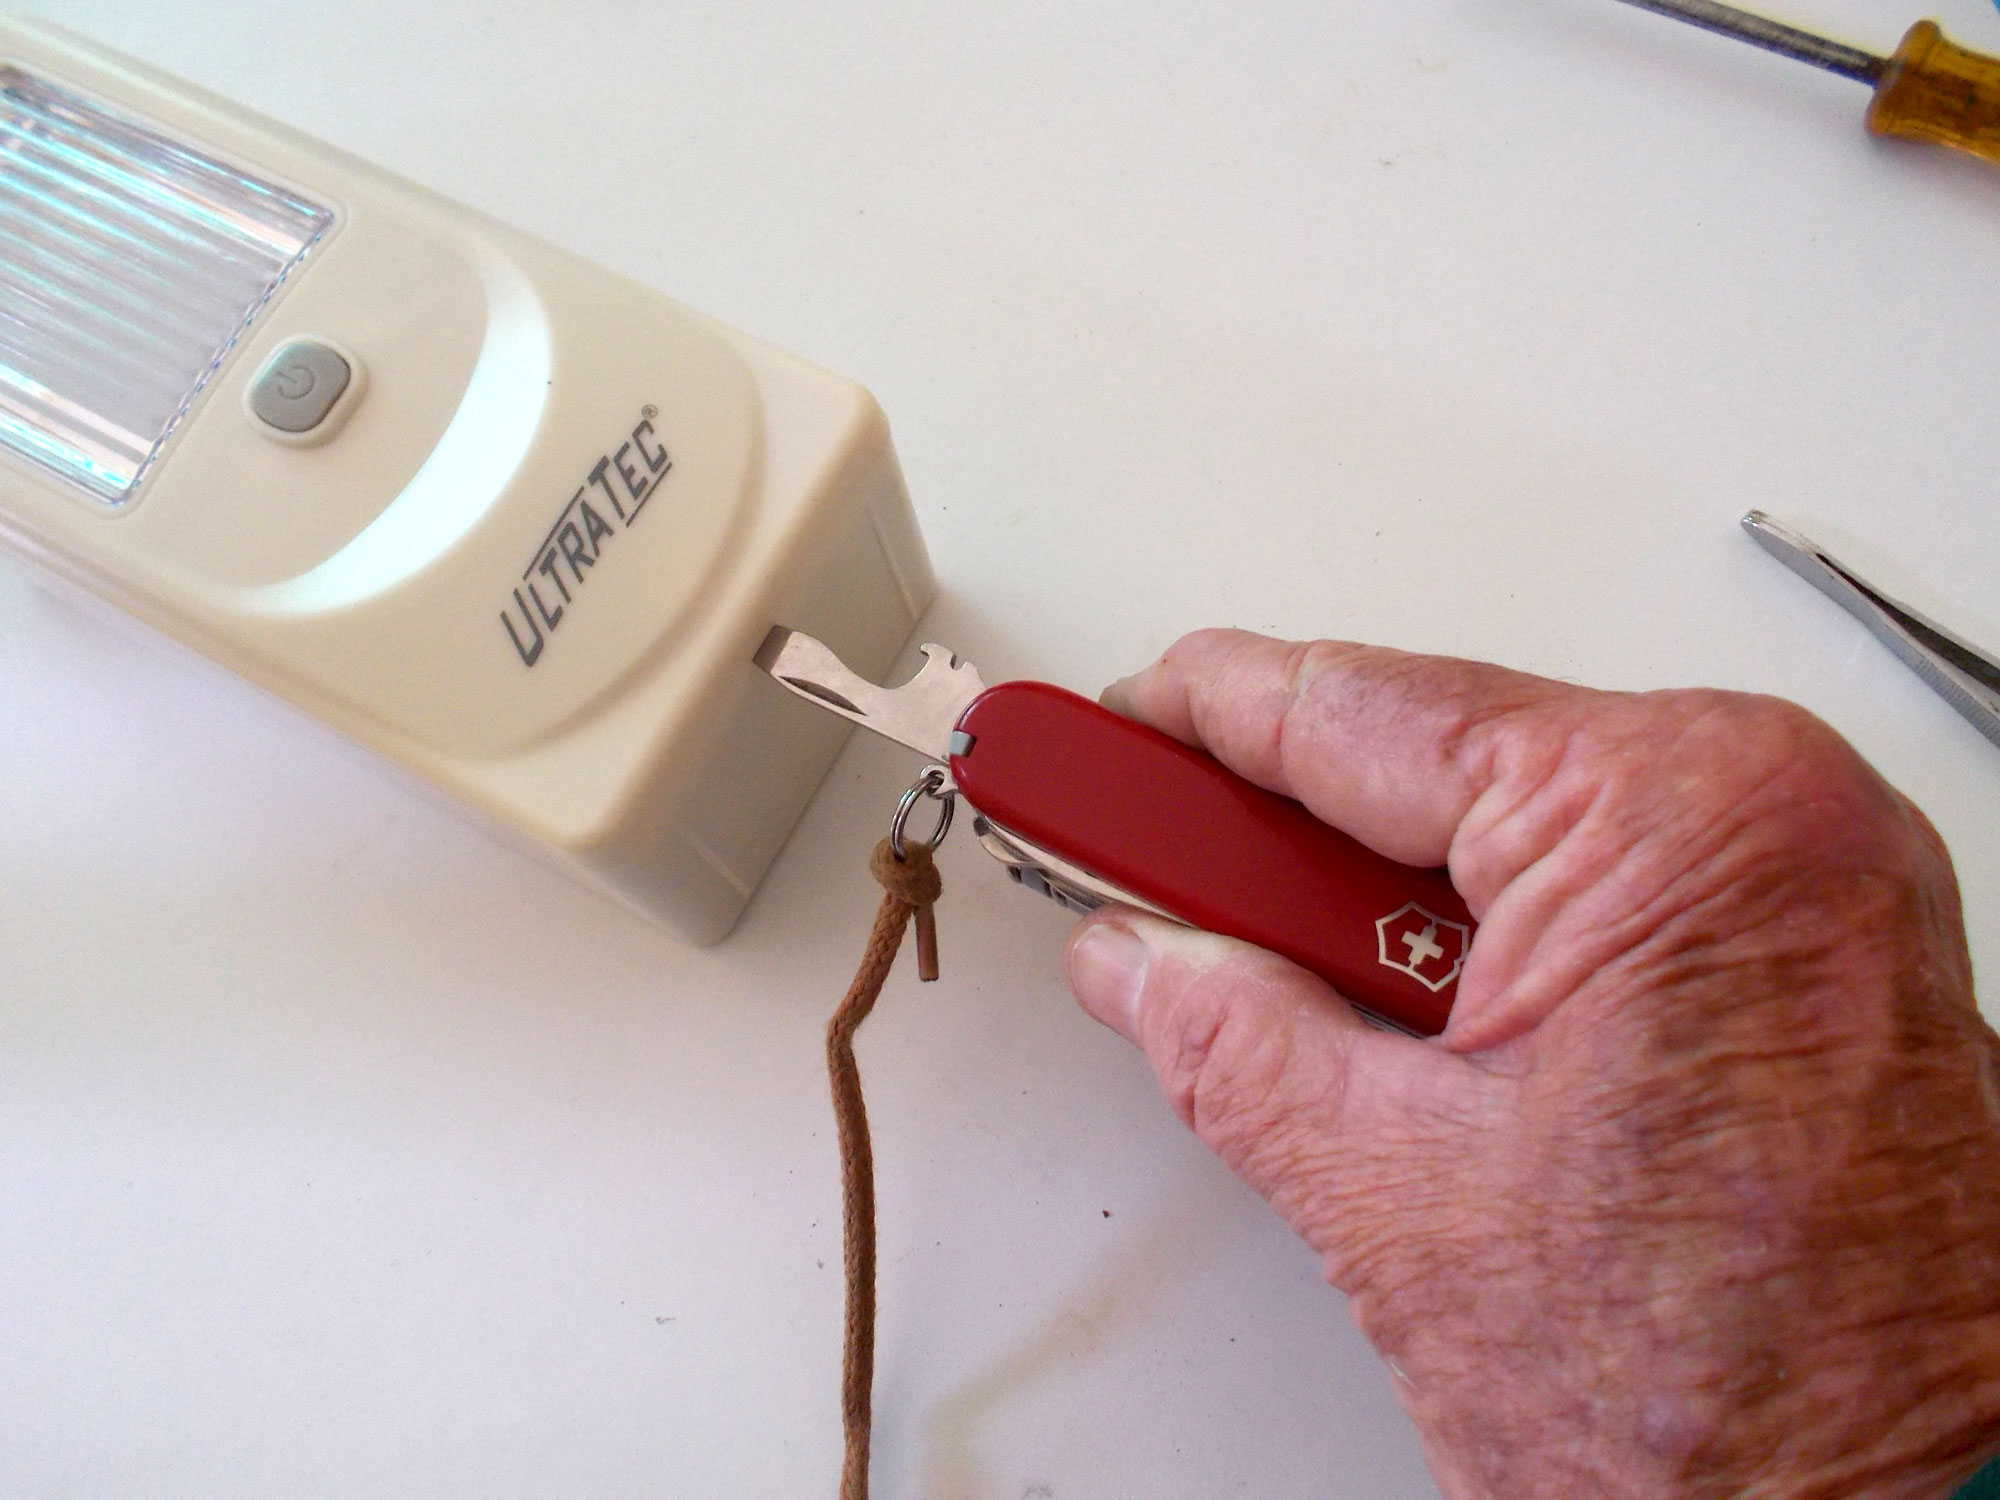
- Then, using a broad flat screwdriver blade – a Swiss Army one is ideal, gently rotate it to pry the cover off. The clips along the side will disengage and the cover can be removed.
- In this case I used a little mirror tape to secure the battery in the casing. Then I connected the battery leads to their respective terminals and placed the new battery in the casing and moved the various connecting wires and leads into positions in which they would not be caught between the casing and anything underneath it. I clipped the casing back on and re-secured it with the two screws.
- Viola 2! The high light is back to doing what it does best.
Panel:
Mica Stores carry a range of emergency lights and replacement batteries. To find your closest Mica and whether or not they stock the items required, please go to www.mica.co.za, find your store and call them. If your local Mica does not stock exactly what you need they will be able to order it for you or suggest an alternative product or a reputable source.